7 Essential Signs Your Plant Needs Repotting Right Now
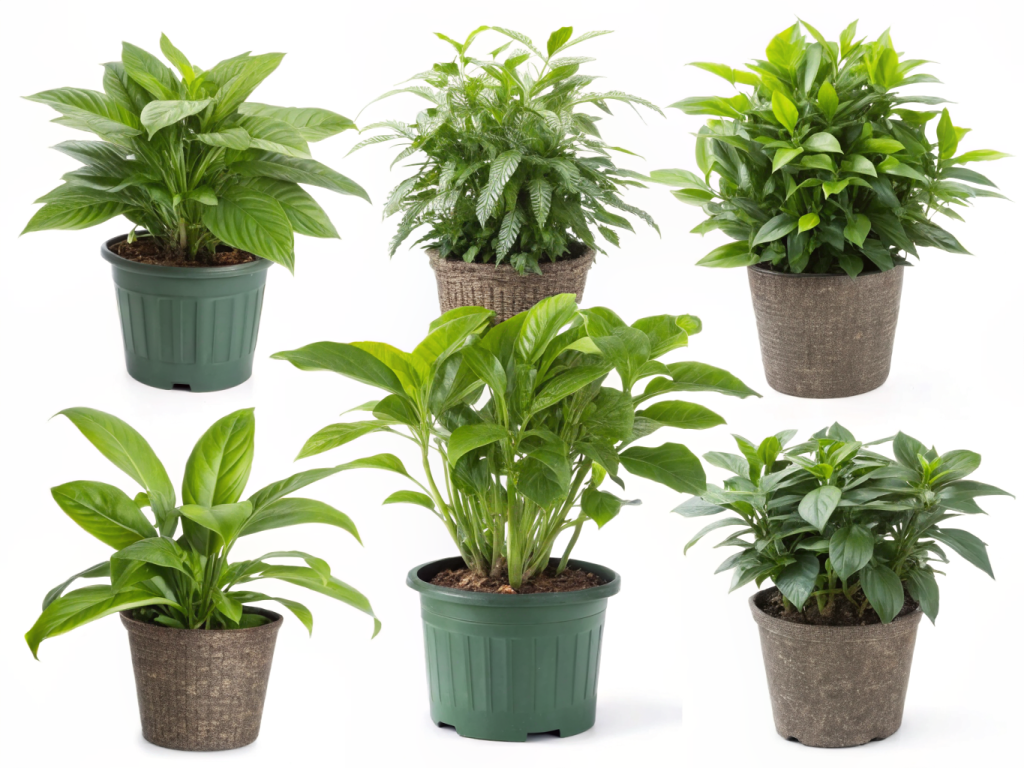
Is your beloved houseplant looking a little lackluster? Perhaps it’s not growing as vigorously as it once did, or maybe you’re noticing some peculiar changes in its watering habits. The truth is, plants, much like us, grow and evolve, and sometimes they simply outgrow their current living arrangements. Knowing when to give your green companions a fresh start in a new home is crucial for their health and continued vitality. This comprehensive guide will walk you through the undeniable repotting plants signs that scream, “I need a bigger pot!”
[lwptoc]
Why Repotting Matters for Your Indoor Garden’s Health
Timely repotting is not just about aesthetics; it’s a fundamental aspect of proper plant care that directly impacts their longevity and growth. A confined plant struggles for essential resources, leading to stunted growth, nutrient deficiencies, and increased susceptibility to pests and diseases. By recognizing the key repotting plants signs, you provide your plant with fresh soil, more space for root development, and an opportunity for renewed vigor.
Imagine living in a cramped apartment with no room to stretch or breathe – that’s often how your plant feels in an undersized pot. Repotting alleviates this stress, allowing the roots to spread out, absorb water and nutrients more efficiently, and ultimately support lusher foliage and more abundant blooms. It’s an act of nurturing that pays off with a healthier, happier plant.
What You’ll Need: Tools & Materials for a Successful Repot
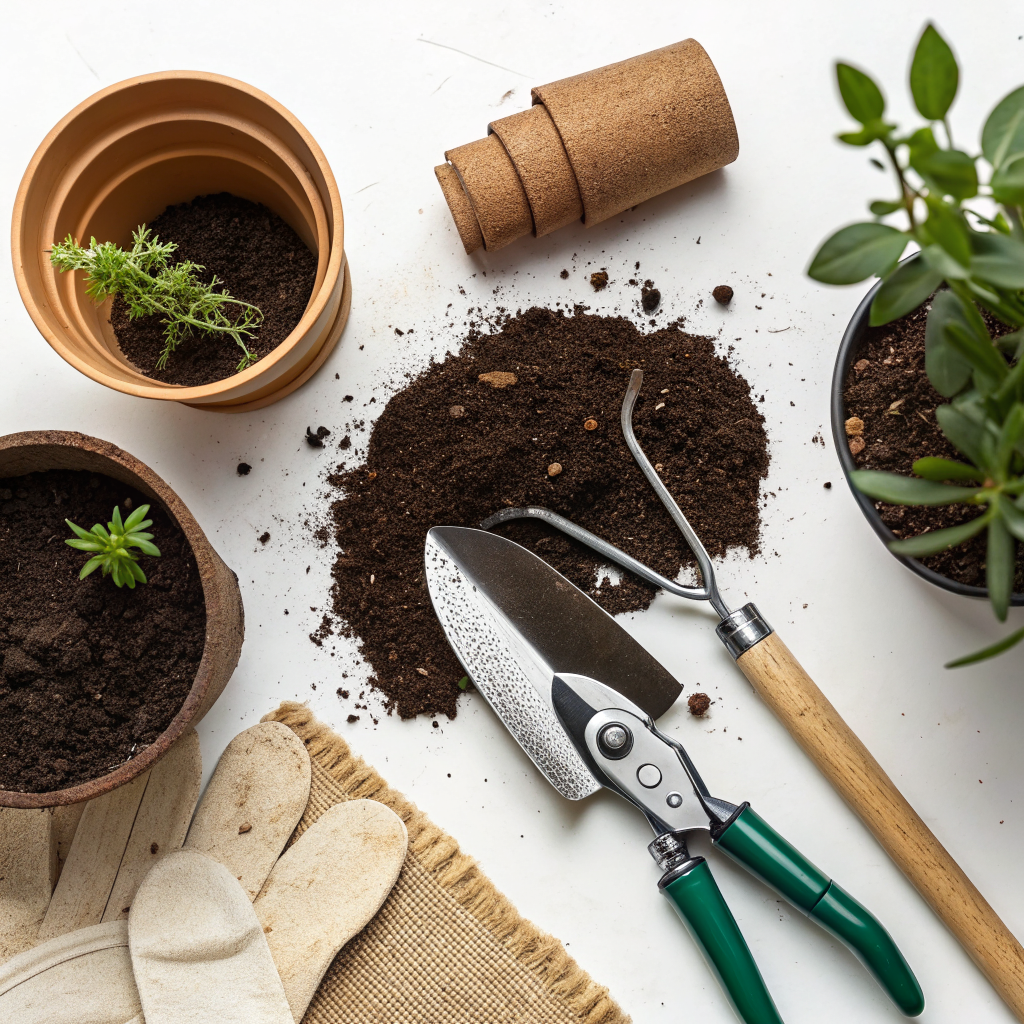
Before you dive into the repotting process, gathering your supplies will ensure a smooth and stress-free experience for both you and your plant. Having everything at hand minimizes disruption and makes the task much more enjoyable.
Essential Tools:
- New Pot: Choose one that is typically 1-2 inches larger in diameter than the current pot. Ensure it has drainage holes! Larger plants might need a 3-4 inch increase.
- Fresh Potting Mix: Select a high-quality, well-draining potting mix suitable for your specific plant type (e.g., all-purpose, succulent blend, orchid mix).
- Pruning Shears or Scissors: For trimming any dead or circling roots. Make sure they are clean and sharp.
- Trowel or Small Shovel: To help with soil removal and placement.
- Gardening Gloves: To protect your hands and keep them clean.
- Watering Can: For watering the plant before and after repotting.
- Newspaper or Tarp: To protect your workspace from spilled soil.
Optional but Helpful:
- Plastic Sheeting or Garbage Bags: To line the bottom of the new pot and prevent soil loss if drainage holes are very large.
- Rooting Hormone: Can be beneficial for some plants, especially if extensive root pruning is necessary.
- Stakes or Plant Support: For taller, more delicate plants that might need initial support in their new home.
- Hose or Sink Access: For easily rinsing away old soil from roots if needed.
Spotting the 7 Undeniable Repotting Plants Signs
Learning to interpret your plant’s signals is key to proactive care. These seven indicators are your plant’s way of telling you it’s time for a change.
1. Roots Growing Out of Drainage Holes or Topsoil
This is perhaps the most obvious and common sign. If you see roots peeking out from the drainage holes at the bottom of the pot, or even emerging from the soil surface, your plant has definitely outgrown its current container. The roots are actively searching for more space and nutrients, indicating a severe root-bound situation.
When roots become this prominent, it signifies that the plant has exhausted the available soil volume. This leads to poor water absorption and nutrient lockout, hindering overall plant health. Don’t ignore these desperate pleas from your plant!
2. Stunted Growth or Lack of New Growth
Even during its active growing season, your plant might suddenly stop producing new leaves or simply appear stagnant. While several factors can cause stunted growth, being root-bound is a primary culprit. The constricted roots can’t absorb enough water and nutrients to fuel new development, leading to a visible lack of vigor.
Compare your plant’s growth to its typical pattern or to similar plants you own. A noticeable slowdown, especially when other conditions like light and watering seem optimal, strongly suggests it’s time to check the roots. For more on optimizing plant growth, consider exploring our garden tips archive.
3. Soil Drying Out Too Quickly (Requires Frequent Watering)
Are you finding yourself watering your plant almost daily, only for the soil to be bone dry again within hours? This is a classic repotting plants sign. When a pot is overly crowded with roots, there’s very little soil left to hold moisture.
The roots essentially form a dense mat, pushing out the potting mix that traditionally holds water. This means even if you water thoroughly, the plant struggles to retain moisture, leading to constant dehydration stress. This frequent watering can also lead to nutrient leaching, as water runs through quickly without being absorbed.
4. Wilting Despite Adequate Watering
This sign can be particularly confusing because wilting usually indicates a lack of water. However, if your plant consistently wilts shortly after watering, or even if the soil feels moist, it could be root-bound. When roots are too dense, they can’t effectively take up water, even if it’s present in the pot.
The plant’s cells become dehydrated, causing the leaves to droop. This paradox of wilting with moist soil is a strong indicator that the root system is compromised and needs more room to function correctly. This is one of the more subtle red flags among the repotting plants signs.
5. Salt and Mineral Buildup on the Soil Surface or Pot Edge
Over time, mineral salts from tap water and fertilizers can accumulate on the soil surface and around the rim of the pot. When a plant is root-bound, this buildup can become more pronounced because the limited soil volume doesn’t allow for proper flushing. You might see a white, crusty residue.
Excessive salt buildup can burn roots and prevent proper nutrient uptake. Repotting provides an opportunity to remove this contaminated soil and refresh the environment for your plant. This issue can also be exacerbated by poor drainage, so consider improving your container drainage techniques.
6. Visible Root Ball When Gently Removing the Plant
If you gently tip your plant out of its pot and the entire root system comes out as a solid, dense mass resembling the shape of the pot, it’s definitely root-bound. You’ll see very little, if any, loose soil, and the roots will be tightly coiled, often circling the bottom of the pot.
This “root ball” condition clearly shows that the roots have nowhere left to grow and are struggling for space. This is perhaps the most definitive of all the repotting plants signs, leaving no doubt that a new home is needed.
7. Tipping Over Easily (Top-Heavy)
As a plant grows, its foliage often expands significantly. If the root system can’t expand adequately to anchor the plant, it becomes top-heavy and unstable. You might notice your plant toppling over easily, even with a slight bump.
While some tall plants naturally benefit from staking, persistent instability indicates a disproportionate relationship between the above-ground growth and the cramped root system. A larger pot provides the necessary ballast and space for roots to spread out, better supporting the plant’s upright posture.
Step-by-Step Guide: How to Repot Your Plant Successfully
Once you’ve identified the crucial repotting plants signs, follow these steps for a smooth transition to a new pot.
Step 1: Preparation is Key
Lay down your newspaper or tarp to protect your workspace. Gather all your tools and materials (new pot, fresh potting mix, shears, etc.). Water your plant thoroughly a day or two before repotting; this makes it easier to remove from its old pot and reduces transplant shock. Fill the new pot partially with fresh potting mix – enough so that the top of the plant’s root ball will sit about 1 inch below the rim of the new pot.
Step 2: Carefully Remove the Plant
Gently turn the plant on its side. Place one hand on the soil surface, supporting the base of the plant. With your other hand, gently pull the pot away from the root ball. If it’s stubborn, you might need to tap the sides of the pot or even use a trowel to loosen the edges. Avoid pulling the plant by its stem, as this can cause damage.
Step 3: Inspect and Loosen the Roots
Once the plant is out of its old pot, examine the root ball. If the roots are tightly circling or forming a dense mat, gently tease them apart with your fingers or a small tool. You can also make a few vertical cuts (1/2 to 1 inch deep) on the sides of the root ball to encourage outward growth. Trim any dead, mushy, or excessively long roots with clean shears. This crucial step among the repotting plants signs ensures healthy new growth.
Step 4: Place in New Pot and Add Soil
Center the plant in the new pot, ensuring its base is at the appropriate level (top of the root ball about 1 inch below the rim). Begin adding fresh potting mix around the root ball, gently firming it down as you go to eliminate large air pockets. Leave a small gap (about 1 inch) between the soil surface and the rim of the pot to allow for watering.
Step 5: Water Thoroughly and Monitor
After repotting, water the plant thoroughly until water drains from the bottom. This helps settle the soil around the roots and eliminates any remaining air pockets. Place the plant in an area with good indirect light for a few days to recover. Avoid direct, harsh sunlight immediately after repotting, as the plant will be more vulnerable to stress.
Pro Tips and Common Repotting Mistakes to Avoid
Mastering repotting takes practice, but these tips can accelerate your success and help you avoid common pitfalls.
Pro Tips:
- Choose the Right Timing: Most plants prefer to be repotted during their active growing season (spring or early summer) when they can recover quickly.
- Don’t Oversize the Pot: Going more than 2 inches larger in diameter can lead to too much unused soil, which stays wet longer and can cause root rot. Gradual increases are best.
- Sterilize Tools: Always clean your pruning shears or scissors with rubbing alcohol before and after use to prevent the spread of diseases.
- Handle with Care: Be gentle with the roots; they are delicate and easily damaged.
- Label Your Plants: Especially if you have many, a simple label with the repotting date can be very helpful for future reference.
Common Mistakes to Avoid:
- Repotting Too Often: Not all plants need annual repotting. Some prefer to be slightly root-bound. Monitor the repotting plants signs before acting.
- Using Garden Soil: Never use soil from your garden in pots; it’s too heavy, compacts easily, and can contain pests and diseases. Always opt for commercial potting mixes.
- Not Watering After: Skipping the initial thorough watering can leave air pockets around the roots, hindering water uptake.
- Burying the Stem Too Deep: Planting too deep can cause stem rot. The plant should be at the same level in the new pot as it was in the old one.
- Ignoring Drainage: A pot without drainage holes is a death sentence for most plants. Ensure adequate drainage to prevent waterlogging.
Eco-Friendly Variations for Sustainable Repotting
Embrace sustainable practices to make your repotting process even greener.
- Reuse Pots: Clean and sterilize old plastic or ceramic pots instead of buying new ones. A good scrub with hot, soapy water and a rinse with a diluted bleach solution (1 part bleach to 9 parts water) will do the trick.
- Compost Old Soil: If the old potting mix isn’t infested with pests or diseases, add it to your compost bin. It will decompose and enrich your garden soil.
- DIY Potting Mix: For some plants, you can create your own potting mix using compost, coco coir, perlite, and other sustainable components. This reduces reliance on store-bought mixes which might come in plastic packaging.
- Source Sustainable Materials: Look for pots made from recycled plastics or biodegradable materials like rice hulls or bamboo. Support brands committed to eco-friendly practices.
- Water Conservation: Collect rainwater for watering your plants, reducing tap water usage.
Seasonal Considerations for Optimal Repotting
Timing is everything when it comes to successful repotting. Understanding your plant’s natural cycle will greatly increase its chances of bouncing back quickly.
Spring: This is generally the best time for repotting most houseplants. As days lengthen and temperatures rise, plants enter their active growth phase. They have ample energy to recover from the stress of repotting and quickly establish new roots in their refreshed soil. The robust growth response during spring means they can readily absorb the extra nutrients provided by new potting mix.
Early Summer: Still a good window for repotting, especially for plants that have been slow to show repotting plants signs or for those that have a slightly later active growth period. Ensure the plant isn’t under immediate stress from high heat if repotting in the peak of summer, provide plenty of shade and consistent moisture.
Fall & Winter: Generally not recommended for repotting, as most houseplants go into a period of dormancy or slower growth. Repotting during these seasons can put undue stress on the plant, as it won’t have the energy reserves to recover. If you absolutely must repot an emergency situation (e.g., severe pest infestation that requires soil change), do so gently and provide extra warmth and humidity to aid recovery. For additional seasonal care tips, head over to our specialized articles on garden care.
Expert Resources for Deeper Plant Knowledge
To further enhance your gardening prowess and deepen your understanding of plant care, these reputable external resources offer invaluable information:
- Gardening Know How: An extensive resource covering a vast array of gardening topics, including detailed guides on plant specific care, troubleshooting, and advanced techniques. You’ll find articles on everything from common houseplants to complex outdoor landscaping projects.
- The Royal Horticultural Society (RHS): A world-renowned gardening charity based in the UK, offering comprehensive advice, research, and educational materials. Their website is a treasure trove of scientific information and practical tips for gardeners of all levels, emphasizing sustainable and ecologically sound practices.
- University of Minnesota Extension: Provides research-backed information on horticulture, pest management, and plant pathology. University Extension services are excellent sources for unbiased, scientifically verified advice tailored to various regional climates and conditions, making them highly reliable.
Conclusion: A Fresh Start for Thriving Plants
Recognizing the repotting plants signs is a critical skill for any plant parent. By paying close attention to your plant’s cues – whether it’s roots seeking escape, a thirst that can’t be quenched, or a general lack of enthusiasm – you empower yourself to provide the best possible care. Repotting isn’t just a chore; it’s an opportunity to rejuvenate your plant, offer it new life-giving soil, and provide the space it needs to truly flourish. Take the plunge: embrace the repotting process, and watch your green companions thrive in their new homes!
Pro Tip: When choosing a new pot, remember that terracotta pots wick away moisture faster than plastic pots. This is great for plants that prefer drier conditions but means more frequent watering for moisture-loving species. Keep your plant’s specific needs in mind!
Frequently Asked Questions About Repotting Plants
<p><strong>Q1: How often should I repot my plants?</strong></p>
<p>A1: There's no fixed schedule; it depends entirely on the plant and its growth rate. Fast-growing plants might need repotting annually, while slow growers might only need it every 2-3 years, or even longer. Always look for the <strong>repotting plants signs</strong> rather than adhering to a strict timeline.</p>

<p><strong>Q2: Can I reuse old potting soil when repotting?</strong></p>
<p>A2: It's generally not recommended to reuse old potting soil for the same plant or new plants. Over time, potting soil degrades, loses its structure, and becomes depleted of nutrients. It can also harbor pests or diseases. For best results, always use fresh, high-quality potting mix.</p>

<p><strong>Q3: What if my plant is too large to repot into a bigger container?</strong></p>
<p>A3: For very large or mature plants that are too cumbersome to move into an even bigger pot, you can "top-dress" them. This involves carefully removing the top 2-4 inches of old soil and replacing it with fresh potting mix. While not a full repot, it replenishes some nutrients and improves soil structure. Another option is root pruning, where you trim about 20-25% of the outer roots and repot the plant back into the same pot with fresh soil.</p>

<p><strong>Q4: Why is it important to water after repotting?</strong></p>
<p>A4: Watering thoroughly after repotting is crucial because it helps settle the new soil around the roots, eliminating any air pockets that might have formed during the process. These air pockets can dry out roots and hinder water absorption. The water also helps the plant begin to access nutrients from its fresh potting mix and reduces transplant shock.</p>