Ultimate Guide: 7 Steps to Fix Every Common Compost Problem
Composting is a cornerstone of sustainable gardening, transforming organic waste into “black gold” that enriches soil, boosts plant health, and reduces landfill waste. Yet, even seasoned gardeners can encounter hiccups on their composting journey. From foul odors to sluggish decomposition, compost troubleshooting common problems is a skill every eco-conscious gardener needs to master. This comprehensive guide will equip you with the knowledge and practical solutions to conquer any compost conundrum, ensuring your pile remains a thriving hub of microbial activity, producing nutrient-rich compost for your garden.
Don’t be disheartened by a less-than-perfect pile; understanding the common issues and their fixes is part of the learning process. By diagnosing the problem early and applying the right remedy, you can quickly get your compost back on track, preventing discouragement and maximizing your composting success. Let’s dive in and turn those composting challenges into triumphs!
[lwptoc]
Why This Matters for Your Garden (and the Planet)
A healthy compost pile isn’t just a convenience; it’s a vital component of a thriving, sustainable garden ecosystem. When your compost functions correctly, it provides a consistent supply of humus – the dark, organic material that dramatically improves soil structure, water retention, and nutrient availability. This translates to stronger, healthier plants that are more resistant to pests and diseases, and often require less artificial fertilization.
Beyond your garden’s immediate benefits, effective composting plays a crucial role in environmental stewardship. It diverts significant amounts of organic waste from landfills, where it would otherwise decompose anaerobically, producing methane – a potent greenhouse gas. By actively composting, you’re reducing your carbon footprint, fostering biodiversity, and closing the nutrient loop in a truly eco-friendly way. A well-maintained compost pile is a testament to mindful living and a powerful tool for nurturing both your plants and the planet.
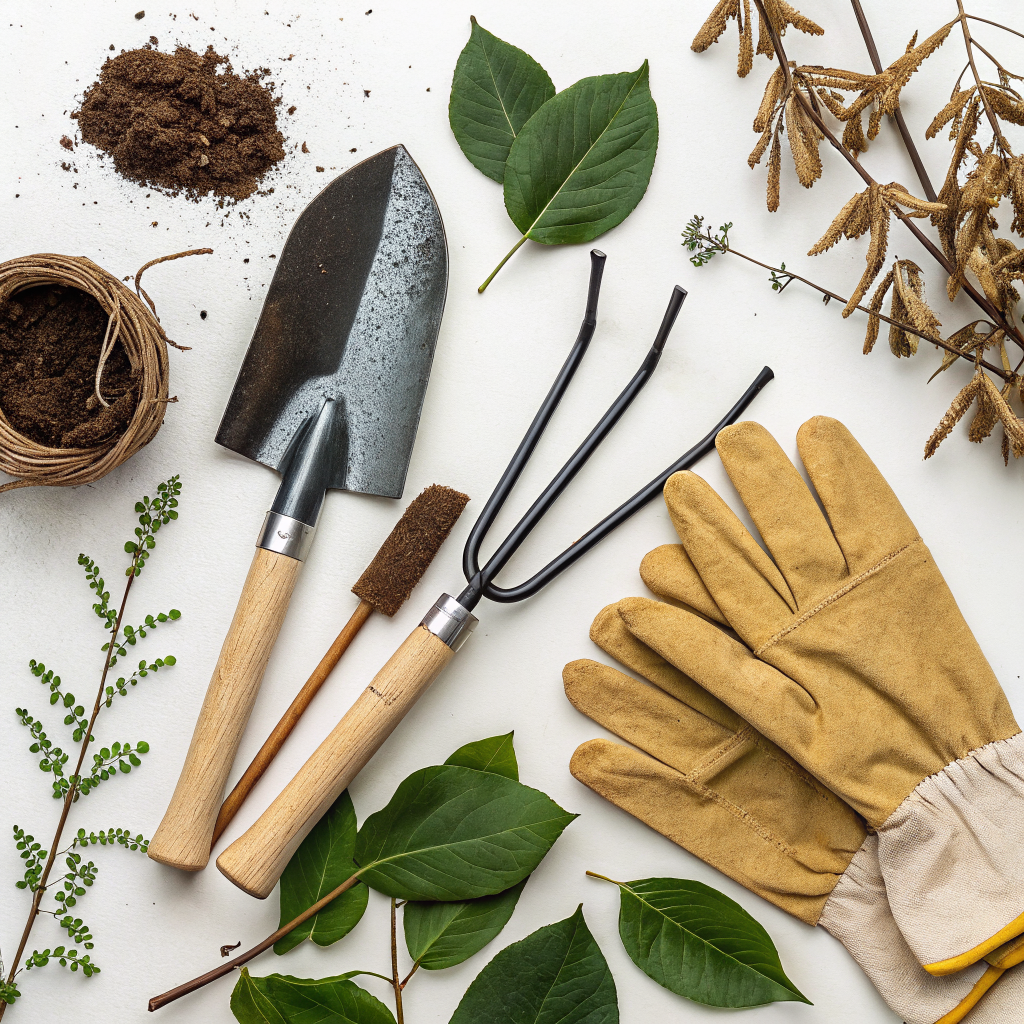
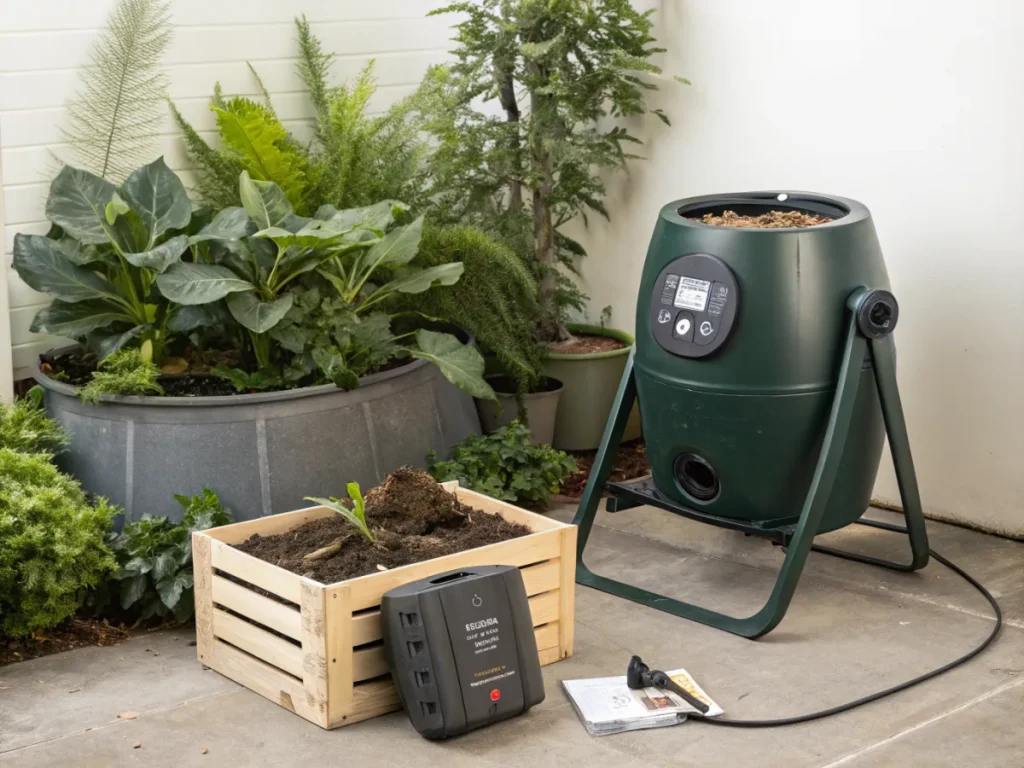
What You Need: Tools, Materials, and Essential Knowledge
Before you embark on your compost troubleshooting mission, it’s helpful to have a few basic tools and materials on hand. Having these ready will make the diagnosis and repair process much smoother and more efficient.
- Compost Fork or Pitchfork: Essential for turning, aerating, and mixing your compost pile. A sturdy one with sharp tines is ideal.
- Gloves: Protect your hands from dirt, debris, and any less-than-pleasant odours.
- Watering Can or Hose with Spray Nozzle: For adding moisture to dry piles.
- Shredder (Optional but Recommended): A small garden shredder can significantly speed up decomposition by breaking down larger materials.
- “Green” Materials: Fresh grass clippings, fruit and vegetable scraps, coffee grounds, tea bags. These are rich in nitrogen.
- “Brown” Materials: Dry leaves, shredded newspaper, cardboard, wood chips, straw. These provide carbon.
- Screener (Optional): A simple mesh screen can help you separate finished compost from undecomposed material.
- Thermometer (Compost-specific): Helps monitor the internal temperature, a key indicator of microbial activity.
Beyond tools, a fundamental understanding of the “greens” (nitrogen) and “browns” (carbon) ratio (ideally 1 part green to 2-3 parts brown by volume), moisture levels (like a damp, wrung-out sponge), and aeration is crucial. These three elements are the pillars of successful composting, and most common problems stem from an imbalance in one or more of them. Knowing these basics will empower you to make informed decisions when addressing any issues.
Step-by-Step Guide: Fix Every Common Compost Problem
This section outlines the most frequent problems encountered in composting and provides clear, actionable steps to rectify them. By systematically addressing these issues, you’ll ensure your compost pile thrives.
Step 1: Addressing Unpleasant Odors (Ammonia, Sour, or Rotten Egg)
Odors are often the first sign that your compost pile is out of balance. Different smells indicate different problems.
- Ammonia Smell: This often indicates too much nitrogen (“green” materials) and not enough carbon (“brown” materials. The pile is too wet and undergoing anaerobic decomposition.
- Fix: Add a generous layer of dry, carbon-rich materials like shredded leaves, straw, wood chips, or shredded cardboard. Turn the pile thoroughly to mix these in and expose new surfaces to air. This will rebalance the carbon-to-nitrogen ratio and introduce oxygen. Discover how a compost activator can help speed up decomposition.
- Sour or Putrid Odor (like rotten eggs): This is a strong indicator of an overly wet, compacted, and anaerobic pile, often with too many food scraps or waterlogged materials.
- Fix: Turn the pile thoroughly to aerate it and release trapped gases. If it feels excessively wet, add dry, bulky “brown” materials like straw, wood chips, or shredded paper to absorb excess moisture and create air pockets. You might need to cover the pile during heavy rain to prevent further oversaturation.
Step 2: Solving a Sluggish or Cold Compost Pile
A healthy compost pile should generate heat, signaling active microbial decomposition. If your pile isn’t warming up or decomposition seems to have stalled, it’s likely due to a lack of nitrogen, insufficient moisture, or poor aeration.
- Problem: Pile Not Heating Up / Sluggish Decomposition: This often means there isn’t enough nitrogen (greens) to fuel the microbes, or the pile is too dry.
- Fix 1 (Lack of Nitrogen): Add more “green” materials such as fresh grass clippings, vegetable scraps, spent coffee grounds, or manure. Mix them thoroughly into the pile.
- Fix 2 (Too Dry): The pile should feel like a damp, wrung-out sponge. If it’s too dry, the microbes can’t do their work. Water the pile evenly, turning it as you go to distribute the moisture. Don’t saturate it; aim for consistent dampness.
- Fix 3 (Poor Aeration/Compaction): If the pile is dense and compacted, turn it vigorously with a pitchfork or compost aerator. This introduces oxygen, which is vital for aerobic decomposition.
- Fix 4 (Size): Sometimes a pile is too small to build up enough internal heat. Aim for a minimum size of 3x3x3 feet (1 meter x 1 meter x 1 meter) for optimal heat generation.
Step 3: Correcting Extreme Moisture Imbalances (Too Dry or Too Wet)
Moisture is critical. Too little halts activity, too much leads to anaerobic conditions and odor.
- Problem: Compost Pile is Too Dry: Microorganisms require moisture to thrive. A dry pile will decompose very slowly or not at all.
- Fix: Water the pile thoroughly, turning it frequently as you add water to ensure even saturation. Aim for the consistency of a damp sponge. You may need to do this over several intervals to avoid oversaturation. Adding a layer of “green” materials with high water content (like fresh fruit scraps) can also help.
- Problem: Compost Pile is Too Wet/Soggy: An overly wet pile lacks oxygen, leading to foul odors and slow, anaerobic decomposition.
- Fix: Introduce a significant amount of dry, bulky “brown” materials such as straw, wood chips, shredded newspaper, or cardboard. These materials will absorb excess moisture and create vital air pockets. Turn the pile rigorously to mix these in and improve airflow. If continuous rain is an issue, consider covering your pile lightly or moving it to a sheltered spot.
Step 4: Dealing with Pests and Unwanted Visitors
While some insects are beneficial decomposers, others like rodents and flies can be a nuisance.
- Problem: Fruit Flies: Often attracted to exposed fruit and vegetable scraps, especially in warmer weather.
- Fix: Bury fresh kitchen scraps deep within the pile, covering them with “brown” materials. Ensure the pile is heating up properly, as high temperatures kill fly larvae. Consider adding a thin layer of finished compost or soil on top.
- Problem: Rodents (Rats, Mice): Attracted to food scraps, especially meat, dairy, and oily foods, which should generally be avoided in home compost piles.
- Fix: Exclude meat, dairy, bones, and oily foods from your compost. Bury all fresh kitchen scraps deep within the pile. Use a rodent-proof compost bin (enclosed with solid sides and a secure lid, or one constructed with hardware cloth). Regularly turn the pile to disturb any potential nests. Learn more about composting food waste safely and effectively.
- Problem: Ants: While generally harmless, a large ant population can indicate the pile is too dry.
- Fix: Increase the moisture content of your pile by watering it thoroughly and turning it. Ants prefer dry, undisturbed conditions.
Step 5: Managing Long Decomposition Times and Incomplete Breakdown
If your compost seems to sit forever without breaking down, or you find large pieces after months, it’s likely an issue with ingredients or aeration.
- Problem: Slow Decomposition / Large Chunks Remain: This can be due to large particle sizes, insufficient moisture, lack of nitrogen, or poor aeration.
- Fix 1 (Particle Size): Break down materials into smaller pieces before adding them to the pile. Shredded leaves, chopped vegetable scraps, and chipped branches will decompose much faster.
- Fix 2 (Carbon-to-Nitrogen Ratio): Ensure you have a balanced mix of “greens” and “browns.” If the pile is too brown, add more nitrogen-rich materials. If it’s too green, add more carbon.
- Fix 3 (Moisture & Aeration): Re-evaluate moisture levels and aeration as discussed previously. A dry or compacted pile will decompose slowly. Turn the pile regularly and water if needed.
- Fix 4 (Compost Activator): For a sluggish pile, a compost activator (commercial or homemade with alfalfa meal, blood meal, or finished compost) can jumpstart microbial activity.
Step 6: Hard, Crusty, or Matted Layers
Sometimes materials can form impenetrable layers within the pile, hindering aeration and decomposition.
- Problem: Matted Grass Clippings / Crusty Layers: Fresh grass clippings, when added in large layers, can compact and form a dense, anaerobic mat.
- Fix: When adding grass clippings, mix them thoroughly with dry, bulky “brown” materials (like chopped leaves or straw) to prevent compaction. Break up any existing matted layers with your fork and aerate the pile. Avoid adding extremely thick layers of a single material at once.
Step 7: Preventing Future Problems with Regular Maintenance
The best troubleshooting is prevention. Consistent monitoring and maintenance will keep your compost healthy.
- Regular Turning: Aim to turn your compost pile every 1-2 weeks. This aerates the pile, distributes moisture and nutrients, and keeps temperatures even.
- Maintain Moisture: Check the moisture level regularly and water as needed, especially during dry spells.
- Balance Greens and Browns: Strive for a consistent ratio. Keep a supply of “brown” materials (like dried leaves or shredded paper) on hand to balance out sudden influxes of “greens.”
- Chop Materials: Smaller pieces break down faster. Take a few extra minutes to chop up larger food scraps and garden waste.
- Understand the Seasons: Adjust your composting habits based on the weather (see ‘Seasonal Considerations’ below).
Pro Tips and Common Mistakes
Mastering composting involves more than just throwing scraps together. These insights can elevate your composting game and help you avoid common pitfalls.
Pro Tips:
- Layering is Key: While not strictly necessary for a “hot” pile, layering thin alternating layers of greens and browns can help maintain a good balance and prevent compaction. Think of it like building a lasagna.
- Finished Compost as an Activator: A handful of finished compost added to a new pile or a sluggish one can act as a natural inoculant, introducing beneficial microbes.
- Consider a Compost Thermometer: For those serious about hot composting, a thermometer can tell you exactly when to turn your pile for maximum efficiency (when temperatures peak and then start to drop).
- Location Matters: Choose a well-drained spot, ideally with some shade to prevent drying out too quickly in summer, but enough sun to encourage activity in cooler months. Ensure good air circulation around your bin.
- Patience is a Virtue: Composting isn’t instant. Depending on your method, materials, and maintenance, it can take anywhere from a few weeks to several months.
Common Mistakes to Avoid:
- Adding Prohibited Items: Never add meat, dairy products, bones, oily foods, dog/cat waste, diseased plants, or chemically treated wood to your home compost. These attract pests, create foul odors, or introduce pathogens.
- Ignoring the C:N Ratio: Too many greens (smelly, wet) or too many browns (dry, slow) are the most frequent causes of problems. Strive for that 1 part green to 2-3 parts brown ratio.
- Not Turning Enough: Lack of oxygen is a primary killer of successful composting. Regular turning is crucial for aerobic decomposition.
- Letting it Get Too Dry: Microbes need moisture. A bone-dry pile will simply sit there.
- Adding Too Much of One Thing: Don’t add a huge batch of grass clippings all at once without mixing them with browns, or you’ll end up with a matted, smelly mess.
- Giving Up Too Soon: Every compost pile has its challenges. Learn from them and adjust! That’s the beauty of composting.
Eco-Friendly Variations
Beyond traditional hot composting, there are several eco-friendly variations that cater to different needs and spaces.
- Vermicomposting (Worm Composting): This method uses specific species of composting worms (like red wigglers) to break down food scraps and some paper products into nutrient-rich “castings.” It’s excellent for small spaces (indoors or outdoors) and handles kitchen waste efficiently. It produces no heat, so it’s a “cold” composting method.
- Bokashi Composting: An anaerobic fermentation process that “pre-composts” food waste, including meat and dairy, using a special inoculant. The fermented material then needs to be buried in the garden or added to a traditional compost pile for final breakdown. It’s great for quickly processing food waste indoors without odors.
- Trench Composting: A simple method where food scraps and garden waste are buried directly into a trench in the garden. Microorganisms and soil life break down the material directly in the soil, enriching it where it’s needed. This is a very low-effort, no-turn method.
- Sheet Composting (Lasagna Gardening): Building garden beds by layering organic materials (browns, greens, soil, newspaper) directly on the ground. Over time, these layers break down to create a rich, fertile garden bed without traditional digging. It’s an excellent way to create new growing areas.
Each method has its unique advantages, and choosing the right one depends on your space, the type of waste you produce, and your desired effort level. Combining methods, such as using Bokashi for kitchen scraps before adding them to a traditional pile, can also be highly effective. Explore small-scale composting options for limited spaces.
Seasonal Considerations for Composting
Composting isn’t a one-size-fits-all activity throughout the year. Adjusting your approach seasonally will optimize decomposition and prevent common problems.
- Spring: As gardens awaken, you’ll have an influx of “greens” from pruning, weeding, and fresh grass clippings. It’s crucial to balance these with stored “browns” (e.g., dry leaves from autumn, shredded cardboard from winter) to prevent a smelly, overly wet pile. The increasing temperatures also mean your pile will likely heat up quickly.
- Summer: Heat and sun can cause piles to dry out rapidly. Monitor moisture levels diligently and water as needed. Continue to balance greens from garden waste with available browns. If your pile gets too hot and dry, activity can slow down. Consider partially shading your bin.
- Autumn: This is the “brown” season! An abundance of fallen leaves provides an excellent opportunity to stock up on carbon-rich materials. Store excess dry leaves in bags or a separate bin for use throughout the rest of the year. Continue turning to ensure good aeration before winter sets in. Decomposition will naturally slow as temperatures drop.
- Winter: Decomposition significantly slows or even stops in very cold climates as microbial activity decreases. You can continue adding kitchen scraps, but bury them deep in the pile to prevent freezing and rodent attraction. If you have a large, active pile, it might continue to produce some heat, especially if insulated. Avoid turning too much in freezing weather, as it can make materials too cold to reactivate. Focus on collecting materials for spring.
Understanding these seasonal shifts allows you to proactively manage your compost pile, ensuring it remains productive and problem-free year-round. Delve deeper into seasonal compost maintenance.
Expert Resources for Further Learning
To deepen your understanding of composting and sustainable gardening, here are some reputable external resources:
- Gardening Know How: An extensive resource for all gardening topics, including detailed articles on composting. Explore their compost troubleshooting section for more specific scenarios: gardeningknowhow.com
- Royal Horticultural Society (RHS): A leading UK gardening charity offering expert advice on all aspects of horticulture, including comprehensive guides on composting techniques and troubleshooting: rhs.org.uk
- University of Minnesota Extension: Providing research-based information on home gardening, including detailed guides on composting for various scales and conditions: extension.umn.edu
Conclusion
Composting, while incredibly rewarding, is an ongoing process that sometimes requires a little intervention. By understanding the core principles of the carbon-to-nitrogen ratio, moisture, and aeration, you can diagnose and fix almost any problem your compost pile throws at you. Remember, a common composting problem isn’t a failure, but an opportunity to learn and refine your skills. With the knowledge from this guide, you’re now equipped to turn those troubleshooting moments into triumphs, ensuring a continuous supply of nutrient-rich “black gold” for a healthier, more vibrant garden and a happier planet. Keep experimenting, keep observing, and happy composting!
FAQs on Compost Troubleshooting
A1: A rotten egg or sour smell indicates your pile is likely too wet, compacted, and anaerobic (lacking oxygen). The best fix is to add dry, bulky “brown” materials like straw, shredded newspaper, or wood chips. Turn the pile thoroughly to mix these in and introduce air. This will absorb excess moisture and create vital air pockets for aerobic decomposition to resume.
A2: A cold or sluggish pile usually points to one of three issues: insufficient nitrogen (“greens”), insufficient moisture, or poor aeration. Add more “green” materials (grass clippings, food scraps), check if the pile is as damp as a wrung-out sponge and water if dry, and turn the pile frequently to introduce oxygen and mix materials. Ensure your pile is at least 3x3x3 feet for optimal heat generation.
A3: Fruit flies are attracted to exposed fruit and vegetable scraps. To deter them, always bury fresh kitchen waste deep within the compost pile, covering it with a layer of “brown” materials or finished compost. Ensure your pile is actively heating, as higher temperatures will deter flies and kill their larvae.
A4: Generally, it is not recommended to add meat, dairy products, bones, or oily foods to a home compost pile. These items can attract rodents and other pests, create foul odors, and are more likely to harbor pathogens that may not be destroyed in home composting temperatures. Stick to fruit, vegetable scraps, yard waste, and other appropriate “green” and “brown” materials.