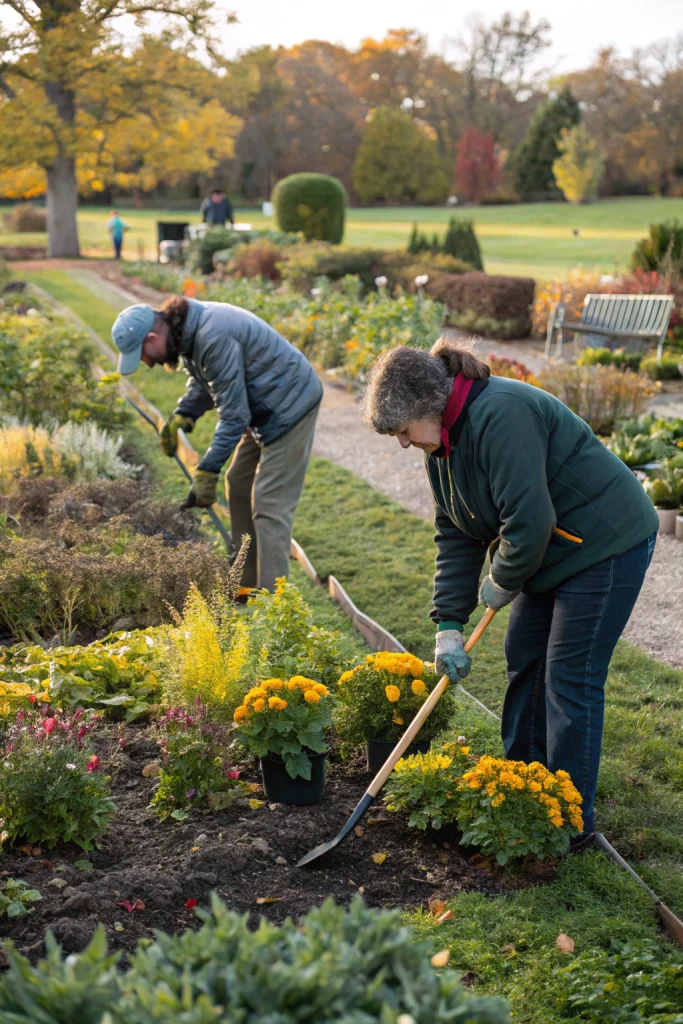
Introduction
Dividing perennials in October for healthy, vibrant garden beds can increase your plant stock by 100-300% without spending a dime on new plants, contrasting sharply with the 25-50% annual cost for replacements many gardeners face. This proactive fall activity rejuvenates mature plants, prevents overcrowding, and ensures a spectacular bloom display next season.
[lwptoc]
This guide will walk you through the essential steps, tools, and techniques for successfully dividing your perennials this autumn. You’ll not only save money but also cultivate a more robust and visually appealing garden. Empower yourself with practical knowledge and make your garden thrive.
Embrace sustainable gardening practices by multiplying your existing plants. This process reduces waste, lowers your gardening budget, and fosters a healthier ecosystem right in your backyard. Prepare for a magnificent garden next spring by putting in a little work this October.
Quick Summary
- Benefits: Rejuvenates plants, increases stock, improves bloom quality, saves money on new purchases.
- Time: Approximately 30-60 minutes per mature plant cluster, depending on size and species.
- Cost: Nearly zero, as it utilizes existing plant material and common garden tools.
Context & Ideal Conditions
October is the optimal month for dividing perennials in zones USDA 3-7, as cooler air temperatures (40-60°F or 4-15°C) and still-warm soil temperatures encourage healthy root establishment before winter dormancy. Full sun to partial shade exposure is preferred for most perennials, minimizing transplant shock. The ideal soil pH ranges from 6.0-7.0 (slightly acidic to neutral), with high organic matter content to ensure proper drainage and nutrient availability. Avoid dividing on days with heavy rain or extreme temperatures, which can stress the plants.
Dividing Perennials in October for Healthy Gardens: Tools & Materials
For efficient and safe perennial division, you’ll need several key tools. A sharp, flat-bladed garden spade, approximately 40 in (100 cm) long with a 6 in (15 cm) wide blade, is essential for lifting soil. A garden fork with 4-5 sturdy tines, 11-12 in (28-30 cm) long, aids in loosening compacted soil. You’ll also need a sharp pruning knife or hori hori knife with a 7 in (18 cm) blade, or a dividing saw for tougher root balls.
Gloves, rated ANSI/ISEA 105-2016 for puncture resistance level 3, are crucial for hand protection. A tarp, minimum 5×7 ft (1.5×2.1 m), will protect plants and keep your workspace tidy. Optional items include a sturdy wheelbarrow for transporting divisions, and a 5 gal (19 L) bucket filled with clean water for rinsing roots or soaking new divisions. Have compost or well-rotted manure ready for soil enrichment at an approximate volume of 0.5 cu ft (14 L) per plant division.
Dividing Perennials in October for Healthy Gardens: Time, Difficulty & Budget
| Prep | 15–30 min |
| Build/Plant | 30–60 min per plant |
| Total | 45–90 min per plant |
| Skill Level | Beginner |
| Budget | ≈ $0–$50 (materials/tools) |
Dividing perennials is a remarkably cost-effective gardening endeavor. This DIY task costs virtually nothing if you already own basic gardening tools, which is approximately 100% cheaper than buying new plants annually. Even with purchasing new gloves or a basic spade, the initial investment quickly pays for itself through plant multiplication and improved garden health.
Step-by-Step Tutorial
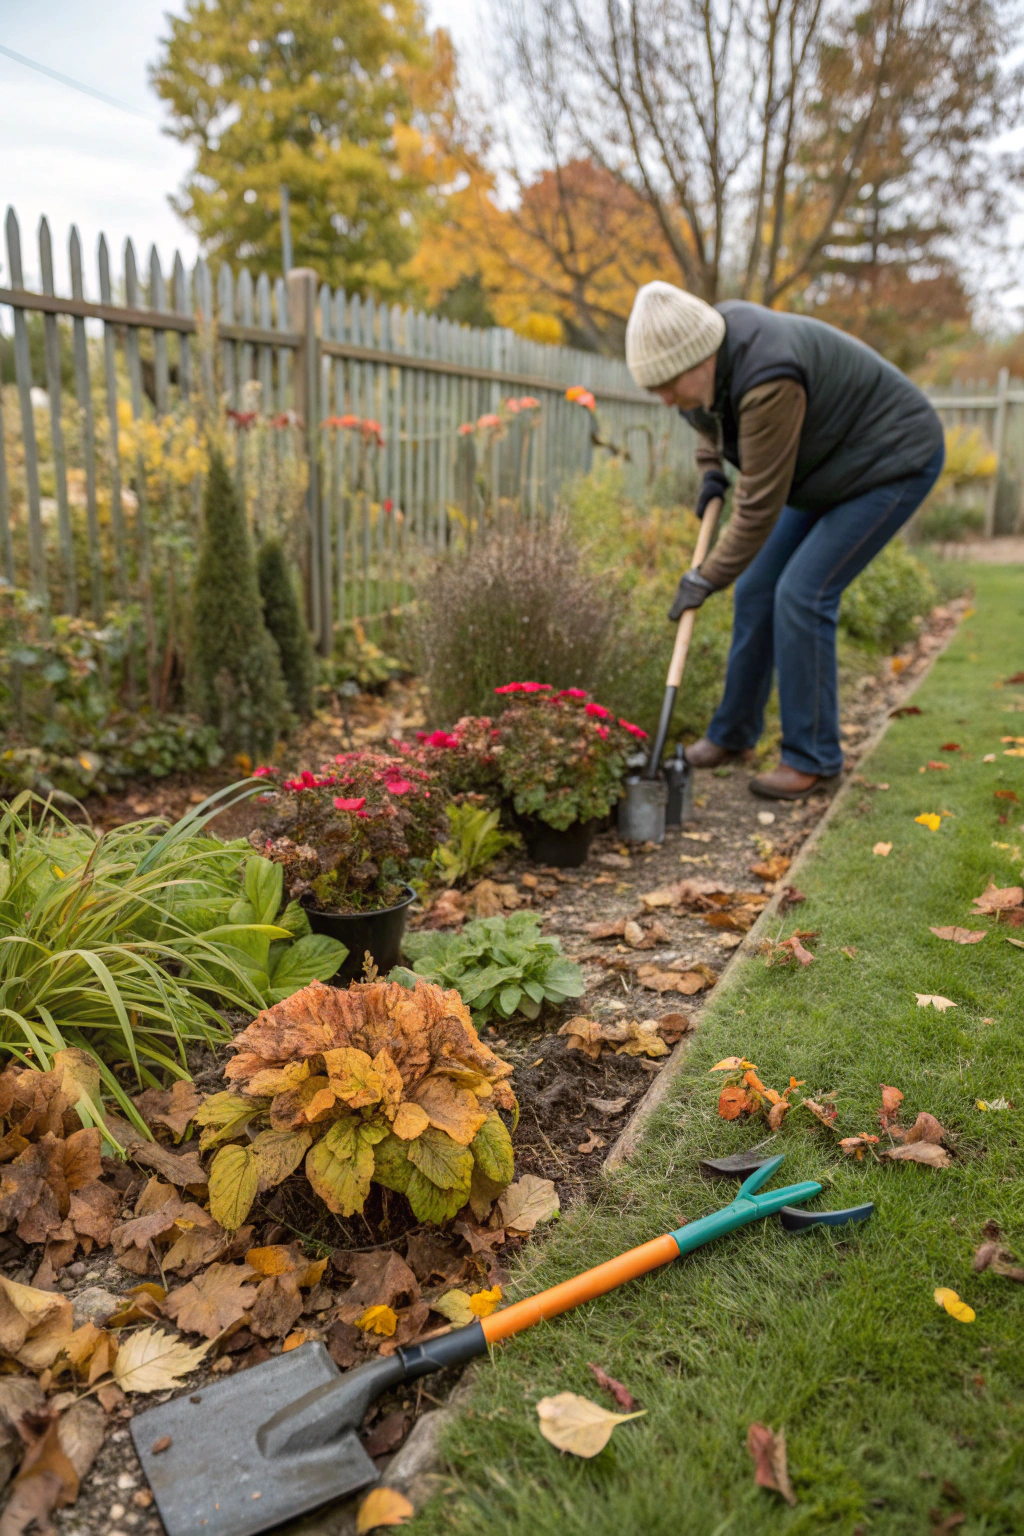
Step 1 — Layout & Prep
Begin by watering the perennial thoroughly 24-48 hours before division. This moistens the soil, making it easier to lift the plant and reducing transplant shock. Identify the plant to be divided; look for signs of overcrowding, reduced flowering, or a dead center, particularly in Hostas (Hosta spp.) or Daylilies (Hemerocallis spp.).
Clear a 2 ft (60 cm) radius around the base of the plant, removing any fallen leaves, weeds, or debris. This provides ample working space and prevents accidental damage to surrounding plants. Lay down your tarp beside the plant to provide a clean area for placing the lifted root ball. Ensure all tools are clean and sharp.
Step 2 — Lifting & Dividing
Using your garden spade, carefully drive it into the ground 6-8 in (15-20 cm) outside the plant’s drip line, circling the entire plant. Angle the spade slightly inwards to preserve the root ball. Once you’ve created a trench, gently rock the spade back and forth to loosen the soil around the roots.
With the soil loosened, use the spade or garden fork to leverage the plant out of the ground. Be prepared, as some mature root balls, like those of Siberian Irises (Iris sibirica), can be quite heavy, often weighing 10-20 lbs (4.5-9 kg). Carefully place the lifted plant onto your waiting tarp.
Once on the tarp, gently shake off excess soil to expose the root crown. For plants with easily separable roots, like many ornamental grasses (e.g., Miscanthus sinensis), you can often pull them apart by hand into smaller divisions, each with several stems and a healthy root system. For denser root balls, use your sharp pruning knife, hori hori knife, or dividing saw to cut through the crown. Aim for divisions at least 4-6 in (10-15 cm) in diameter, each with 3-5 "eyes" or growth points.
Step 3 — Replanting & Watering
Once divided, prepare the new planting sites. Dig holes that are twice as wide as the root ball and just as deep, typically 12-18 in (30-45 cm) wide and 8-12 in (20-30 cm) deep. Amend the soil in each hole with 1-2 in (2.5-5 cm) of organic compost or a balanced slow-release fertilizer (e.g., 5-10-5 NPK). Ensure the top of the root ball is level with the surrounding soil line when placed in the hole.
Gently spread the roots of each division outwards in the hole. Backfill with amended soil, tamping down lightly to remove air pockets. Water each newly planted division immediately and thoroughly with approximately 0.5-1 gal (1.9-3.8 L) of water. Ensure the water penetrates deep into the root zone to settle the soil and reduce transplant shock. The goal is a consistent, moist environment for root growth.
Step 4 — Finishing & QA
After replanting and initial watering, ensure each division is stable in its new location. Lightly tug on the base of the plant; if it wobbles excessively, add more soil and re-firm. Visually inspect for any exposed roots or plant crowns. Adjust the soil level as needed, adding more at the top until just the crown is visible.
Label your new divisions, especially if you're experimenting with different varieties or locations. Use waterproof plant markers with the plant name and division date. This helps in tracking growth and bloom performance over time. A final light watering can help settle any remaining loose soil.
Care & Schedule
Newly divided perennials require attentive care to establish effectively before winter. Water regularly, about 0.5-1 gal (1.9-3.8 L) per plant per week, especially if October remains dry. Reduce watering frequency once temperatures consistently drop below 40°F (4°C) as plants enter dormancy. Avoid fertilizing new divisions until the following spring; the goal now is root establishment, not vigorous top growth.
Keep the area around new plants free of weeds, which compete for moisture and nutrients. A 2-3 in (5-7.5 cm) layer of organic mulch (like wood chips or shredded leaves) will suppress weeds, retain soil moisture, and insulate roots from fluctuating temperatures. Monitor for pests or diseases, though October generally sees fewer issues than warmer months.
Variations & Adaptations
For gardeners with limited space, dividing perennials can be adapted for container gardening. Smaller divisions, perhaps with just 1-2 growth points, can thrive in 10-12 in (25-30 cm) diameter pots. Choose frost-resistant containers (e.g., terracotta, ceramic) if overwintering outdoors in colder zones.
In hotter climates (USDA Zone 8+), late fall or early winter might be more suitable than October for division, as temperatures cool adequately to minimize stress. Conversely, in very cold climates (USDA Zone 2-3), ensuring divisions are placed in the ground at least 4-6 weeks before the first hard freeze is crucial for root establishment; this might mean dividing earlier in September. Consider cold frames or temporary shelters to protect newly planted divisions in zones prone to early, severe freezes.
Common Mistakes to Avoid
- Over-watering: Leads to root rot. Perform the soil squeeze test; water only when the top 1-2 in (2.5-5 cm) feels dry.
- Under-watering: Causes transplant shock and wilting. Ensure newly planted divisions receive consistent moisture during their establishment period.
- Dividing at the wrong time: Dividing in summer heat or too close to a hard freeze reduces survival rates. October is ideal for most regions described.
- Using dull tools: Causes jagged cuts, increasing the risk of disease and damaging roots. Your pruning knife or saw should be razor-sharp.
- Planting too deep or too shallow: Planting too deep can smother the crown, while too shallow can expose roots to drying. The crown should be at soil level.
- Not amending soil: Failing to add compost or organic matter to the planting hole can hinder root development in poor soil. Aim for soil that is friable and rich in organic matter.
- Insufficient drainage: Heavy clay soils can lead to waterlogging. Improve drainage by incorporating grit or well-rotted compost.
Sustainability, Safety & Regulations
Embrace sustainability by composting any unused plant material and old foliage. Salvaged plastic pots, if available, can temporarily house extra divisions to share with friends or neighbours. Consider installing a rain barrel to collect and use rainwater for irrigation, reducing reliance on municipal water.
For safety, always wear appropriate PPE, including puncture-resistant gloves (ANSI/ISEA 105-2016 Level 3) and safety glasses. Ensure all tools are clean and sharp to prevent accidents and plant disease transmission. When handling heavy root balls, practice proper lifting techniques to protect your back. Keep children and pets away from the active work area during division. Consult your local municipality for any regulations regarding new plantings or property line setbacks if you're expanding beyond existing beds. Dispose of green waste responsibly, preferably through composting.
Measure the Outcome
Track the success of your perennial division by monitoring key indicators. Aim for a survival rate of 80% or higher. New growth (leaf development) should be visible within 2-4 weeks. Measure vertical growth in the following spring: a healthy Perennial Geranium (Geranium spp.) division, for example, might increase its height by 2-3 in (5-7.5 cm) per month initially. Note any water savings if you’re using rainwater harvesting techniques. Ultimately, your satisfaction with a thriving, more abundant garden, achieved with minimal cost, is the most rewarding metric.
Conclusion
Dividing perennials in October is a practical, cost-effective, and deeply satisfying way to enhance your garden’s health and beauty. By following these steps, you rejuvenate your plants, expand your garden, and foster a sustainable approach to gardening. This autumn task ensures a spectacular spring display, proving that a little effort now yields immense rewards later.
Take the leap this season! Experiment with a mature clump of Hostas or Daylilies, and witness the transformative power of division in your garden. Share your success stories and show off your healthy, vibrant perennials. You'll be amazed at the lush results.
FAQ
A: Most spring and early summer blooming perennials, such as Hostas, Daylilies (Hemerocallis spp.), Siberian Irises (Iris sibirica), Peonies (Paeonia spp.), and Coneflowers (Echinacea purpurea) are excellent candidates for October division.
A: Amend heavy clay soil with significant amounts of organic matter, such as compost or well-rotted manure, and possibly grit or perlite (ratio of 2:1 soil to amendment, by volume) when preparing new planting holes. This improves soil structure and drainage.
A: Yes. While specialized tools are helpful, a sturdy garden shovel or spade, along with a sharp old kitchen knife for cutting root balls, can suffice for most perennial divisions.
A: Wilting indicates transplant shock. Ensure the plant is adequately watered; check soil moisture 2-3 times a week. Provide temporary shade if possible, and avoid disturbing the plant further. It often recovers within a week or two.
A: Ensure good drainage in the planting site by amending heavy soils. Avoid over-watering, especially as cooler temperatures set in. Do not plant the crown too deeply; it should be at or just above the soil line.
A: Absolutely. Homemade compost, well-aged leaf mold, or even finely shredded fall leaves worked into the soil are excellent, free alternatives for improving soil fertility and structure.
A: Ideally, replant divisions immediately. If not possible, keep them moist and in a cool, shaded location for no more than 24-48 hours. Wrap root balls in damp newspaper or place them in a bucket with a small amount of moist soil.
Internal & External Links
- Learn more about applying leaf compost to prepare your garden for winter.
- Discover how cover crops planted in October can protect your soil.
- Explore our guide on transplanting shrubs and trees during cool October days.
- Visit our homepage for more gardening and DIY inspiration.
- Pinterest Boards — Garden & DIY inspiration


