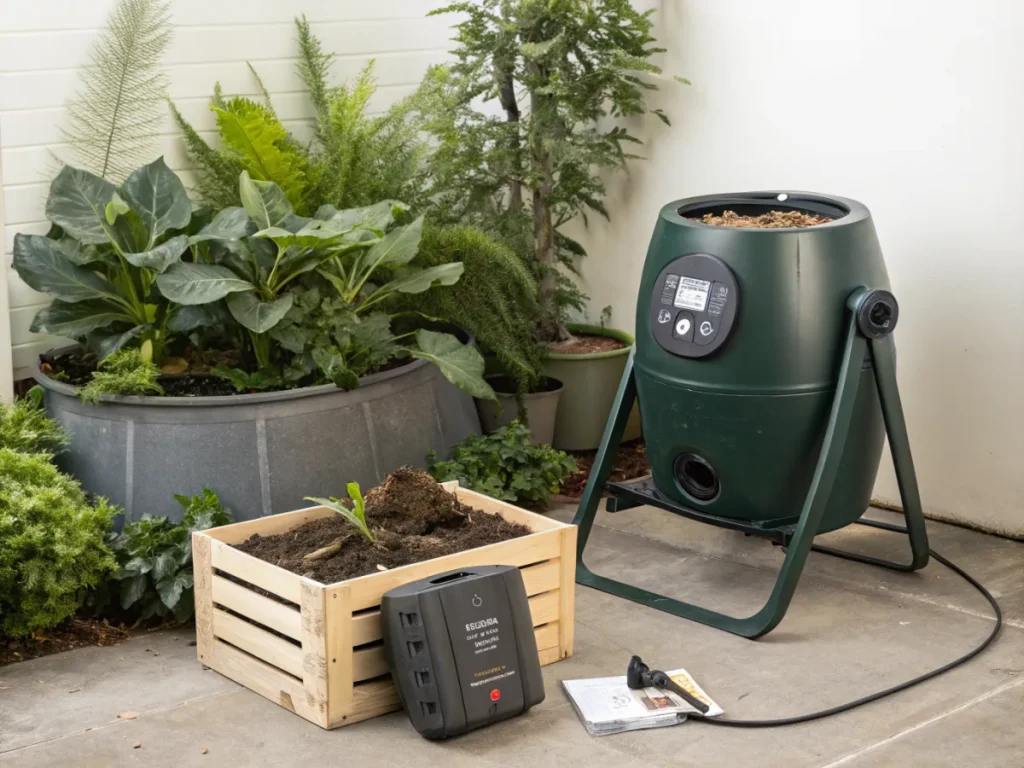
The Ultimate Guide: 7 Steps to Your DIY Automated Compost Turner with Timer
Composting is a cornerstone of sustainable gardening, transforming kitchen scraps and yard waste into nutrient-rich soil amendment. However, the manual labor involved in turning a compost pile can often deter even the most enthusiastic gardeners. What if you could automate this essential task, ensuring consistent aeration and faster decomposition with minimal effort? This comprehensive guide will walk you through building your very own automated compost turner with a DIY timer, liberating you from the shovel and significantly boosting your composting efficiency.
Imagine a world where your compost pile turns itself, programmed to aerate at optimal intervals, producing perfect compost while you focus on other gardening joys. This project combines basic DIY skills with a touch of simple automation, resulting in a system that’s both practical and incredibly rewarding. Get ready to elevate your composting game and embrace a truly hands-off approach to creating garden gold!
[lwptoc]
Why an Automated Compost Turner Matters for Your Garden
Regular turning is absolutely crucial for healthy, active composting. It introduces oxygen, which is vital for aerobic microorganisms that break down organic matter efficiently. Without sufficient oxygen, your compost pile can become anaerobic, leading to foul odors and a much slower decomposition process.
An automated system eliminates the guesswork and the physical strain of manual turning. It ensures consistent aeration, preventing compaction and promoting uniform breakdown throughout the pile. This consistency leads to faster composting times, meaning you’ll have finished compost ready for your garden beds much sooner.
Furthermore, an automated compost turner saves you valuable time and effort, allowing you to dedicate energy to other aspects of gardening. It’s an investment in efficiency and sustainability, promoting a more hands-off approach to creating nutrient-rich humus for healthier plants and improved soil structure. A well-aerated pile also helps maintain optimal moisture levels, preventing it from drying out or becoming waterlogged.
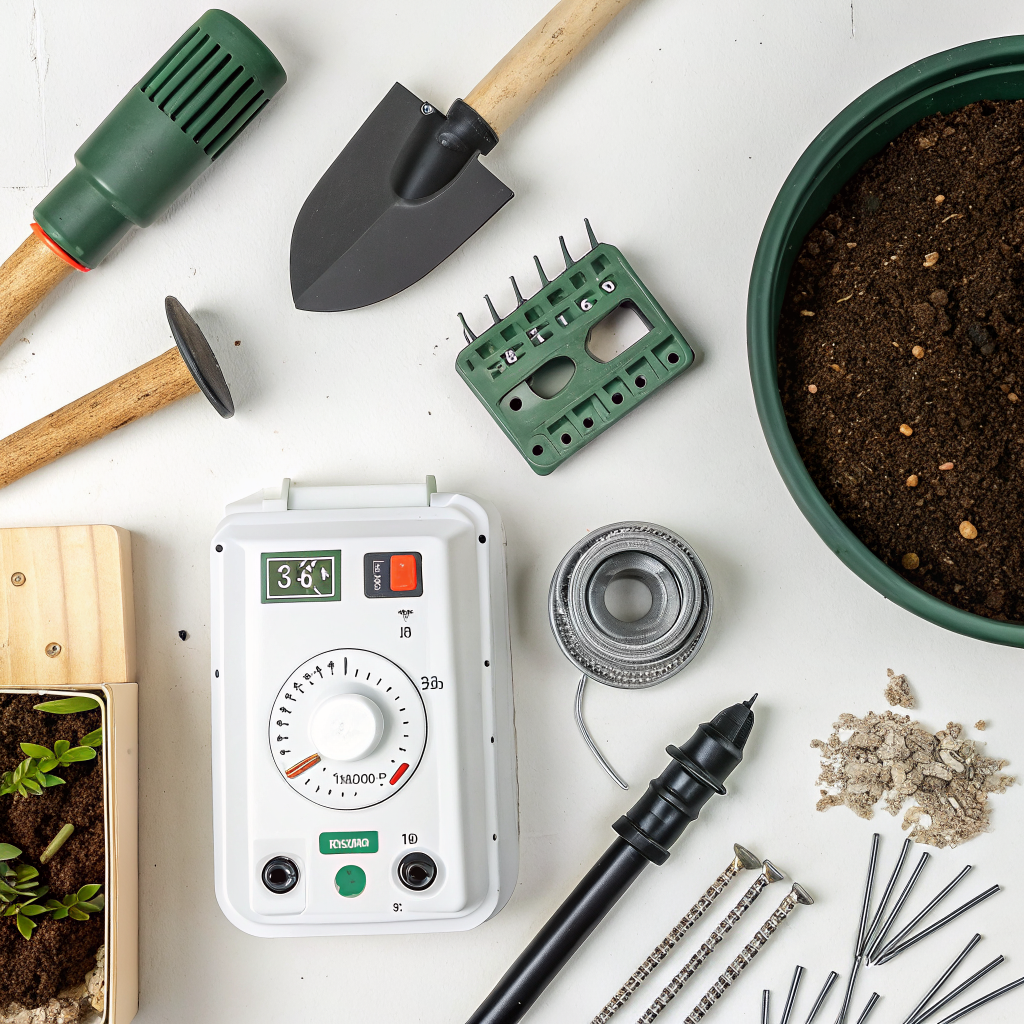
What You Need: Tools, Materials, and Essential Components
Before diving into construction, gather all the necessary tools and materials. Planning ahead ensures a smooth and efficient building process. This project requires a mix of carpentry skills, basic electrical knowledge, and an understanding of mechanical principles.
Tools:
- Drill (corded or cordless) with various bits
- Saw (circular saw, jigsaw, or hand saw) for cutting wood
- Measuring tape and pencil
- Wrenches and screwdrivers
- Wire strippers and crimpers
- Safety goggles and work gloves
- Multimeter (optional, for electrical testing)
Materials and Components:
- For the Structure/Frame:
- Pressure-treated lumber (2x4s or 4x4s) for main frame
- Plywood or recycled plastic panels for sides (if enclosing)
- Heavy-duty hinges and latches (if building a contained system)
- Wood screws and bolts (galvanized or stainless steel for outdoor use)
- For the Turning Mechanism:
- Sturdy metal shaft (e.g., steel pipe or solid rod, at least 1-inch diameter) – length depends on compost bin size
- Bearings or bushings (flange bearings are ideal for mounting to the frame)
- Paddles or agitators (rebar, rigid plastic strips, or perforated metal) – ensure they can withstand compost density
- Couplings or welding supplies (to attach paddles to the shaft, if not pre-connected)
- For the Automation/Motorization:
- Gear Motor: A high-torque, low-RPM gear motor (e.g., 12V or 24V DC, minimum 30 Watts, 5-30 RPM). The RPM should be slow enough for effective turning without flinging compost. Consider a windshield wiper motor from a car for a budget-friendly option if adapted for torque.
- Motor Driver/Controller: If using a DC motor, you’ll need a motor driver (e.g., L298N for basic control) or a dedicated motor controller to handle current and potentially reverse direction.
- Programmable Timer Switch: An outdoor-rated, heavy-duty digital timer (e.g., a grow light timer or a dedicated pump timer) that can handle the motor’s power requirements. Look for one with multiple on/off cycles per day. A smart home integration timer could offer even more flexibility.
- Power Supply: Appropriate power supply for your chosen motor (e.g., 12V or 24V adapter). Ensure it’s outdoor-rated and capable of supplying sufficient current (Amps) for the motor under load.
- Wiring: Outdoor-rated electrical wire (e.g., 14 or 12 gauge, depending on motor current), waterproof electrical connectors, conduit (optional for protection).
- Enclosure for Electronics: A waterproof, outdoor-rated electrical box to protect the motor driver, timer, and power supply from elements.
- Optional Enhancements:
- Limit switches (to stop the motor at specific rotation points)
- Mains power outlet (GFCI protected for safety, if connecting to home power)
- Solar panel and battery (for off-grid operation) on a solar wireless security system kind of setup
Step-by-Step Guide to Building Your Automated Compost Turner
This project can be broken down into several manageable stages. Take your time, double-check measurements, and always prioritize safety. This guide assumes you are either modifying an existing compost bin or building a new structure around the turning mechanism. For building new, consider a sturdy tumbler-style design.
Step 1: Design and Frame Construction
First, decide on the size and style of your compost turner. Will it be an open bin with a central turning shaft, or a fully enclosed tumbler? Measure your desired dimensions. For an open bin, construct a robust wooden frame using pressure-treated lumber (2x4s or 4x4s). If building a tumbler, create a sturdy frame that will support the rotating barrel. Ensure the frame is level and securely anchored or weighted to prevent tipping when the compost is wet and heavy.
Consider the access points for adding new materials and removing finished compost. A hinged lid or removable side panels will be essential. The frame must be strong enough to withstand the torque of the motor and the weight of the composting materials. Always use galvanized or stainless steel fasteners for outdoor projects to prevent rust.
Step 2: Fabricating the Turning Shaft and Paddles
Measure the internal width/length of your compost bin or tumbler. Cut your metal shaft to this length, allowing for mounting bearings. The shaft will be the core of your turning mechanism. Next, design and attach your paddles or agitators to the shaft.
These paddles can be lengths of rebar, sturdy plastic strips, or perforated metal, angled to scoop and lift the compost. Space them evenly along the shaft, ensuring they will adequately mix the entire volume of compost. Securely weld or bolt them to the shaft. For a cost-effective solution, you can use heavy-duty U-bolts to attach plastic paddles to the shaft.
Step 3: Mounting the Shaft and Bearings
Precision is key here. Mount the bearings to the inside walls of your compost bin or to the frame supports, ensuring they are perfectly aligned. This alignment is crucial for smooth rotation and to prevent undue strain on the motor. Slide the assembled shaft with paddles through the bearings. Test the rotation manually – it should spin freely with minimal friction. If you’re building a tumbler, mount the shaft through the center of each end of your barrel, ensuring it’s well-supported and balanced.
Double-check that the shaft is level and that there’s no binding. Lubricate the bearings with appropriate outdoor-rated grease. This step determines the efficiency and longevity of your turning mechanism; a wobbly shaft will cause issues down the line.
Step 4: Installing the Gear Motor
Mount the gear motor securely to your frame, ensuring its output shaft aligns with one end of your turning shaft. You’ll need a coupling to connect the motor shaft to the turning shaft; ensure this coupling is robust and rated for the torque of your motor. The motor should be positioned in a way that allows for easy access for maintenance but is also protected from the elements. Create a sturdy mounting bracket if needed.
It’s beneficial to have a slight offset or use a flexible coupling to account for minor misalignments and reduce stress on the motor’s bearings. Before securing permanently, confirm the motor’s rotation direction. If the motor can turn in both directions, plan for a reversible motor driver, though a simple one-direction turn is usually sufficient for composting.
Step 5: Wiring the Electrical Components
This is where your automated compost turner DIY timer comes to life! Route your outdoor-rated electrical wire from the power supply, through the timer, to the motor driver, and finally to the motor. All connections should be secure, waterproof, and protected within the outdoor-rated electrical enclosure. Connect the programmable timer switch as per its instructions, typically between the power source and the motor driver.
Ensure proper grounding and insulation for all electrical components. Use wire connectors designed for outdoor use and wrap all exposed connections with electrical tape for added protection. If using mains power, it is imperative to use a GFCI (Ground Fault Circuit Interrupter) protected outlet for safety. Consider running wires through conduit for additional physical protection.
Step 6: Programming the Timer and Initial Testing
Program your outdoor digital timer for the desired turning schedule. A common schedule might be once or twice a day for 5-15 minutes. Start with shorter durations and observe how well the compost mixes. You can adjust the time as needed. Once programmed, connect the power and initiate a test run. Observe the turning mechanism closely. Does it operate smoothly? Is the motor straining? Is the compost getting adequately turned?
Listen for unusual noises, and check for excessive vibration. If the motor struggles, you might need a more powerful motor, or your compost may be too dense. Adjust the paddle configuration or turning duration as necessary. Monitor the temperature and texture of your compost pile over the next few days to fine-tune the turning schedule. Remember that different materials compost at different rates; therefore, adaptability of the timer is key. For more advanced control, integrate with a home automation software.
Step 7: Enclosure and Weatherproofing
Protect all electrical components—motor, power supply, timer, and wiring—from rain, sun, and pests. Use a weatherproof enclosure for the electronics box. For the motor itself, consider a custom-built cover if it’s not inherently outdoor-rated. Ensure proper ventilation within the enclosure if the components generate heat. Seal any openings with exterior-grade caulk.
Regularly inspect all electrical connections and components for signs of wear or water ingress. A well-weatherproofed system will last longer and operate more reliably, providing continuous, hassle-free composting for years to come. This step is critical for safety and the longevity of your automated system, especially in varying climates.
Pro Tips and Common Mistakes
- Start Small: If you’re new to DIY automation, begin with a smaller compost bin project to get a feel for the mechanics and electronics.
- Over-engineer the Frame: Compost is heavy, especially when wet. Don’t skimp on the structural integrity of your frame.
- Balance Your Carbon-Nitrogen Ratio: Even with automated turning, a balanced mix of “greens” and “browns” is essential for optimal composting. Refer to Gardening Know How’s guide on carbon-nitrogen ratios.
- Modular Design: Design your system in modules (e.g., motor assembly, shaft assembly) for easier maintenance and upgrades.
- Test with Empty Bin: Before adding compost, run the motor and turning mechanism with an empty bin to identify any mechanical issues.
- Visual Cues: Add a small flag or indicator to the end of your shaft so you can easily see if it’s turning from a distance.
<strong>Common Mistakes to Avoid:</strong>
<ul>
    <li><strong>Underpowered Motor:</strong> Choosing a motor that isn't strong enough will lead to frequent stalls and burnout, especially with a dense pile.</li>
    <li><strong>Poor Weatherproofing:</strong> Neglecting to properly protect electrical components will lead to failure, short circuits, and potential hazards.</li>
    <li><strong>Improper Shaft Alignment:</strong> Misaligned shafts and bearings cause excessive friction, noise, and premature wear on components.</li>
    <li><strong>Ignoring Safety:</strong> Rushing electrical work or using non-rated components can be dangerous. Always prioritize safety.</li>
    <li><strong>Overfilling the Bin:</strong> Even an automated turner has limits. Don't overfill the bin to the point where the paddles can't effectively move the material.</li>
    <li><strong>Neglecting Maintenance:</strong> Periodically check bearings, motor connections, and paddle integrity. Lubrication and tightening fasteners are key.</li>
</ul>
Eco-Friendly Variations for Your Automated Compost Turner
Embracing eco-friendliness in your DIY project not only benefits the planet but can also make your system more self-sufficient and economical. There are several ways to enhance the sustainability of your automated compost turner.
One primary variation involves powering your system with renewable energy. Integrating a small solar panel and a deep-cycle battery can make your compost turner completely off-grid. The solar panel charges the battery during the day, and the battery powers the motor and timer. This option requires careful sizing of the panel and battery to ensure sufficient power, especially during cloudy periods. It’s an excellent way to reduce your carbon footprint and eliminate electricity costs.
Another eco-friendly approach is to maximize the use of recycled and reclaimed materials for the structural components. Instead of new lumber, consider salvaging pressure-treated wood from old decks or fences. For the bin walls, repurposed plastic barrels (food-grade only) or old metal sheeting can be excellent choices. Even the turning paddles could be fashioned from scrap metal or durable plastic found around your workshop. This not only saves money but also diverts waste from landfills.
Finally, consider the design of your compost bin itself. A well-insulated bin made from recycled materials can help maintain a more consistent internal temperature, leading to faster composting. You could also incorporate passive aeration elements, like strategically placed vent holes, to supplement the active turning. This reduces the motor’s workload and energy consumption, leading to a more efficient and environmentally sound system overall.
Seasonal Considerations for Automated Composting
While an automated compost turner simplifies the process, understanding seasonal impacts on composting can help you optimize its performance throughout the year.
During warm summer months, microbial activity is at its peak. Your compost pile will decompose quickly, and you might need to increase the turning frequency or duration to keep up with the rapid breakdown and prevent overheating. Ensure the pile maintains adequate moisture; hot weather can dry it out quickly, so regular checks and occasional watering might be necessary. The automated turning helps distribute moisture evenly, which is a major benefit in dry spells.
In colder winter months, decomposition slows significantly as microbial activity decreases. You might reduce the turning frequency to once every few days or even less, as excessive turning can lead to heat loss. Protecting your compost pile from extreme cold with insulation (e.g., straw bales around the bin) can help maintain a warmer core temperature, allowing composting to continue, albeit at a slower pace. Make sure your outdoor electrical components are rated for cold temperatures and that wiring remains flexible.
Spring and autumn often provide ideal composting conditions with moderate temperatures and consistent moisture. This is when your automated turner can truly shine, maintaining optimal aeration for steady decomposition. Adjusting your timer settings seasonally will ensure your system works harmoniously with nature, yielding the best compost year-round. Pay attention to the types of materials you add; in winter, focus on dense, carbon-rich materials that take longer to break down but also generate heat.
Expert Resources for Advanced Composting and Electrical Guidance
To further enhance your knowledge and troubleshoot potential issues, here are some invaluable external resources:
- For comprehensive composting science and best practices: The Royal Horticultural Society (RHS) on Composting. The RHS offers detailed advice on what to compost, how to maintain a healthy pile, and various composting methods, directly complementing the mechanical advantages of your automated system.
- For in-depth educational resources on home composting and managing specific challenges: University of Minnesota Extension – Composting for the Home. This resource provides science-backed information on everything from pile construction to troubleshooting common problems like odors or pests.
- For detailed information on safe electrical practices and component selection for various DIY projects: Look for resources from organizations like the National Electrical Code (NEC) or local government electrical safety bodies. While specific links are not provided here due to regional variations, a simple online search for “electrical safety DIY outdoor projects” for your region will yield relevant guidelines and codes. Always prioritize safety when working with electricity.
Conclusion: Cultivating "Compost Gold" with Automation
Building an automated compost turner with a DIY timer is an incredibly rewarding project for any eco-conscious gardener. It transforms a labor-intensive chore into an effortless, efficient process, delivering superior compost with minimal intervention. This system not only saves you time and effort but also optimizes the composting environment, leading to faster decomposition and richer, more potent soil amendments for your garden.
By following these steps, you’ve not just built a machine; you’ve engineered a continuous cycle of nutrient creation, turning kitchen scraps and yard waste into “garden gold.” Embrace the satisfaction of hands-off composting, knowing that your automated solution is working tirelessly to enrich your soil and promote a more sustainable gardening practice. Enjoy the fruits (and vegetables!) of your labor, nurtured by perfectly aerated, homemade compost!
Frequently Asked Questions (FAQ)
<p><strong>Q1: How often should my automated compost turner run?</strong><br>
A1: Generally, running the automated compost turner once or twice a day for 5-15 minutes is sufficient. However, the optimal frequency depends on the size of your pile, the materials being composted, and ambient temperature. Observe your pile for consistency and moisture, adjusting the timer as needed.</p>

<p><strong>Q2: What type of motor is best for an outdoor compost turner?</strong><br>
A2: A high-torque, low-RPM (revolutions per minute) gear motor is ideal. Motors around 12V or 24V DC with 5-30 RPM are often suitable. Look for motors designed for continuous duty and ensure they are adequately protected from the elements with a waterproof enclosure.</p>

<p><strong>Q3: Can I convert an existing compost bin into an automated one?</strong><br>
A3: Yes, many existing compost bins, especially those with an open design or a simple tumbler structure, can be adapted. You'll need to integrate the turning shaft, motor, and electrical components into the existing structure, reinforcing it as necessary to support the additional weight and torque.</p>

<p><strong>Q4: What safety precautions should I take when building an automated compost turner?</strong><br>
A4: Always disconnect power before working on electrical components. Use outdoor-rated, waterproof electrical components and enclosures. Ensure all wiring is properly insulated and grounded, and connect to a GFCI-protected outlet if using mains power. Wear safety goggles and work gloves during construction, and if you're unsure about wiring, consult a qualified electrician.</p>