12 Essential Steps to Master Growing Food on a North-Facing Balcony
Dreaming of fresh, homegrown produce but find yourself staring at a perpetually shaded north-facing balcony? Don’t despair! While often considered challenging, a north-facing balcony can be transformed into a thriving haven for edible plants. With the right selection of crops, smart cultivation techniques, and a touch of urban permaculture philosophy, you can absolutely grow food on a north-facing balcony and enjoy the bounty of your efforts. This comprehensive guide will equip you with the knowledge and strategies to turn your low-light space into a productive mini-farm.
[lwptoc]
Why This Matters for Your Urban Garden
In the bustling concrete jungles of our cities, green spaces are a precious commodity. Urban gardening, particularly on balconies, offers a vital connection to nature and a sustainable way to supplement your groceries. Growing food in limited, often shaded, spaces like a north-facing balcony embodies the spirit of resilience and resourcefulness inherent in urban permaculture. It promotes biodiversity, reduces your carbon footprint by decreasing food miles, and provides fresh, organic produce right at your doorstep.
Moreover, nurturing plants offers immense mental and physical well-being benefits. The act of tending to a garden, even a small one, can be incredibly therapeutic. For those living in apartments with no access to traditional yards, a balcony garden is often the only way to engage with the natural world in a hands-on manner. This guide focuses on maximizing your harvest from even the most sun-starved locations, proving that gardening is for everyone, everywhere.
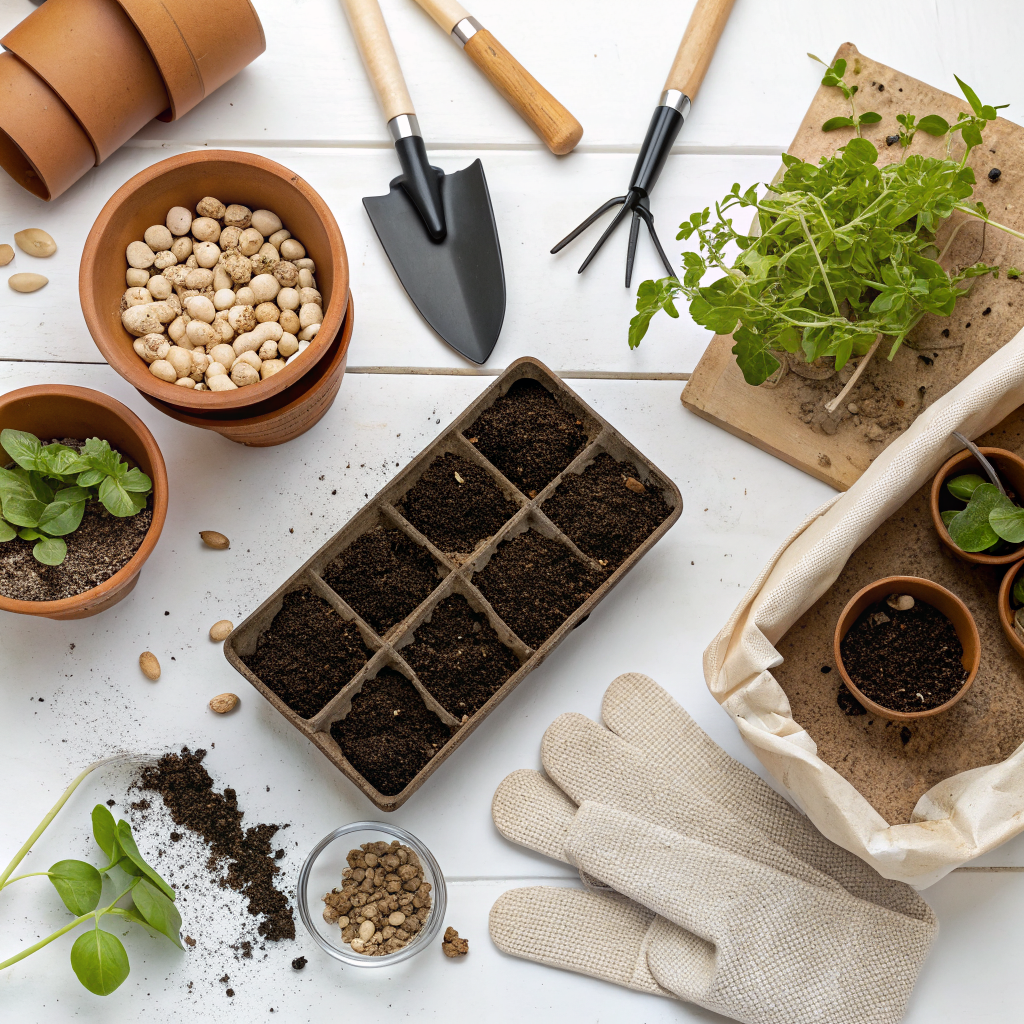
What You Need: Tools, Materials, and Plant Choices
Successful balcony gardening, especially in low-light conditions, starts with smart preparation. You don’t need an elaborate setup; thoughtful choices go a long way.
Essential Tools & Materials:
- Lightweight Containers: Opt for fabric grow bags, plastic pots, or lightweight terracotta. Ensure good drainage. Various sizes will be needed for different plants.
- Quality Potting Mix: This is non-negotiable. Choose a high-quality, organic potting mix that retains moisture but drains well. Avoid heavy garden soil.
- Compost or Worm Castings: Boost soil fertility naturally.
- Hand Trowel and Cultivator: For planting and weeding.
- Watering Can or Hose with Shower Nozzle: Gentle watering is key.
- Pruning Shears/Scissors: For harvesting and plant maintenance.
- Organic Liquid Fertilizer: For feeding your hungry plants throughout the growing season.
- Humidity Tray (Optional but Recommended): For moisture-loving plants.
- Vertical Grow Systems/Shelving: Maximise your limited space vertically. Consider tiered planters or wall-mounted options.
- Reflective Surfaces (Optional): White paint, mirrors, or aluminum foil can reflect ambient light onto your plants. Strategically placed, these can make a surprising difference.
- Small Grow Light (Optional): If your balcony truly gets minimal indirect light, a modest LED grow light can significantly enhance growth for certain plants, particularly starting seedlings.
Best Crops for a North-Facing Balcony:
The key to success is selecting plants that thrive in partial shade to full shade. These plants tolerate lower light levels and many prefer cooler temperatures, which a north-facing aspect often provides.
- Leafy Greens:
- Lettuce (Loose-leaf varieties): ‘Black Seeded Simpson’, ‘Buttercrunch’, ‘Oakleaf’.
- Spinach: Grows well in cooler, shaded conditions.
- Swiss Chard: Beautiful and productive in partial shade.
- Kale: Especially curly and lacinato varieties.
- Arugula/Rocket: Quick growers that tolerate less sun.
- Mizuna: A Japanese mustard green that loves cool, shaded spots.
- Root Vegetables (Shallow-rooted):
- Radishes: Quick and satisfying, many varieties tolerate partial shade.
- Carrots (Short varieties): ‘Paris Market’, ‘Danvers Half Long’ can do surprisingly well in containers with loose soil.
- Beets: You can harvest both the roots and the nutritious greens.
- Potatoes (Small varieties): Can be grown in large grow bags.
- Herbs: Many herbs thrive with less sun.
- Mint: Incredibly robust, will even spread in full shade. Keep in its own pot!
- Cilantro/Coriander: Prefers cooler temperatures, bolts quickly in full sun.
- Parsley: Flat-leaf or curly, both do well.
- Chives: Tolerant of various light conditions.
- Lemon Balm: Aromatic and vigorous.
- Thyme: Some varieties can tolerate partial shade.
- Other Edibles:
- Bush Beans: Some varieties can produce in partial shade.
- Peas (Dwarf varieties): Especially sugar snap or snow peas.
- Strawberries: Can produce in partial shade, though yields might be lower than in full sun.
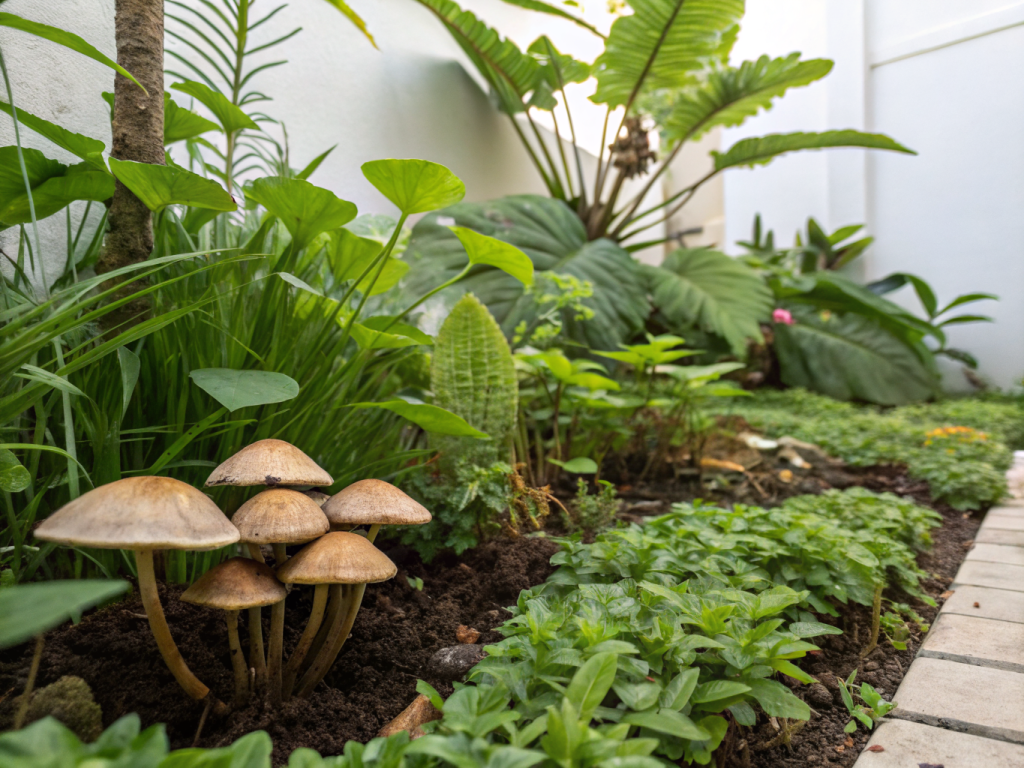
- Mushrooms: While not a plant, grow-at-home mushroom kits are perfect for very low-light areas and are a fantastic urban permaculture addition.
Step-by-Step Guide to Your North-Facing Balcony Edible Garden
Transforming your shaded balcony into a food-producing paradise is a methodical yet rewarding process. Follow these steps for the best chance of success.
Step 1: Assess Your Balcony’s Light Conditions
This is the most critical first step for a north-facing balcony. Observe your balcony throughout the day, both in the morning, midday, and afternoon, across different seasons. Even north-facing balconies can receive ambient light, reflected light, or a brief period of direct sun during summer. Note how many hours an area gets bright indirect light versus deep shade. This assessment will inform your plant choices and container placement. Remember that the sun’s path changes with the seasons, so what gets light in summer might not in winter.
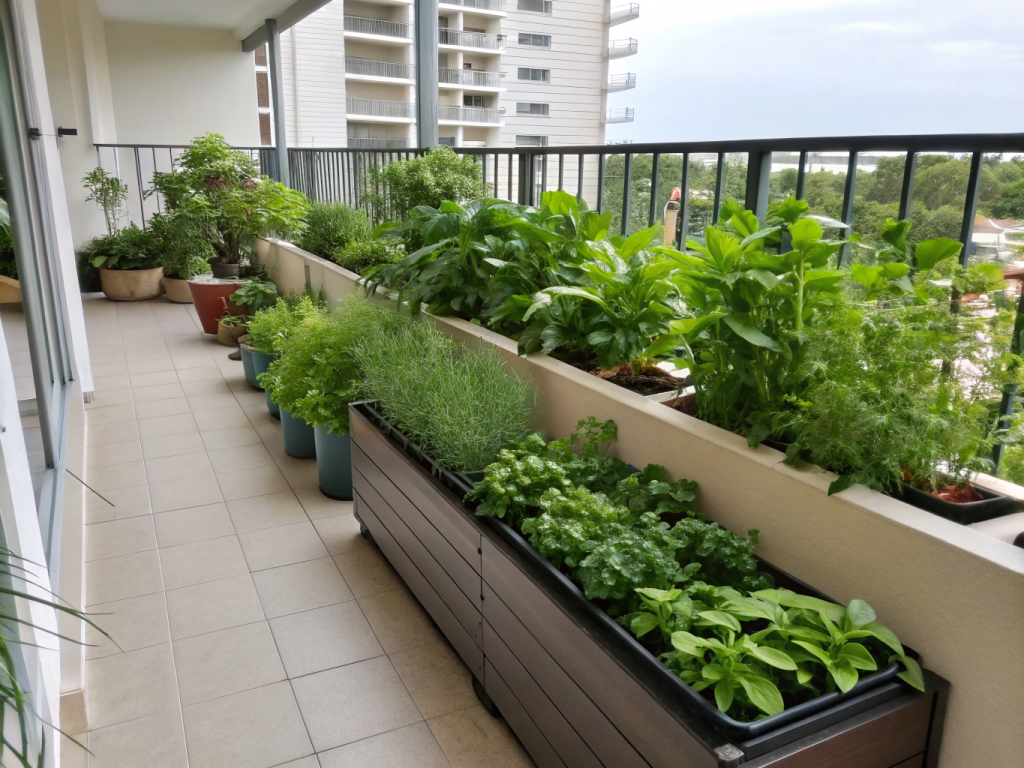
Step 2: Plan Your Layout and Container Strategy
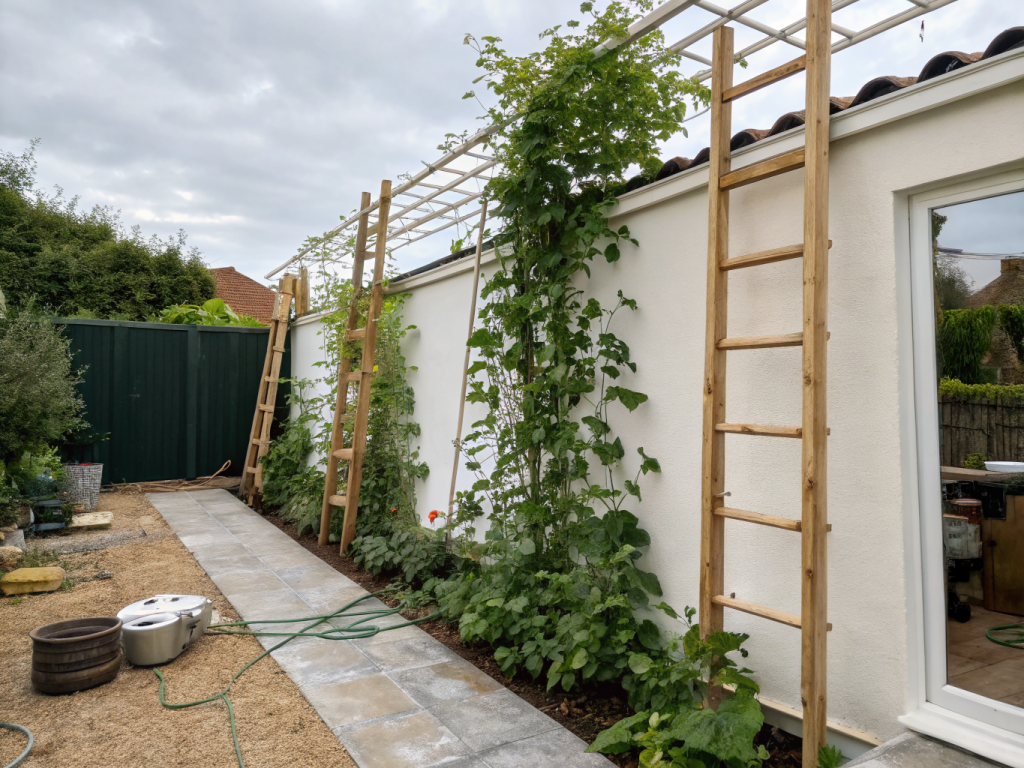
Given the limited space and light, vertical gardening is your best friend. Utilize wall space with hanging planters or attach shelving for tiered pots. Consider railing planters. Place larger pots at the back and smaller, more light-sensitive plants closer to the railing if it catches any reflected light. Think about accessibility for watering and harvesting. For more on optimizing small spaces, this sustainable small urban garden design principles article might offer further inspiration.
Step 3: Choose the Right Containers and Potting Mix
As discussed, opt for lightweight, well-draining containers. Fabric grow bags are excellent as they prevent root circling and promote air pruning. Ensure all pots have drainage holes to prevent waterlogging. Invest in a high-quality, organic potting mix. Supplement it with compost or worm castings to enrich the soil and improve its structure and nutrient content. This foundation is crucial for healthy root development.
Step 4: Select and Plant Your Shade-Tolerant Crops
Based on your light assessment, choose plants from the list above that are known to thrive in partial or full shade. You can either start from seed indoors under grow lights (if you want to get a head start) or purchase young plants from a reputable nursery. Follow planting instructions for depth and spacing. For a detailed guide on container gardening for beginners, refer to Gardening Know How’s container gardening resources.
Step 5: Watering Wisdom for Low-Light Gardens
Plants in shade generally require less frequent watering than those in full sun because evaporation is slower. Overwatering is a common killer in shaded gardens, leading to root rot. Feel the top inch or two of soil; if it’s dry, then water thoroughly until water drains from the bottom. This ensures the roots get sufficient moisture. Consider using self-watering containers for consistency, though these still require careful monitoring in shaded conditions.
Step 6: Feed Your Plants Regularly
Container plants rely entirely on you for nutrients. About 3-4 weeks after planting, begin feeding your plants with a balanced, organic liquid fertilizer. Follow the product’s instructions, potentially diluting it to half strength for shade-grown plants, as their growth may be slower. Use compost tea or worm casting tea for a gentler, more sustained nutrient boost. Replenish the top layer of soil with fresh compost periodically.
Step 7: Pest and Disease Management in Shade
Shaded, humid conditions can sometimes create environments conducive to certain pests and diseases like slugs, snails, powdery mildew, or fungal gnats. Regularly inspect your plants for any signs of trouble. Good air circulation is vital, so ensure plants aren’t too crowded. Apply organic pest control methods like neem oil spray or insecticidal soap if needed. Hand-picking slugs and snails in the evening is also effective. For more information on managing common garden pests, consult University of Minnesota Extension’s IPM guides.
Step 8: Maximize Ambient Light
Even a north-facing balcony gets ambient light. You can enhance this by using reflective surfaces. Painting adjacent walls white or placing large mirrors opposite your plants can bounce available light onto your edibles. Even sheets of aluminum foil can be strategically placed to direct light. While this won’t replicate full sun, it can certainly boost growth for light-sensitive varieties. Learn more about using natural light in urban farming effectively.
Step 9: Practice Succession Planting
To ensure a continuous harvest, particularly for fast-growing leafy greens and radishes, practice succession planting. Sow a small batch of seeds every 2-3 weeks. As one crop matures and is harvested, the next batch will be ready to take its place. This is an excellent technique for maximizing limited space and ensuring a steady supply of fresh produce.
Step 10: Pruning and Harvesting for Longevity
Regular harvesting encourages plants to produce more. For leafy greens, harvest the outer leaves, allowing the inner leaves to continue growing. For herbs, pinch back growth regularly to promote bushier plants and prevent bolting. Pruning away damaged or yellowing leaves improves air circulation and general plant health. Don’t be afraid to snip! It’s good for the plant and your dinner plate.
Step 11: Winter Protection (If Applicable)
Depending on your climate, your north-facing balcony plants might need winter protection. Some leafy greens like kale and spinach are surprisingly cold-hardy and can overwinter with some protection like a mini-greenhouse or fleece covers. Bring tender herbs indoors if possible. Even in shade, plants can suffer from frost or biting winter winds. Understand your local hardiness zone.
Step 12: Continuous Learning and Adaptation
Gardening is an ongoing learning process. Observe your plants’ responses to their environment. What works wonderfully for one plant might not for another. Be prepared to adapt your approach. Keep a gardening journal to track planting dates, watering schedules, successes, and challenges. This will build your knowledge and improve your balcony’s productivity over time.
Pro Tips and Common Mistakes to Avoid
Pro Tips:
- Rotate Crops: Even in containers, rotating your crops helps prevent nutrient depletion and reduces the build-up of pests and diseases. Don’t plant the same thing in the same pot twice in a row.
- Utilize Microclimates: Even on a north-facing balcony, there might be subtle differences in light and temperature. Some spots might catch an hour of morning sun, others might be more sheltered from wind. Pay attention to these microclimates and place plants accordingly.
- Companion Planting: Some plants benefit from growing near others. For example, marigolds can deter pests, and nasturtiums (edible flowers!) provide ground cover and attract pollinators. This is a core permaculture principle applicable everywhere.
- Self-Seeding: Some crops like arugula or cilantro will self-seed if you let them flower. This is a passive way to ensure continuous growth with minimal effort. Just be sure to thin them if they get too crowded.
Common Mistakes to Avoid:
- Overwatering: As mentioned, shaded plants need less water. Always check the soil moisture before watering.
- Expecting Full Sun Yields: Adjust your expectations. Shade-tolerant plants will grow, but their yield might be slightly smaller or slower than their full-sun counterparts. Celebrate every leaf and fruit!
- Using Garden Soil: Heavy garden soil compacts in pots, leading to poor drainage and suffocated roots. Always use a high-quality potting mix.
- Ignoring Air Circulation: Poor air circulation, combined with shade and humidity, can lead to fungal issues. Give your plants space.
- Planting Sun-Loving Crops: Don’t try to force tomatoes or bell peppers to thrive in deep shade. Stick to the recommended shade-tolerant varieties. Frustration will ensue otherwise!
Eco-Friendly Variations for Your Urban Edible Garden
Embrace the principles of urban permaculture to make your north-facing balcony garden even more sustainable and resilient.
- Composting on Your Balcony: Consider a small worm composting bin (vermicomposting) for kitchen scraps. The “worm tea” is a fantastic liquid fertilizer, and the castings enrich your potting mix. This closes the loop on your balcony’s waste.
- Rainwater Harvesting: If feasible and allowed, collect rainwater. A simple bucket can capture enough water for your potted plants, reducing reliance on treated tap water.
- DIY Seed Starting: Instead of buying seedlings, start your own from seed. This is often more economical and allows for a wider variety of choices. Utilize recycled containers like egg cartons or toilet paper rolls for seed starting.
- Mulching Containers: Apply a thin layer of shredded leaves, grass clippings (chemical-free), or bark chips to the top of your potting mix. This helps retain moisture, suppresses weeds, and moderates soil temperature, especially benefiting cooler, shaded environments.
- Integrated Pest Management (IPM): Instead of reaching for chemical sprays, adopt an IPM approach. This involves early detection, encouraging beneficial insects (if pollinators visit your balcony), crop rotation, and physical removal of pests.
Seasonal Considerations for North-Facing Balconies
The amount and quality of light on a north-facing balcony can fluctuate significantly with the seasons. Adapting your gardening practices accordingly is crucial.
- Spring: This is a prime time for planting most shade-tolerant leafy greens, radishes, and peas. The lengthening days and milder temperatures are ideal. Start quick-growing herbs from seed. Monitor for late frosts.
- Summer: While the sun is highest, a north-facing balcony will still be shaded. However, ambient light will be at its peak. This is when your full array of shade-loving edibles will thrive. Watering might need to be slightly more frequent if temperatures rise, even in shade. Consider a brief period of morning sun might graze a corner of your balcony.
- Autumn: A second wave of planting for cool-season crops like spinach, kale, and beets is possible. As temperatures drop and days shorten, plant growth will slow. Prepare for potential frosts by covering sensitive plants.
- Winter: For most regions, actively growing much food on a north-facing balcony in winter is challenging without supplemental light or protection. Focus on cold-hardy varieties like winter lettuce, perpetual spinach, and kale if your climate allows. Otherwise, use this time to plan, clean pots, and amend your potting mix for spring. Bring any tender herbs indoors.
Expert Resources for Further Learning
Expand your knowledge and capabilities with these trusted gardening resources:
- For general container gardening advice and troubleshooting specific plant issues: Gardening Know How
- For in-depth practical guides and sustainable gardening practices: Royal Horticultural Society (RHS) Grow Your Own
- For research-backed horticultural information and Integrated Pest Management strategies: University of Minnesota Extension
Conclusion
Growing food on a north-facing balcony is not just possible; it’s an empowering and rewarding endeavor. By understanding the unique challenges of low-light gardening and embracing appropriate plant choices and techniques, you can transform a seemingly inhospitable space into a productive urban farm. Embrace the principles of urban permaculture—resourcefulness, observation, and sustainability—and enjoy the fresh, delicious food you’ve cultivated with your own hands. Happy gardening!
Frequently Asked Questions
Q1: Can I really grow anything substantial on a north-facing balcony?
A1: Absolutely! While you won’t be growing sun-loving crops like large tomatoes or corn, a wide variety of leafy greens, root vegetables, and herbs actually prefer the cooler, shadier conditions of a north-facing balcony. The key is choosing the right plants and providing them with excellent soil and consistent care. Expect smaller, perhaps slower growth than full-sun gardens, but entirely delicious and rewarding yields.
Q2: What is the absolute minimum amount of light a plant needs on a north-facing balcony?
A2: Most shade-tolerant edibles require at least 3-4 hours of bright, indirect light per day. Even if no direct sun hits your balcony, ambient light reflected from surrounding buildings or the sky can provide this. Deep shade, where it’s consistently dark throughout the day, will be challenging for almost any edible plant, though mushrooms are an exception. Observing your balcony’s light patterns is crucial.
Q3: How do I improve soil quality in containers for a north-facing balcony?
A3: Always start with a high-quality, organic potting mix. To enhance it further, regularly incorporate compost or worm castings. These organic amendments improve drainage, water retention, and nutrient availability. Liquid organic fertilizers (like fish emulsion or diluted compost tea) can be used every few weeks to replenish nutrients, as container plants don’t have access to the broad nutrient web of a garden bed.
Q4: Are there any specific pests or diseases more common in shaded balcony gardens?
A4: Yes, the cooler, more humid conditions of a shaded balcony can sometimes favor certain issues. Slugs and snails might be more prevalent, and fungal diseases like powdery mildew can sometimes occur due to reduced air circulation and slower drying times. Good air circulation (don’t overcrowd plants), regular inspection, and prompt, organic intervention (e.g., hand-picking pests, neem oil) are your best defenses.