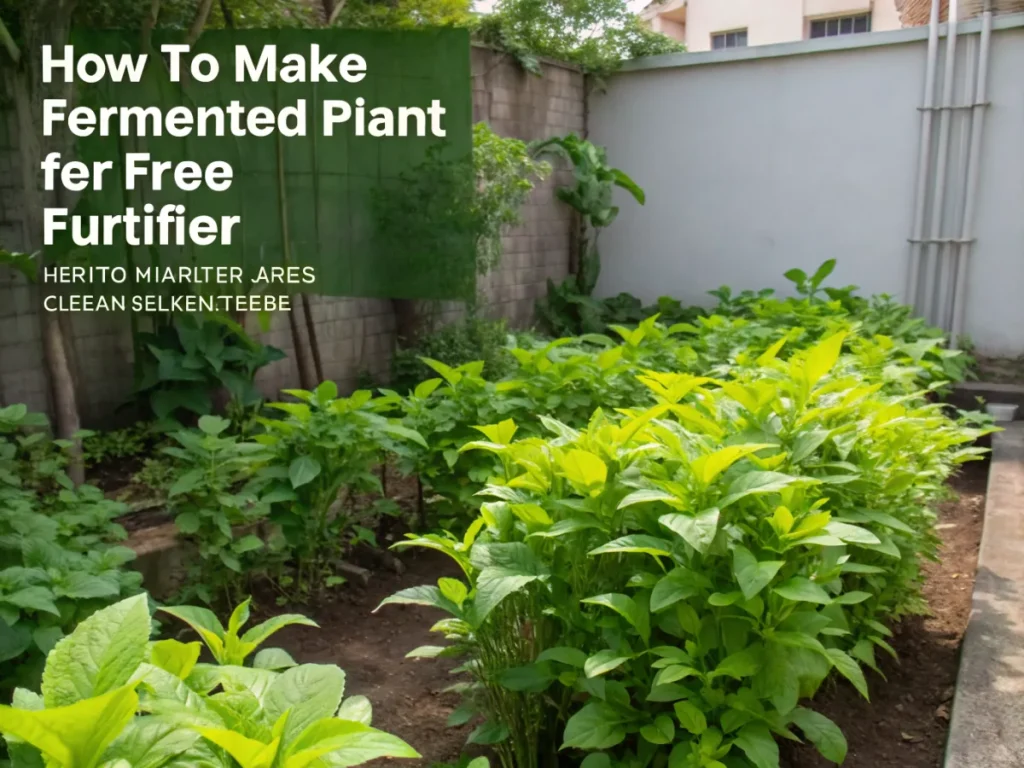
The Ultimate Guide to Making Fermented Plant Juice for Free Fertilizer: Unleash Your Garden's Full Potential
Imagine a garden thriving with lush, vibrant growth, producing bountiful harvests, all nourished by a powerful, natural fertilizer you made yourself for free. This isn’t a gardener’s fantasy; it’s the incredible reality of Fermented Plant Juice (FPJ). Rooted in the principles of Korean Natural Farming (KNF), FPJ is a potent plant growth stimulant crafted from readily available plant materials, harnessing the power of beneficial microorganisms to unlock essential nutrients and hormones. This comprehensive guide will walk you through every step of creating your own fermented plant juice free fertilizer, transforming your gardening practices and enhancing the health and vitality of your plants.
[lwptoc]
Why This Matters for Your Garden: The Power of Fermented Plant Juice
In our quest for healthier gardens and more sustainable practices, understanding the intricate relationship between soil, plants, and microorganisms is paramount. Fermented Plant Juice (FPJ) offers a revolutionary, organic solution to conventional synthetic fertilizers by providing a bio-available source of nutrients, enzymes, and hormones that plants can readily absorb. This isn’t just about feeding your plants; it’s about stimulating their innate ability to thrive.
FPJ significantly enhances soil biology, encouraging the proliferation of beneficial microbes that break down organic matter and make nutrients accessible to plants. This synergistic effect leads to stronger root systems, increased disease resistance, improved nutrient uptake, and ultimately, more vigorous growth and higher yields. By utilizing FPJ, you contribute to a healthier soil ecosystem, reducing reliance on external inputs and nurturing a truly sustainable garden from the ground up.
Beyond its nutritional benefits, FPJ acts as a powerful growth stimulant, promoting rapid cell division and healthy development. It’s particularly effective during critical growth stages, such as seedling development, transplanting, and flowering. The bio-active compounds in FPJ help plants cope with environmental stresses, making them more resilient to drought, pests, and disease. This translates to less plant loss and more productive gardening outcomes, all while being completely safe for your family, pets, and the environment.
What You Need: Tools, Materials, and the Best Plants for FPJ
Embarking on your FPJ journey requires a few simple tools and readily available materials. The beauty of this method lies in its accessibility and reliance on natural resources, making it truly a “free fertilizer.” Gathering these items beforehand will ensure a smooth and efficient process.
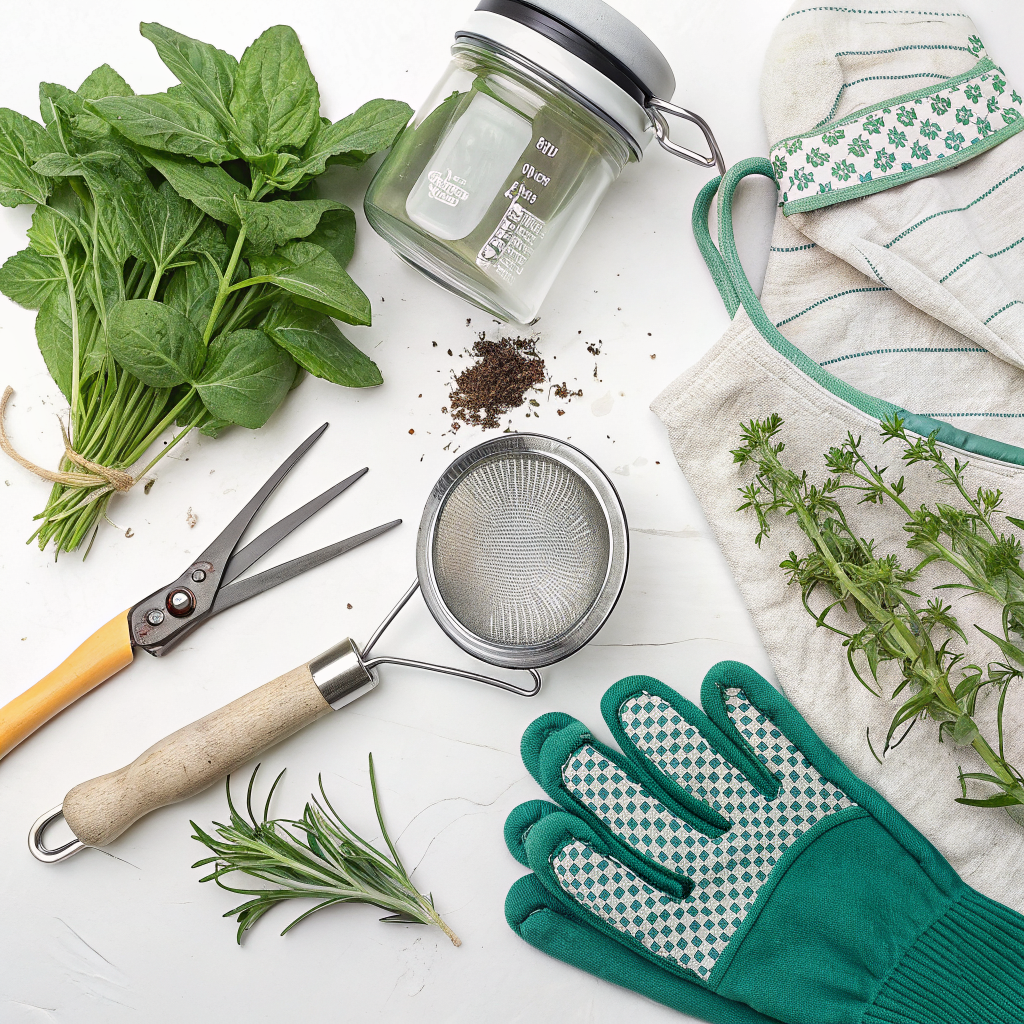
Essential Tools:
- Large Glass Jar or Food-Grade Plastic Container: Choose one with a wide mouth for easy loading. A 1-gallon (4-liter) jar is a good starting point for home gardeners. Ensure it’s clean and sterilized.
- Breathable Cover: A clean cloth (like cheesecloth or an old t-shirt) secured with a rubber band is perfect. This allows air circulation while keeping pests out. Avoid airtight lids, as fermentation produces gas.
- Cutting Board and Knife: For chopping plant material.
- Weights: A clean rock, a smaller jar filled with water, or a food-grade ceramic weight to keep the plant material submerged.
- Strainer or Cheesecloth: For separating the liquid from the solids after fermentation.
- Storage Bottles: Dark glass bottles or opaque plastic containers for storing the finished FPJ.
- Labels: Essential for marking the date and type of FPJ.
Key Materials:
- Fresh Plant Material: This is the heart of your FPJ. Choose healthy, vigorous, disease-free plants, ideally from your own garden or foraging.
- Brown Sugar or Molasses: The fermenting agent. Brown sugar is commonly used; un-sulfured molasses can also provide additional minerals. It acts as food for the beneficial microorganisms.
- Non-Chlorinated Water: If using tap water, let it sit out for 24 hours to allow chlorine to dissipate. Alternatively, use rainwater or well water.
Best Plants for Fermented Plant Juice:
The beauty of FPJ is its versatility, allowing you to tailor the juice to your garden’s specific needs. Ideal plants are those with rapid growth, high nutrient content, and vigorous energy.
- For General Growth & Vigor:
- Comfrey (Symphytum officinale): A powerhouse of nutrients, especially potassium, and known as a dynamic accumulator. Produces rapid growth.
- Nettle (Urtica dioica): Rich in iron, nitrogen, and a broad spectrum of minerals. Handle with gloves!
- Dandelion (Taraxacum officinale): Roots and leaves are packed with minerals.
- Amaranth (Amaranthus spp.): Very fast-growing and nutrient-dense, especially the leaves.
- For Flowering & Fruiting:
- Any fruit-bearing plant’s tender shoots: Tomatoes, squash, berries (non-woody parts).
- Flowering plants in their growth phase: Marigolds, calendula.
- For Root Development & Stress Resistance:
- Weeds with strong root systems: Burdock, plantain.
- Burdock (Arctium lappa): Excellent for deep mineral extraction.
- Avoid: Woody stems, diseased plants, or plants that have been sprayed with pesticides. Focus on the tender, actively growing parts of the plant, often the tips and new leaves, as these contain the most active enzymes and hormones.
Pro Tip: When harvesting plants, do so in the early morning after the dew has dried, when their energy is at its peak. Avoid harvesting after heavy rain as the nutrient content can be diluted.
Step-by-Step Guide: Crafting Your Own Fermented Plant Juice
Making fermented plant juice free fertilizer is a straightforward process based on traditional methods. Follow these steps carefully to ensure a successful and potent batch.
Step 1: Harvest and Prepare Plant Material
Gather your chosen plant material, ensuring it’s fresh, healthy, and free from disease. Focus on tender, new shoots and leaves for maximum vitality. Avoid woody stems. Lightly bruise the plant material by squeezing or gently twisting it. This helps to break cell walls and release juices, aiding the fermentation process. Do not wash the plant material excessively, as you want to preserve the beneficial microbes naturally present on the plant surface. If it’s very dirty, a quick rinse and pat dry is acceptable.
Step 2: Weigh and Layer with Brown Sugar
Weigh your prepared plant material. For every part of plant material, you will need approximately one part brown sugar (by weight). A common ratio is 1:1, but some practitioners use 1:0.7 or 1:0.5 sugar to plant material by weight, especially if the plant material is very succulent. The sugar acts as a food source for lactic acid bacteria and yeast, drawing out the plant essences through osmosis. In a clean glass jar or food-grade bucket, begin layering: place a thin layer of brown sugar at the bottom, then a layer of plant material, followed by more sugar, and so on. Ensure each layer of plant material is thoroughly coated with sugar.
Step 3: Compact and Weigh Down
Once all the plant material and sugar are layered, gently but firmly compact the mixture. You want to press out any air pockets and ensure the plant material is thoroughly coated. Place a weight on top of the mixture. This is crucial for pressing the plant material below the rapidly forming liquid layer, preventing mold growth and ensuring anaerobic conditions (or semi-anaerobic conditions, as some air will still penetrate the breathable cover) are maintained for optimal fermentation. The weight should be heavy enough to keep the plant material submerged as the liquid forms.
Step 4: Cover and Ferment
Cover the jar with a breathable cloth (like cheesecloth or an old t-shirt) secured with a rubber band. This allows gases produced during fermentation to escape while keeping out pests. Store the jar in a cool, dark place, away from direct sunlight, at a consistent temperature (ideally between 65-75°F or 18-24°C). Fermentation typically takes 7-10 days, but it can vary based on temperature and plant material. You’ll notice liquid forming, the mixture compacting, and possibly bubbles as gases are released. A sweet, slightly alcoholic, or vinegary smell indicates successful fermentation.
Step 5: Strain and Store
After 7-10 days, or once the mixture smells pleasantly fermented and the plant material has shrunk significantly, it’s time to strain. Using a fine-mesh strainer or cheesecloth, separate the liquid (your FPJ) from the solid plant material. Squeeze the solids gently to extract any remaining liquid. Compost the spent plant material—it’s still rich in organic matter! Pour the finished FPJ into clean, dark glass bottles or opaque plastic containers. Label clearly with the date and type of plant used. Store in a cool, dark place. FPJ can last for several months to over a year if stored properly.
Important Note: If you see any signs of mold (fuzzy, colored growth) on the surface, especially if it’s black or green, discard the entire batch. White film or yeast pellicle is usually fine, but err on the side of caution with mold.
Pro Tips and Common Mistakes for Fermented Plant Juice
Mastering FPJ involves a little finesse. These pro tips will help you create the most potent fertilizer, while avoiding common pitfalls will save you time and precious plant material.
Pro Tips for Optimal FPJ:
- Harvest Timing is Key: For maximum potency, harvest plant material in the early morning after dew has dried but before the sun is high. This is when the plants’ metabolic energy is at its peak.
- Bruise Gently but Thoroughly: Don’t chop into tiny pieces, as this can lead to excessive oxidation. Gentle bruising helps release internal juices without over-processing. Hand-squeezing or kneading the leaves briefly is effective.
- Use a Variety of Plants: For a balanced FPJ, consider blending different plant materials. For example, comfrey for potassium, nettle for nitrogen, and dandelion for trace minerals. This creates a broader spectrum of nutrients.
- Observe and Smell: Your senses are your best tools. A healthy FPJ will have a sweet, slightly boozy, or vinegary aroma. If it smells putrid, rancid, or like strong alcohol, something has gone wrong, and it’s best to discard it.
- Start Small: If you’re new to FPJ, begin with a small batch to get a feel for the process. Once you’re comfortable, you can scale up.
- Dilution is Crucial: FPJ is potent! Always dilute it before applying to plants. A typical dilution ratio is 1:500 to 1:1000 for foliar sprays or soil drenching (e.g., 1-2 ml of FPJ per liter of water). More sensitive plants may require higher dilution. When in doubt, start weaker. For an example of dilution, consider how you might dilute a grow kit fertilizer.
- Application Methods:
- Foliar Spray: Apply to plant leaves in the early morning or late afternoon when stomata are open, allowing for maximum absorption.
- Soil Drench: Apply directly to the soil around the base of plants to stimulate root growth and improve soil biology.
- Seed Soaking: Diluted FPJ can be used to soak seeds before planting, promoting faster germination and stronger seedlings.
- Seasonal Application: Tailor your FPJ application to the season. During vegetative growth, use growth-stimulating FPJ. During flowering and fruiting, use FPJ from fruit-bearing plants or general-purpose formulas. Our article on growing strawberry plants from seed could benefit from this knowledge.
Common Mistakes to Avoid:
- Using Diseased or Sprayed Plants: This can introduce pathogens or harmful chemicals into your FPJ, harming your garden. Always use healthy, organic material.
- Not Enough Sugar: Insufficient sugar means the fermentation process won’t kick off properly, leading to spoilage or weak FPJ.
- Too Much Water/Not Enough Compacting: If the plant material isn’t properly submerged in its own juices (with the aid of sugar), mold can easily form on exposed surfaces.
- Airtight Containers: Fermentation produces gases. An airtight container can build up pressure and potentially explode, or at best, inhibit the correct microbial action. Always use a breathable cover.
- Applying Undiluted FPJ: This is a common and damaging mistake. Undiluted FPJ can burn your plants due to its high nutrient concentration and acidity. Always dilute!
- Impatience: Don’t rush the fermentation process. Give it the full 7-10 days (or sometimes longer in cooler temperatures) for the microbes to do their work.
- Poor Storage: Exposure to light and heat can degrade the FPJ. Store in a cool, dark place in opaque containers to maintain its potency. This is also key for preserving things like natural neem oil pesticide.
Remember: The goal is to create a living product. Attention to detail and keen observation will lead to excellent results.
Eco-Friendly Variations: Expanding Your FPJ Repertoire
The world of fermented plant juices extends beyond simple plant material. By incorporating other natural ingredients, you can create a diverse range of bio-stimulants tailored to specific garden needs, further enhancing your sustainable gardening practices.
Fermented Fruit Juice (FFJ):
Similar to FPJ, FFJ uses ripe fruits instead of green plant material. FFJ is typically high in potassium, phosphorus, and beneficial enzymes, making it excellent for promoting flowering and fruiting.
- Process: Use overly ripe (but not rotten) fruits like bananas, squash, papayas, berries, or even fallen apples. Slice thinly, mix with brown sugar (1:1 ratio by weight), and ferment similarly to FPJ.
- Benefits: Boosts bloom production, enhances fruit flavor, and supports overall plant reproductive health.
Fermented Grain Solution (FGS):
FGS, often made with rice, is a fantastic source of lactic acid bacteria, which are crucial for breaking down organic matter and suppressing pathogens in the soil.
- Process: Wash uncooked rice in water; the cloudy water contains lactic acid bacteria. Ferment this rice wash with brown sugar for several days.
- Benefits: Improves soil health, aids nutrient cycling, and can help prevent fungal diseases. Use as a soil drench.
Seaweed FPJ:
Seaweed is a treasure trove of trace minerals, hormones, and growth stimulants. Incorporating it into your FPJ offers a powerful boost.
- Process: If you have access to fresh seaweed (rinse off saltwater), chop it and mix with brown sugar as you would other plant material. If using dried seaweed meal, rehydrate it before mixing.
- Benefits: Provides a broad spectrum of trace elements, encourages root growth, and increases plant resilience to stress.
FPJ from Cover Crops:
If you grow cover crops, turning them into FPJ before tilling them in can extract their concentrated nutrients and beneficial properties.
- Process: Harvest sections of your cover crops (e.g., clover, vetch, buckwheat) before they become too woody, and follow the standard FPJ method.
- Benefits: Maximizes the nutrient contribution of your cover crops, making those nutrients immediately available to your subsequent plantings.
Combining FPJ and FFJ: For a comprehensive approach, consider making a separate FPJ (for vegetative growth) and FFJ (for flowering/fruiting). You can even mix them at different growth stages for a balanced nutrient profile.
Seasonal Considerations for Optimizing Fermented Plant Juice
The optimal use and creation of fermented plant juice free fertilizer can be enhanced by considering the rhythm of the seasons. Tailoring your FPJ according to seasonal availability of plants and your garden’s needs will maximize its benefits.
Spring: Growth Initiation & Transplant Support
- Plant Material: Focus on early spring weeds and vigorous new growth. Dandelion, nettle (if available), chickweed, and other fast-growing annual weeds are excellent choices. These are rich in nitrogen and growth hormones, perfect for kick-starting new life.
- Application: Use FPJ made from these plants to stimulate seed germination, fortify young seedlings, and reduce transplant shock. A diluted foliar spray or soil drench around newly transplanted vegetables will encourage robust root development.
- Why it matters: Spring is about laying a strong foundation. Nitrogen-rich FPJ supports rapid cell division and leafy growth, preparing plants for a productive season.
Summer: Vegetative Growth & Stress Resistance
- Plant Material: As plants mature, switch to FPJ made from comfrey, fast-growing tree leaves (like vigorous mulberry or willow shoots), or the tender new growth of your own vegetable plants (e.g., tomato suckers, squash leaves). During summer, consider making Fermented Fruit Juice (FFJ) from abundant summer fruits.
- Application: Continue with general-purpose FPJ for vegetative maintenance. Integrate FFJ as your plants begin to flower and set fruit. Apply FPJ to help plants withstand heat stress and pest pressure.
- Why it matters: Summer demands sustained energy and resilience. FPJ from a variety of sources provides a broad spectrum of nutrients and hormones to keep plants thriving through their most active growth phase.
Autumn: Root Development & Perennial Health
- Plant Material: Focus on root crops (e.g., carrot tops, beet greens), mature weeds with deep root systems (like burdock), or comfrey. As fruits mature, continue to make FFJ from late-season harvests.
- Application: Use FPJ to strengthen perennial plants and promote robust root development as they prepare for dormancy. This helps them store energy for the winter. FFJ can be applied to late-fruiting crops to enhance flavor and size.
- Why it matters: Autumn is about consolidation and preparation. FPJ supports underground growth and nutrient storage, vital for overwintering plants and improving soil structure.
Winter: Planning & Sourcing
- Plant Material: While fresh green material is scarce, this is an excellent time to plan your spring FPJ recipes or to source materials like kelp meal for future seaweed FPJ. You might also have stored roots or stems from autumn.
- Application: Generally, active application slows down. However, if you have indoor plants or a greenhouse, you can continue to use your stored FPJ or FFJ.
- Why it matters: Winter is a period of rest and renewal. Preparing materials or planning your FPJ strategy ensures a head start for the upcoming growing season.
Adaptability: While these are general guidelines, always observe your specific microclimate and plant needs. Nature is dynamic, and your FPJ practices should be too!
Expert Resources for Advanced Learning
To deepen your understanding and refine your Fermented Plant Juice techniques, exploring resources from established experts in organic gardening and natural farming is invaluable. These external links offer further insights and advanced concepts.
- Gardening Know How: This comprehensive website provides a wealth of information on various gardening topics, including organic practices and natural fertilizers. Their articles often offer practical advice and scientific explanations. Explore their resources at gardeningknowhow.com.
- Royal Horticultural Society (RHS): A leading horticultural charity in the UK, the RHS offers authoritative information on all aspects of gardening. Their extensive plant guides and advice on sustainable practices are highly respected. Visit their site for in-depth knowledge at rhs.org.uk.
- University Extension Programs: Many university extension services, such as the University of Minnesota Extension, provide research-backed information on gardening, agriculture, and sustainable living, often including organic methods. These are excellent sources for region-specific advice and scientific data. Explore an example at extension.umn.edu.
Conclusion: Cultivating a Healthier Garden, Naturally
Making your own fermented plant juice free fertilizer is more than just a gardening technique; it’s a philosophy. It embraces a holistic approach to plant nutrition, soil health, and environmental stewardship. By harnessing the power of fermentation and readily available plant materials, you create a potent, probiotic elixir that invigorates your garden from the roots up. This bio-active solution enhances nutrient uptake, boosts disease resistance, and ultimately leads to more vigorous, productive, and beautiful plants, all without the need for synthetic chemicals or expensive store-bought amendments.
The journey of crafting FPJ is also incredibly rewarding. It connects you more deeply with the natural cycles of your garden, encouraging observation, experimentation, and a profound respect for the life-giving properties of plants and microbes. Embrace this ancient yet innovative technique, and watch your garden flourish in ways you never thought possible, all by simply transforming nature’s bounty into a powerful, free fertilizer.
Start today, gather your materials, and embark on the path to a healthier, more sustainable, and truly thriving garden with the magic of fermented plant juice.
Frequently Asked Questions About Fermented Plant Juice
<h4>Q1: Is fermented plant juice free fertilizer safe for all plants?</h4>
<p><strong>A:</strong> Yes, FPJ is generally safe for all types of plants, from vegetables and herbs to ornamentals and fruit trees. However, due to its potency, always remember to dilute it properly with water before application. A good starting ratio is 1:500 to 1:1000 (1-2 ml FPJ per liter of water). More sensitive plants might prefer even higher dilution.</p>

<h4>Q2: How often should I apply FPJ to my garden?</h4>
<p><strong>A:</strong> The frequency of application depends on your plants' needs and growth stage. During active growth, you can apply FPJ every 1-2 weeks as a foliar spray or soil drench. For maintenance, once a month may suffice. Always observe your plants for signs of response and adjust accordingly. Over-application of any fertilizer, even organic ones, can sometimes lead to issues. Less is often more with FPJ.</p>

<h4>Q3: What if my FPJ smells bad or grows mold?</h4>
<p><strong>A:</strong> A healthy FPJ should have a pleasant, sweet, slightly alcoholic, or vinegary aroma. If it smells putrid, rancid, or strongly alcoholic (like rotten fruit), it likely indicates spoilage or an imbalance in the fermentation process, often due to insufficient sugar or exposure to too much air. Black or green fuzzy mold also means the batch is compromised. In such cases, it's best to discard the entire batch and start over, ensuring proper ratios, compaction, and storage conditions.</p>

<h4>Q4: Can I use commercial sugar substitutes instead of brown sugar for FPJ?</h4>
<p><strong>A:</strong> No, it's crucial to use real sugar (brown sugar or molasses) for making FPJ. The beneficial microorganisms responsible for fermentation feed on the sugars. Commercial sugar substitutes (like stevia, aspartame, sucralose, etc.) do not provide the necessary carbohydrates for these microbes and will not facilitate proper fermentation. Using them will result in spoilage rather than fermented plant juice.</p>


