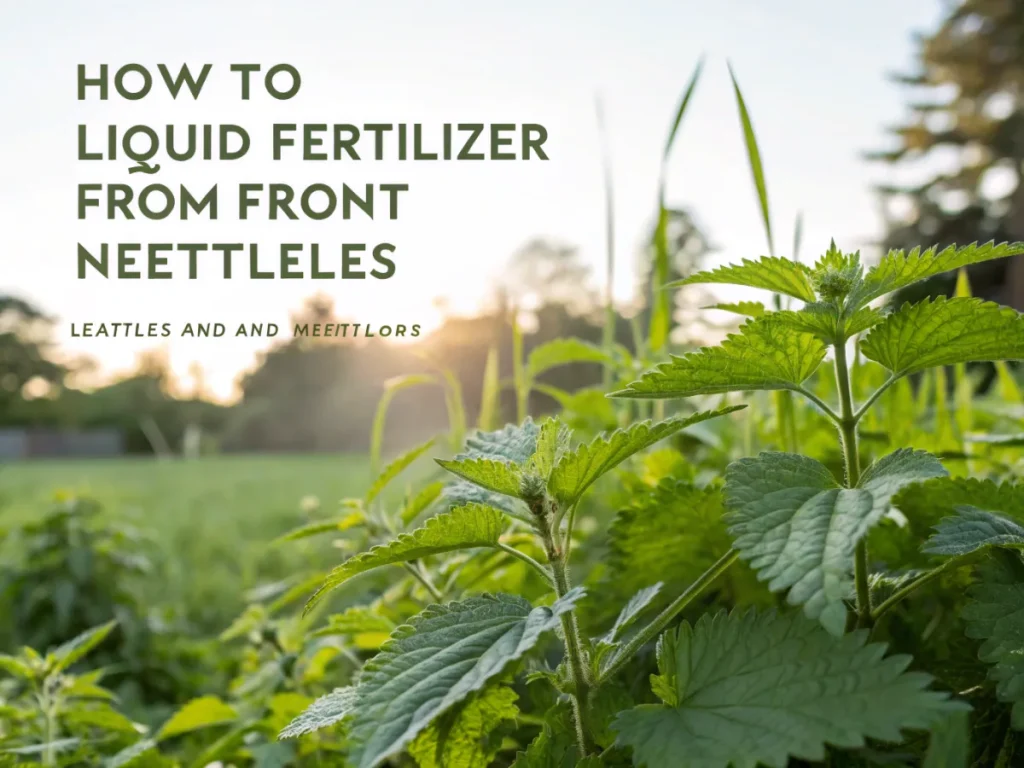
The Ultimate Guide: 7 Steps to Making Potent Liquid Fertilizer from Nettles
Are you looking for an eco-friendly, cost-effective way to boost your garden’s health and vitality? Imagine transforming a common “weed” into a powerful, nutrient-rich elixir that your plants will absolutely adore. That’s precisely what we’re going to explore today: crafting your very own liquid fertilizer from nettles. This age-old gardening hack is not just incredibly effective; it’s also a testament to sustainable living and working in harmony with nature.
[lwptoc]
Stinging nettles (Urtica dioica) are often seen as a bane by gardeners, thanks to their infamous sting. However, beneath that prickly exterior lies a treasure trove of essential plant nutrients, particularly nitrogen, iron, and various trace elements. When fermented, these nutrients become readily available for your plants, promoting lush, vigorous growth and stronger immune systems. Ditch the costly synthetic feeds and embrace the power of nature’s own brew!
Why This Matters for Your Garden: The Power of Nettle Brews
Incorporating homemade liquid fertilizer nettles into your gardening routine offers a plethora of benefits for both your plants and the environment. Firstly, it’s a fantastically sustainable practice. You’re utilizing a readily available, often prolific, plant that many gardeners are eager to remove anyway. This reduces waste and eliminates the need for resource-intensive manufacturing and transportation of synthetic fertilizers.
Nettle fertilizer is particularly rich in nitrogen, which is crucial for leafy growth and chlorophyll production. This makes it an excellent feed for most vegetables, leafy greens, and young plants that are establishing themselves. Beyond nitrogen, nettles also contain significant amounts of iron, magnesium, calcium, sulfur, and other vital trace elements, providing a comprehensive nutrient boost that supports overall plant health and resilience against pests and diseases.
Unlike some harsh chemical fertilizers, nettle liquid fertilizer works in harmony with your soil’s natural microbial life. It enhances soil health, encouraging beneficial microorganisms and earthworms, which in turn improve soil structure and nutrient cycling. This holistic approach leads to healthier, more robust plants that are better equipped to thrive without constant intervention. Plus, it’s completely free – an undeniable advantage for any budget-conscious gardener!
What You Need: Tools and Materials for Your Nettle Brew
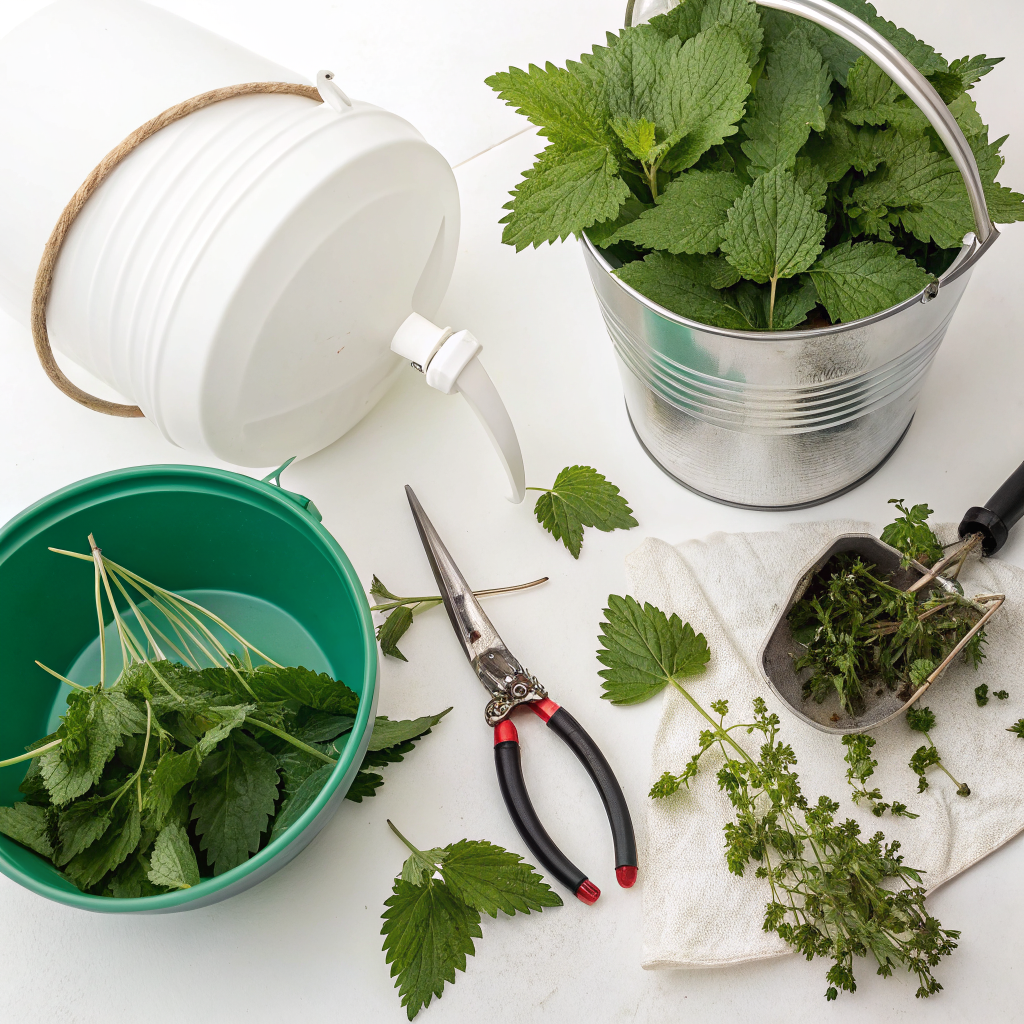
Before you embark on your nettle liquid fertilizer journey, gathering the right tools and materials will make the process smooth and enjoyable. Safety, especially due to the stinging nature of nettles, is paramount. Don’t skip the protective gear!
Essential Tools:
- Sturdy Gloves: Thick gardening gloves are non-negotiable. Nettles sting, and the sting can be quite irritating. Long-sleeved gloves are even better for forearm protection.
- Secateurs or Scissors: For harvesting nettles without damaging the plants or yourself too much.
- Large Non-Metallic Container: A plastic bucket, bin, or even a repurposed water butt is perfect. Avoid metal containers as the fermentation process can react with metals, potentially leaching harmful compounds. A lid for this container is also highly recommended to contain smells and prevent pests.
- Weight (Optional but Recommended): A brick or a heavy stone can be used to submerge the nettle material completely. This prevents mold and ensures even fermentation.
- Stirring Stick: A sturdy wooden stick or a piece of bamboo is ideal for stirring the mixture periodically.
- Coarse Sieve or Old Tights/Mesh Bag: For straining the finished fertilizer, separating the liquid from the solid plant matter.
- Funnel: To make pouring the strained liquid into storage containers easier and mess-free.
- Storage Bottles/Containers: Old milk jugs, soda bottles, or specialized liquid fertilizer containers work well. Ensure they have tight-fitting lids.
- Watering Can: For applying the diluted fertilizer to your plants.
Key Materials:
- Fresh Stinging Nettles (Urtica dioica): The star of our show! Harvest from areas free from pesticides and herbicides. Look for young, lush growth before they flower, as these contain the highest concentration of nutrients.
- Water: Rainwater is ideal as it’s chlorine-free. If using tap water, let it sit for 24-48 hours to allow chlorine to dissipate.
Pro Tip: When harvesting nettles, choose well-established patches. Don’t take all the nettles from one spot; leave some for wildlife and to allow the patch to regenerate. Young nettles are best as they haven’t put energy into seed production yet and are richest in nitrogen.
Step-by-Step Guide: Brewing Your Nettle Elixir
Making nettle liquid fertilizer is more an art of patience than a complex scientific endeavor. Follow these steps, and you’ll soon have a free, powerful tonic for your garden.
Step 1: Safely Harvest Your Nettles
Equip yourself with your sturdy gloves and long sleeves. Head to your chosen nettle patch, ideally in an area that hasn’t been sprayed with chemicals. Cut the nettles using your secateurs or scissors. Aim to harvest the top 6-12 inches (15-30 cm) of the plants, particularly the younger, tender growth. You’ll need a good amount – generally enough to fill your chosen container roughly half to two-thirds full when loosely packed. The more nettles, the stronger the brew.
Safety First: Always wear appropriate protective gear when handling nettles. If you do get stung, a paste of baking soda and water or a dock leaf (often found growing near nettles) can provide some relief.
Step 2: Prepare Your Fermentation Container
Place your harvested nettles into your large, non-metallic container. Don’t compact them too much; allow for easy submersion. If using a mesh bag or old tights, you can put the nettles inside and tie it off, which makes straining later much simpler. This method is highly recommended for beginners.
Step 3: Add Water
Fill the container with water, completely submerging the nettles. Rainwater is always preferred, but chlorine-free tap water will do. The ratio is generally around 1 part nettles to 10 parts water by weight, but a volumetric estimate of filling the container ensures sufficient liquid. If you’re using the mesh bag method, ensure the bag is fully submerged.
Step 4: Submerge and Cover
If not using a mesh bag, use a heavy object like a brick or stone to weigh down the nettles, ensuring they remain underwater. This prevents airborne mold from forming on any exposed nettle material and encourages proper anaerobic fermentation. Cover the container with a lid to keep out unwanted debris, pests, and to minimize the strong odor that will develop.
Odor Alert: Be warned, the fermentation process produces a rather pungent, often described as ‘foul’ or ‘farm-like’ smell. Choose a location for your brewing station that is away from living areas or well-ventilated.
Step 5: Let it Ferment (The Patience Game)
Place your covered container in a warm, shady spot. The fermentation process can take anywhere from 2 to 4 weeks, depending on the ambient temperature. Warmer temperatures speed up the process. Stir the mixture daily or every other day to aerate it slightly and encourage even decomposition. You’ll notice bubbles, indicating microbial activity, and the nettles will become dark and mushy as they break down.
When is it Ready? The liquid is ready when the bubbling largely subsides, and the mixture smells less of fresh nettles and more like rich, earthy manure. The liquid should also be dark in color, typically greenish-brown or even black.
Step 6: Strain and Store Your Liquid Fertilizer Nettles
Once fermented, it’s time to separate the liquid gold. If you used a mesh bag, simply lift it out and allow the liquid to drain. Otherwise, pour the mixture through a coarse sieve or an old piece of fabric (like old tights) into another clean container. Squeeze out as much liquid as you can from the solid plant matter. The remaining solid sludge can be added to your compost pile, where it will continue to break down and enrich your compost.
Transfer the strained liquid into your chosen storage bottles or containers. Label them clearly. The concentrated nettle fertilizer can be stored in a cool, dark place for several months, often up to a year, without losing potency.
Step 7: Dilute and Apply
This nettle liquid fertilizer is highly concentrated and must be diluted before use to avoid ‘burning’ your plants. A common dilution ratio is 1 part nettle concentrate to 10 parts water (1:10). For more sensitive plants or seedlings, you can dilute it further to 1:20. Use your watering can to apply the diluted solution directly to the soil around the base of your plants. Avoid spraying directly onto delicate leaves, especially in hot sun, as it can cause scorching.
Apply every 2-4 weeks during the growing season, primarily to plants that benefit from a nitrogen boost, such as leafy vegetables, established seedlings, and fruit-bearing plants before they flower intensely. As the season progresses and plants start to flower, you might switch to a fertilizer higher in potassium for fruiting and flowering.
Alternative Application: You can also use a very diluted solution (1:20 or even 1:50) as a foliar spray on the leaves of robust plants. Do this in the early morning or late evening to prevent leaf scorch and ensure maximum absorption.
Pro Tips and Common Mistakes with Liquid Fertilizer Nettles
Even with a straightforward process, there are ways to optimize your nettle brew and pitfalls to avoid. These insights will help you get the most out of your homemade fertilizer.
Pro Tips:
- Aeration Matters: Stirring regularly (every 1-2 days) introduces oxygen, which helps the beneficial microbes do their work more efficiently and reduces the likelihood of excessively foul smells associated with purely anaerobic decomposition.
- Mix it Up: For an even more balanced fertilizer, consider adding other nutrient-rich ‘weeds’ to your brew. Comfrey leaves, for instance, are high in potassium and can be fermented alongside nettles, creating a powerful all-purpose feed. Dandelion leaves also contribute various trace minerals.
- Temperature Control: While warmer temperatures speed up fermentation, excessively hot conditions can lead to putrefaction rather than fermentation, resulting in a less effective (and even smellier) product. A consistent, moderate temperature (e.g., 60-75°F / 15-24°C) is ideal.
- Test Before You Commit: If you’re unsure about the dilution ratio for particularly sensitive plants, test a small amount on a single plant or even a leaf first. Observe for a day or two to ensure no adverse reaction before widespread application.
- Label Clearly: Once strained and bottled, ensure all containers are clearly labeled. You don’t want to accidentally water your prize-winning tomatoes with neat concentrate!
Common Mistakes to Avoid:
- Using Metallic Containers: As mentioned, metals can react with the acids produced during fermentation, potentially leaching harmful substances into your fertilizer and weakening the container itself.
- Not Diluting Enough: The most common mistake. Concentrated nettle fertilizer is simply too strong for direct application and will ‘burn’ plant roots and leaves, causing damage or even death. Always dilute!
- Exposing Nettles to Air During Fermentation: If the nettles aren’t fully submerged, they are prone to molding, which can contaminate your brew and create an ineffective product. Use a weight or mesh bag.
- Applying in Direct Sunlight: Whether applied as a soil drench or foliar spray, never use nettle tea in the harsh midday sun. Water and concentrated nutrients can act as a magnifying glass, scorching leaves. Early morning or late afternoon/evening is best.
- Harvesting Flowering Nettles: While not a complete disaster, nettles that have already flowered have put much of their energy into seed production, making their leaves less nutrient-dense. Aim for pre-flowering growth.
- Expecting Instant Miracles: Nettle fertilizer, like all organic feeds, works by nourishing the soil and plants over time. Its effects are gradual and sustained, not an overnight chemical boost.
Eco-Friendly Variations for Your Nettle Brew
The beauty of homemade liquid fertilizers is their adaptability. You can easily tweak your basic nettle brew to cater to specific plant needs or to utilize other readily available organic materials. Here are a few eco-friendly variations:
- Comfrey Nettle Tea: Comfrey (Symphytum officinale) is often called a “compost activator” and is incredibly rich in potassium, as well as calcium, magnesium, and other trace elements. Adding comfrey leaves to your nettle brew (e.g., a 50/50 mix or a 1:2 ratio of comfrey to nettles) creates a fantastic all-around fertilizer. This is especially beneficial for flowering and fruiting plants like tomatoes, peppers, and berries.
- Seaweed & Nettle Mix: If you live near a clean coastline, seaweed is another incredible free resource. It’s packed with an array of trace minerals and growth hormones. Add fresh, rinsed seaweed (the brown kelp types are best) to your nettle brew at a ratio of about 1 part seaweed to 3-4 parts nettles. This creates a powerful tonic for overall plant vigor and resilience.
- Kelp Meal Boost: Can’t harvest fresh seaweed? You can purchase dried kelp meal and add a handful or two to your nettle brew. The decomposition process will extract its nutrients, delivering a similar mineral boost.
- Manure Tea (for very hungry plants): For exceptionally hungry plants, you can introduce a small amount of well-rotted animal manure (cow, chicken, horse – ensure it’s not from animals treated with persistent herbicides) into your nettle brew. This will significantly increase the nitrogen content but also the odor! Use sparingly and ensure it’s completely submerged.
- Herbaceous Plant Mix: Experiment with other nutrient accumulators common in your garden. Dandelion leaves (rich in potassium and calcium), chickweed, and clover can all be added to your nettle brew to create a synergistic, broad-spectrum fertilizer. Always ensure the plants you use are free from diseases or pests you don’t want to spread.
A Word on Experimentation: When creating variations, start with smaller batches. This allows you to observe the results and adjust ratios before committing to a large quantity for your entire garden. Consistency in dilution is key for any variation.
Seasonal Considerations for Nettle Fertilizer
Optimizing your nettle liquid fertilizer use throughout the gardening year can make a significant difference to plant performance and soil health. Understanding the nutrient needs of your plants in different seasons is key.
- Spring: This is prime time for nitrogen-rich feeds. As seedlings emerge and young plants establish themselves, a regular dilute nettle feed (1:10 or 1:20) is perfect. Apply every 2-3 weeks to promote lush, green, vigorous growth for leafy greens, brassicas, and emerging perennials. Harvest young nettles in spring for the most potent nitrogen brew.
- Early Summer: Continue feeding leafy crops. For fruiting and flowering plants, reduce the frequency or consider switching to a comfrey-dominant mix if you’ve brewed one. Nettle brew can still be beneficial for general plant health, but too much nitrogen can sometimes delay flowering or encourage leafy growth at the expense of fruit.
- Mid to Late Summer: As many plants are actively fruiting and flowering, their demands shift towards potassium and phosphorus. A pure nettle brew might be less appropriate, though a light application can still contribute beneficial trace elements. If you’ve made a nettle-comfrey blend, this is an excellent time to use it for fruit and root development. Avoid applying heavy nitrogen around plants that are trying to set fruit.
- Autumn: For many annuals, feeding stops as they near the end of their life cycle. However, for overwintering crops or newly planted bare-root perennials, a lighter nettle feed can help them establish strong roots before winter dormancy. It can also be applied to rejuvenate spent soil beds after harvest, preparing them for cover crops or next year’s planting.
- Winter: Generally, plants are dormant in winter, and feeding is unnecessary. Save your stored concentrate for the burst of growth in spring! The cold weather also slows down the fermentation process significantly, so brewing in winter is less efficient, but possible if you have a sheltered, warmer spot.
Listen to Your Plants: The best guide for feeding is always your plants themselves. Observe their growth habits, leaf color, and overall vigor. Pale, yellowing leaves often indicate a nitrogen deficiency, signaling it’s time for a nettle boost.
Expert Resources for Advanced Organic Gardening
To deepen your understanding of organic fertilizers, soil health, and sustainable gardening practices, consider exploring these reputable resources. They offer a wealth of knowledge beyond just liquid fertilizer nettles.
- Gardening Know How: An excellent website with a vast library of articles covering almost every aspect of gardening, including organic methods and plant nutrients. Their practical advice is well-researched and easy to understand. Visit Gardening Know How
- Royal Horticultural Society (RHS): A leading gardening charity with an extensive online knowledge base. The RHS provides detailed information on plant cultivation, pest and disease management, and sustainable gardening practices, including composting and homemade feeds. Explore the RHS Website
- University of Minnesota Extension: University extension offices are fantastic resources for regionally specific gardening information, often grounded in scientific research. Their guides on soil health, nutrient management, and organic methods are highly valuable for gardeners in cooler climates. Check out UMN Extension
- Our articles on best garden hedges: For those looking to integrate more living fences into their landscape, our guides provide practical advice on selection and maintenance.
- Understanding Garden Soil Types: A deeper dive into the different kinds of soil and how to improve them naturally, which perfectly complements the use of organic fertilizers.
Conclusion: Embrace the Nettle Power!
Making liquid fertilizer from nettles is more than just a gardening hack; it’s a step towards a more sustainable, self-reliant, and eco-conscious approach to cultivation. It transforms a common, often unwanted, plant into a free, potent, nutrient-rich elixir that will dramatically enhance the health and productivity of your garden. By taking a little time and patience, you can brew a truly powerful tonic that your plants will thank you for.
From providing a nitrogen boost for lush foliage to enriching your soil’s microbial life, nettle liquid fertilizer offers a host of benefits that synthetic alternatives simply can’t match. So, next time you see a patch of stinging nettles, don’t just see a weed to avoid. See an opportunity, a free resource, and a testament to the incredible power of nature to nourish and sustain. Get brewing, and watch your garden thrive!
Frequently Asked Questions (FAQ) about Nettle Liquid Fertilizer
-
How long does nettle liquid fertilizer last once made?
Once strained and stored in airtight containers in a cool, dark place, concentrated nettle liquid fertilizer can last for several months, often up to a year, without significant loss of potency. Its robust, earthy smell usually remains consistent.
-
Can I use nettle fertilizer on all types of plants?
Nettle fertilizer is generally beneficial for most plants, especially those that love nitrogen, such as leafy greens, brassicas, corn, and young seedlings. However, for flowering and fruiting plants at their peak production stage, you might want to switch to a feed higher in potassium (like a comfrey tea blend) to encourage fruit set rather than just leaf growth. Always dilute properly for all plants.
-
What should I do with the leftover nettle sludge after straining?
The spent nettle sludge is excellent for your compost pile. It acts as a rich “green” material, full of beneficial nutrients and organisms, helping to activate and enrich your compost. You can also dig it directly into garden beds (though burying it prevents potential odors).
-
Is there any risk of spreading nettle seeds or plants by using this fertilizer?
When you ferment nettles, the decomposition process effectively kills off any viable seeds. By the time the liquid fertilizer is ready, the plant material is thoroughly broken down, so there’s virtually no risk of inadvertently spreading nettle seeds through the liquid or the composted sludge.