10 Proven Ways to Regenerate Compacted Soil Without Digging
Is your garden soil hard as a rock, resisting water, and stunting plant growth? Compacted soil is a prevalent problem for many gardeners, leading to poor drainage, reduced aeration, and a general decline in soil health. The good news is that you don’t need to break your back with a tiller to bring it back to life. This comprehensive guide will show you how to naturally regenerate compacted soil without digging, using biological and ecological principles to restore its structure and vitality.
We’ll explore a range of gentle yet powerful techniques that focus on working with nature, not against it. By enhancing microbial activity, improving organic matter content, and creating pathways for air and water, you can transform dense, unproductive ground into a thriving ecosystem capable of supporting lush plants. Get ready to unlock the secrets to a healthier, more resilient garden soil.
[lwptoc]
Why This Matters for Your Garden
Compacted soil is a silent killer for your garden. It chokes plant roots by denying them access to essential oxygen, which is critical for nutrient uptake and respiration. Water struggles to penetrate dense soil, leading to runoff and wasted irrigation, or conversely, waterlogging as it sits on the surface without draining properly.
Beyond the immediate impact on plants, compaction destroys the intricate soil food web. Earthworms, beneficial microbes, and fungi, which are vital for breaking down organic matter and cycling nutrients, cannot thrive in an oxygen-deprived environment. This creates a vicious cycle where poor soil health perpetuates itself, leading to increased disease susceptibility, nutrient deficiencies, and the need for more artificial inputs.
Learning how to regenerate compacted soil without digging is not just about improving your plants’ vigor; it’s about fostering a sustainable, resilient garden ecosystem. It reduces your labor, saves water, minimizes the need for synthetic fertilizers, and builds long-term soil fertility. Ultimately, it encourages a holistic approach to gardening that benefits both your plants and the planet.
What You Need (Tools/Materials/Plants)
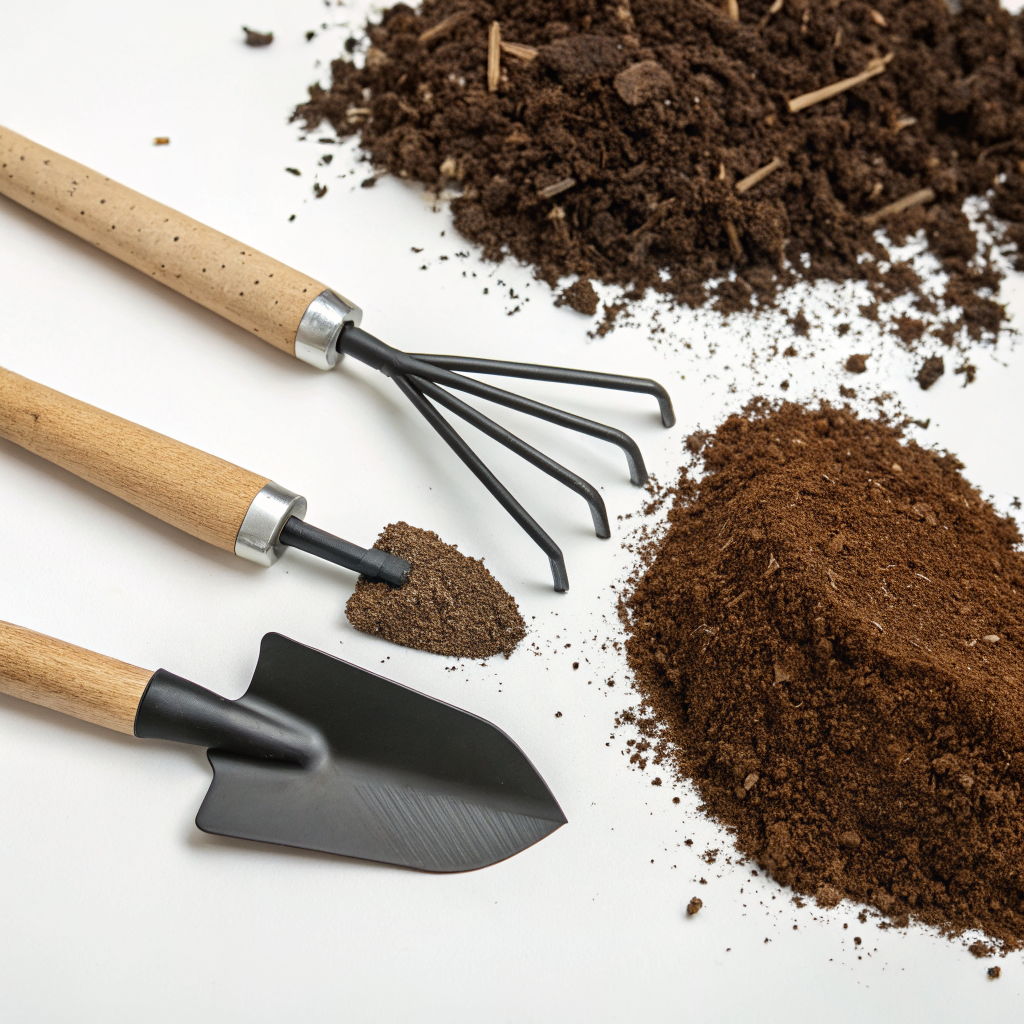
You’ll be pleasantly surprised at how few specialized tools are required for this approach. The main “tools” are biological! Here’s a list of essentials:
- Organic Matter: High-quality compost (the more mature, the better), shredded leaves, aged wood chips, straw, grass clippings, and cover crop residues. This is the cornerstone of soil regeneration.
- Compost Tea/Liquid Biostimulants: Optional but highly effective for quickly introducing beneficial microbes. You can brew your own or purchase commercial products.
- Broadfork (optional but highly recommended): A non-inversion tool that aerates without disturbing soil layers. It’s excellent for breaking initial compaction in very dense areas, but still falls into the “minimal disturbance” category compared to digging.
- Tarps or Cardboard: For sheet mulching and suppressing weeds.
- Mulch Materials: Aged wood chips, straw, shredded leaves to maintain moisture and feed the soil over time.
- Cover Crop Seeds: A diverse mix of legumes, grasses, and broadleaf plants suited to your climate. Specific recommendations include clover, vetch, buckwheat, daikon radish, and winter rye.
- Garden Fork or Pitchfork: For gentle aeration and incorporating light materials.
- Watering Can or Hose with a Gentle Sprayer: For applying compost tea or ensuring even moisture.
- Microbial Inoculants (optional): Specific products to boost beneficial fungi and bacteria, especially mycorrhizal fungi.
Step-by-Step Guide: Restoring Your Soil’s Health
Step 1: Assess and Prepare the Area
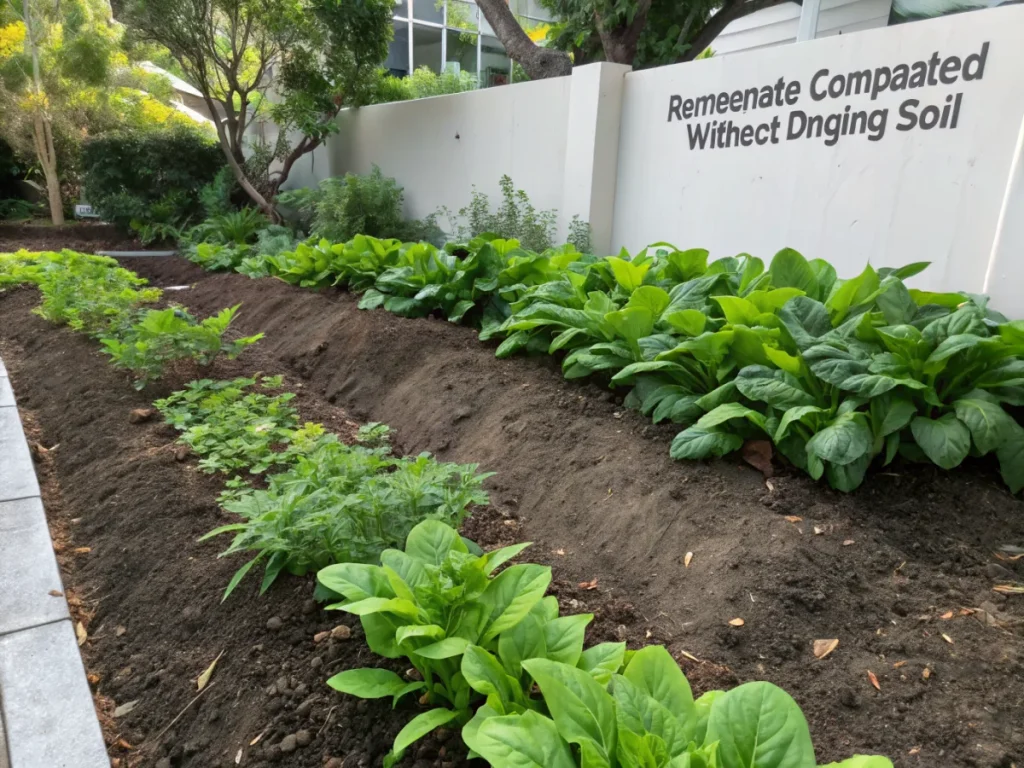
Begin by observing your soil. Is it hard and crusty? Does water just sit on top and run off? Are plants stunted despite adequate watering and feeding? These are clear signs of compaction. Remove any surface debris, large rocks, or existing weeds by hand. A light rake can help level the surface without disturbing it deeply.
For areas with severe compaction, a broadfork can be used at this stage. Insert the broadfork tines into the soil, step back onto the crossbar, and gently rock it to loosen the soil without flipping it over. This creates vertical channels for air and water without destroying the soil structure.
Step 2: Introduce a Thick Layer of Organic Matter
This is arguably the most critical step. Apply a generous layer of high-quality compost, at least 2-4 inches thick, over the entire compacted area. Compost acts as a biological sponge, improving soil structure, providing nutrients, and reintroducing a diverse array of beneficial microorganisms. It also serves as a slow-release fertilizer and helps retain moisture.
Don’t be shy with the compost; the more, the better, especially in the first application. For very poor soil, consider a second layer after a few weeks. You can then transition to less refined organic matter.
Step 3: Mulch, Mulch, Mulch!
After applying compost, immediately cover it with a 3-6 inch layer of organic mulch. This could be straw, aged wood chips, shredded leaves, or even grass clippings (applied thinly to avoid matting). Mulch serves multiple functions: it protects the soil from erosion and temperature extremes, suppresses weeds, and consistently provides slow-degrading organic matter to the soil below. As the mulch breaks down, it encourages earthworms and other soil organisms to tunnel upwards, naturally aerating and amending the soil. Replenish mulch as it decomposes.
Step 4: Plant Cover Crops Strategically
Cover crops are living tools for soil regeneration. Their roots are incredibly effective at breaking up compacted soil naturally. Deep-rooted cover crops like daikon radish or tillage radish can penetrate hardpans, creating channels for subsequent plant roots and improving water infiltration. Other cover crops like clover or vetch fix nitrogen, while fibrous-rooted grasses add significant organic matter. Choose a mix suited to your climate and season.
Broadcast the chosen cover crop seeds directly over the compost and mulch layer (you might need to pull back a thin layer of mulch to ensure good seed-to-soil contact). Lightly rake them in and keep them consistently moist until germination. Allow them to grow for several weeks or months before crimping, chop-and-dropping, or simply letting them die back naturally in winter. This returns all the organic matter and the created root channels back into the soil, enhancing its structure and fertility.
For more detailed information on choosing cover crops, visit Gardening Know How’s guide to cover crops.
Step 5: Harness the Power of Biological Amendments
To further accelerate the regeneration process, consider applying biological amendments. Compost tea, made by aerating compost in water, is teeming with beneficial microbes that can kickstart your soil’s living ecosystem. Apply it as a drench or foliar spray. Mycorrhizal fungi inoculants are another excellent addition; these fungi form symbiotic relationships with plant roots, extending their reach for water and nutrients and improving soil structure. These amendments act as catalysts, boosting the natural processes already occurring.
You can also consider adding specific amendments like biochar, which provides excellent microhabitats for beneficial microbes and improves water retention. Remember, the goal is to feed the soil biology, which in turn feeds your plants and rebuilds soil structure.
Step 6: Integrate Deep-Rooted Plants and Perennials
Once you’ve made initial progress, choose plants with strong, deep root systems for your permanent plantings. Perennials, shrubs, and even certain vegetables like tomatoes, corn, or carrots can continue the work of natural aeration. Their roots will naturally penetrate and break up compacted layers over time, creating a network of tunnels that improve drainage and air circulation. Avoiding annual tilling and opting for permanent plantings where possible allows the soil food web to establish undisturbed.
Pro Tips and Common Mistakes
Pro Tips:
- Be Patient: Soil regeneration is a process, not an event. It takes time for organic matter to break down and for soil biology to flourish. You’ll see improvements within months, but significant transformation can take a year or more.
- Consistency is Key: Regularly replenish your compost and mulch layers. Don’t think of it as a one-time application. Sustained input of organic matter is vital.
- Avoid Walking on Wet Soil: This is a cardinal rule for preventing compaction. Create defined pathways in your garden to limit foot traffic in planting areas, especially when the soil is moist.
- Combine Methods: Don’t rely on just one technique. The most effective approach is to combine several strategies – composting, mulching, cover cropping, and planting deep-rooted species – for synergistic results.
- Observe Your Soil: Pay attention to how your soil changes over time. Dig a small test hole periodically (carefully, by hand) to observe changes in crumb structure, earthworm activity, and water infiltration.
Common Mistakes to Avoid:
- Relying on Chemical Fertilizers: Synthetic fertilizers can often bypass the soil food web and do little to improve soil structure. Focus on feeding the soil biology with organic matter.
- Overwatering: While compacted soil needs moisture, overwatering can lead to further compaction and displace vital air pockets. Water deeply and less frequently, allowing the soil to aerate between waterings.
- Ignoring the Problem: Hoping compacted soil will fix itself is futile. Active intervention with organic methods is necessary to reverse the damage.
- Using a Tiller: While it seems intuitive to break up hardened soil with a tiller, it actually destroys the vital soil structure, kills beneficial organisms, and often leads to even worse compaction over time by pulverizing the soil particles. This defeats the entire purpose of “no-dig” methods.
- Not Enough Organic Matter: A thin layer of compost won’t cut it for severely compacted soil. Be generous; your soil will thank you.
Note: Regular soil testing can guide your amendments, helping you understand pH, nutrient levels, and organic matter content. This information allows for more targeted and efficient regeneration efforts.
Eco-Friendly Variations
Embracing a no-dig approach for compacted soil is inherently eco-friendly, but you can take it a step further:
- Sheet Mulching/Lasagna Gardening: For severely compacted areas or new garden beds, consider sheet mulching. Layer wet cardboard (remove all tape/labels) directly over the compacted soil, followed by alternating layers of “greens” (e.g., grass clippings, food scraps) and “browns” (e.g., shredded leaves, straw), topped with compost and mulch. This method builds new, rich soil directly on top of the old, effectively smothering weeds and regenerating the soil below over time. It’s a powerful no-dig garden bed creation technique. You can find more details on sheet mulching on this site.
- Vermicompost: Incorporate vermicompost (worm castings) into your compost layers. Worm castings are incredibly rich in beneficial microbes and plant-available nutrients, and they have excellent aggregating properties that help improve soil structure. You can even add red wiggler worms directly to your garden beds under a thick layer of mulch.
- Utilize Native Plants: Where appropriate, planting native species can be highly beneficial. Native plants are adapted to your local soil and climate, often have extensive root systems well-suited to the local geology, and require fewer inputs. Their root exudates also support local soil microbial communities.
- Rain Gardens and Swales: If compaction leads to standing water, consider incorporating rain gardens or shallow swales strategically. These landscape features help manage stormwater runoff, encouraging water to slowly infiltrate the soil rather than pooling or eroding, thus promoting natural soil hydration and microorganism activity.
Seasonal Considerations
The timing of your soil regeneration efforts can significantly impact their effectiveness.
- Spring: This is an excellent time to apply compost and fresh mulch as temperatures rise, activating microbial life. If you’re establishing a new garden bed, sheet mulching in spring gives it plenty of time to break down before fall planting. You can also plant cool-season cover crops.
- Summer: Focus on maintaining your mulch layer to keep soil cool and moist. Avoid disturbing the soil during the hottest parts of the day. Warm-season cover crops can be planted.
Applying compost tea during summer can give a boost to active microbial communities. - Fall: Arguably the best time for significant soil regeneration. Apply thick layers of compost and mulch, especially shredded leaves. The winter decomposition will integrate these materials beautifully. Planting overwintering cover crops like winter rye or hairy vetch will protect the soil, prevent erosion, and add organic matter when tilled under (or crimped) in spring. Fall is also ideal for establishing perennial plants, giving them time to root before winter dormancy.
- Winter: Protect your soil! If you haven’t planted cover crops, maintain a thick layer of mulch to insulate the soil and prevent compaction from harsh winter weather. Undisturbed, mulched soil allows worms and microbes to continue their work even in colder temperatures (though at a slower rate).
Tip: Always consider your local climate and specific plant needs when planning seasonal soil work.
Expert Resources for Further Learning
To deepen your understanding of soil health and regenerative gardening, here are some excellent external resources:
- The Royal Horticultural Society (RHS) offers fantastic, scientifically backed advice on soil care: RHS – Improving Soil
- For comprehensive guides on various gardening topics, including soil amendments and organic practices, check out: Gardening Know How
- University extension programs provide regional-specific advice and research-based information, often focusing on sustainable practices: University of Minnesota Extension – Soil, Water & Land Management
- For more regenerative gardening strategies including no-dig methods, explore articles like Lasagna Gardening Made Easy and The Effortless Magic of No-Dig Gardening on our site.
Conclusion
Regenerating compacted soil without digging is not just a gardening technique; it’s a philosophy that empowers you to work with nature to create a healthier, more productive garden. By consistently applying organic matter, embracing mulching, strategically planting cover crops, and fostering microbial life, you can transform even the most challenging, compacted ground into rich, friable soil teeming with life.
The journey may require patience and consistent effort, but the rewards are profound: less labor, healthier plants, reduced need for external inputs, and a thriving ecosystem beneath your feet. Step away from the tiller and embrace the power of biology; your garden, and the planet, will thank you for it.
Frequently Asked Questions (FAQ)
<h4>Q1: How long does it take to see results when regenerating compacted soil without digging?</h4>
<p>A1: You can typically see initial improvements in soil structure and water infiltration within a few months, especially with consistent application of compost and mulch. Significant regeneration, leading to truly rich, friable soil, often takes 1-2 years or even longer, depending on the initial severity of compaction and your consistent efforts.</p>

<h4>Q2: Can I still plant immediately after applying compost and mulch to compacted soil?</h4>
<p>A2: Yes, you can! For many plants, especially those with vigorous roots, planting directly into or through a thick layer of compost and mulch is perfectly fine. The compost provides immediate nutrients, and the mulch helps retain moisture. For very young or tender seedlings, ensure good seed-to-soil contact by slightly pulling back mulch around them.</p>

<h4>Q3: Is it possible to regenerate highly compacted, clay-heavy soil using these methods?</h4>
<p>A3: Absolutely! Clay soil is often the most prone to compaction, but it also benefits immensely from these no-dig techniques. The addition of organic matter helps clay particles clump together into aggregates, creating more pore space for air and water. Cover crops with strong taproots (like daikon radish) are particularly effective at breaking up dense clay layers. Patience is key, as clay soils take longer to amend.</p>

<h4>Q4: What's the biggest mistake gardeners make when trying to fix compacted soil?</h4>
<p>A4: The biggest and most common mistake is tilling or deep digging. While it temporarily loosens the soil, it destroys the existing soil structure, disrupts fungal networks, kills earthworms, and burns off organic matter, ultimately leading to even worse compaction over time. Embracing no-dig principles is crucial for long-term soil health.</p>