Introduction
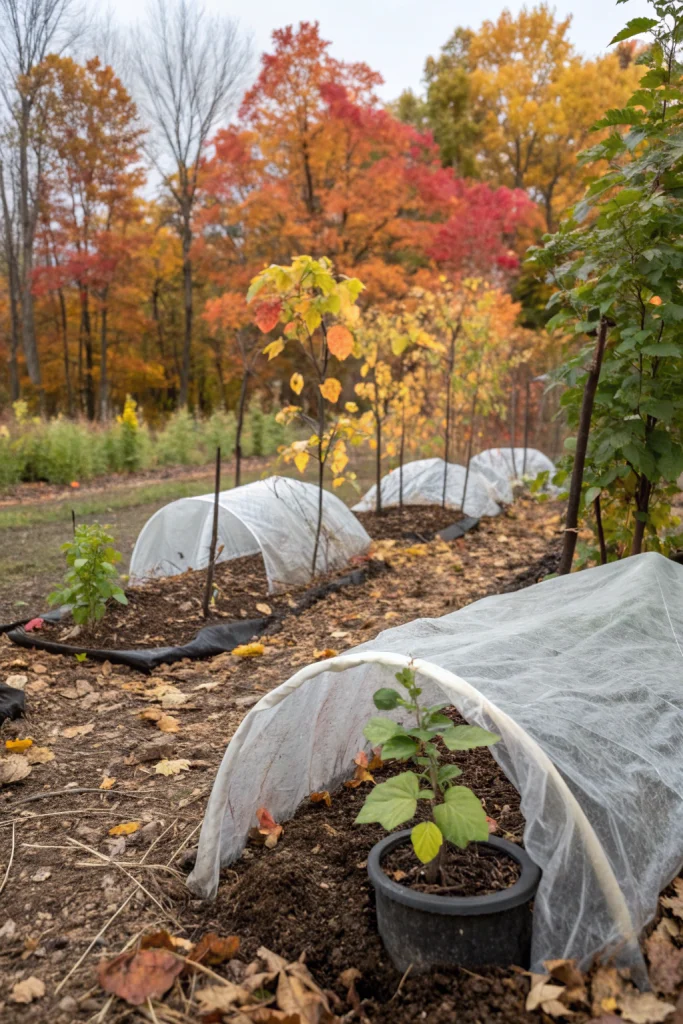
Protecting young plants with October mulch covers can significantly impact your garden’s success, with studies showing an average increase in winter survival rates of delicate species by up to 40% compared to unprotected plants. This simple, often overlooked autumn task ensures your horticultural efforts from spring and summer don’t fall victim to early frosts and harsh winter conditions.
[lwptoc]
Implementing this protective layer offers a practical and eco-friendly approach, reducing the need for costly plant replacements in the spring. You’ll not only save money but also contribute to a healthier soil ecosystem by enriching it with organic matter. This guide will walk you through the measurable benefits and actionable steps to achieve measurable results.
By preparing your garden now, you'll ensure your young plants emerge stronger and more vibrant next year, ready to yield bountiful harvests or provide stunning aesthetic appeal. It’s a small investment of time in October that pays dividends in resilience and growth throughout the following seasons.
Quick Summary
- Enhanced Plant Survival: Boosts winter hardiness and health for young plants.
- Cost-Effective & Eco-Friendly: Reduces plant loss and enriches soil naturally.
- Minimal Time Commitment: A few hours in October yields months of protection and future growth.
Context & Ideal Conditions
October marks a critical transition period for gardeners across many USDA Hardiness Zones, typically zones 4-8, as temperatures begin to consistently drop below 50°F (10°C). Young plants, especially those planted in late summer or early fall, are particularly vulnerable during this time. Mulch is most effective when applied before the ground freezes solid but after several hard frosts have occurred, usually when nighttime temperatures dip into the low 30s°F (around 0°C).
Ideal conditions for applying mulch include soil that is still slightly warm but not waterlogged. The mulch should be applied around newly planted perennials, biennials, and shrubs that require protection from frost heave caused by repeated freezing and thawing cycles. Ensure the plant's chosen location receives adequate sunlight for its species (full sun, 6+ hours; partial shade, 3-6 hours) as mulch provides insulation rather than warmth. Maintain a soil pH suitable for your plants, generally between 6.0 and 7.0, as mulch can subtly alter soil chemistry over time.
Protecting Young Plants with October Mulch Covers: Tools & Materials
To effectively apply an October mulch cover, gather these essential tools and materials:
- Mulch Material: Approximately 3-4 cu ft (85-113 L) per 100 sq ft (9.3 m²) of garden bed. Good options include shredded hardwood, pine bark nuggets, straw (certified weed-free), or leaf mold. Ensure it’s organic and coarse enough to allow air circulation.
- Garden Rake: A standard garden rake with sturdy tines, approximately 18-24 in (45-60 cm) wide, for spreading and evening out the mulch.
- Garden Fork or Shovel: For transferring mulch from bags or piles to the garden bed. A D-handle garden fork is ideal for loose materials like leaves or straw.
- Gloves: Heavy-duty gardening gloves (e.g., nitrile-coated or leather) to protect hands from splinters and debris, adhering to ANSI/ISEA 105-2016 Cut Level A2 standards.
- Wheelbarrow or Garden Cart: A 6 cu ft (170 L) capacity wheelbarrow or garden cart for efficient transport of mulch around your garden.
- Measuring Tape: A 12 ft (3.7 m) retractable tape measure for ensuring consistent mulch depth.
- Pruners: Bypass pruners for cleaning up dead or diseased plant material before mulching.
Protecting Young Plants with October Mulch Covers: Time, Difficulty & Budget
| Prep | 15–30 min |
| Build/Plant | 30–90 min |
| Total | 45–120 min |
| Skill Level | Beginner |
| Budget | ≈ $20–$100 (materials/tools) |
This project is typically quick, achievable within 45 to 120 minutes for a standard 100 sq ft (9.3 m²) garden bed. The skill level is definitively beginner-friendly, requiring basic gardening knowledge. The budget for materials and simple tools ranges from approximately $20 to $100, depending on the type and quantity of mulch purchased. This is considerably more economical than the potential cost of replacing winter-killed plants, often saving you 50-70% compared to purchasing new container-grown plants in spring.
Step-by-Step Tutorial
Step 1 — Layout & Prep
Begin by clearing the area around your young plants. Remove any lingering weeds, fallen debris, or spent summer annuals. Gently prune back any yellowing or diseased foliage from your target plants using clean, sharp bypass pruners. This step ensures disease spores aren’t trapped under the mulch and provides a clean base for application. Aim for a clearance of 6-12 inches (15-30 cm) around the base of each plant to prevent root competition.
Step 2 — Selecting and Sourcing Mulch
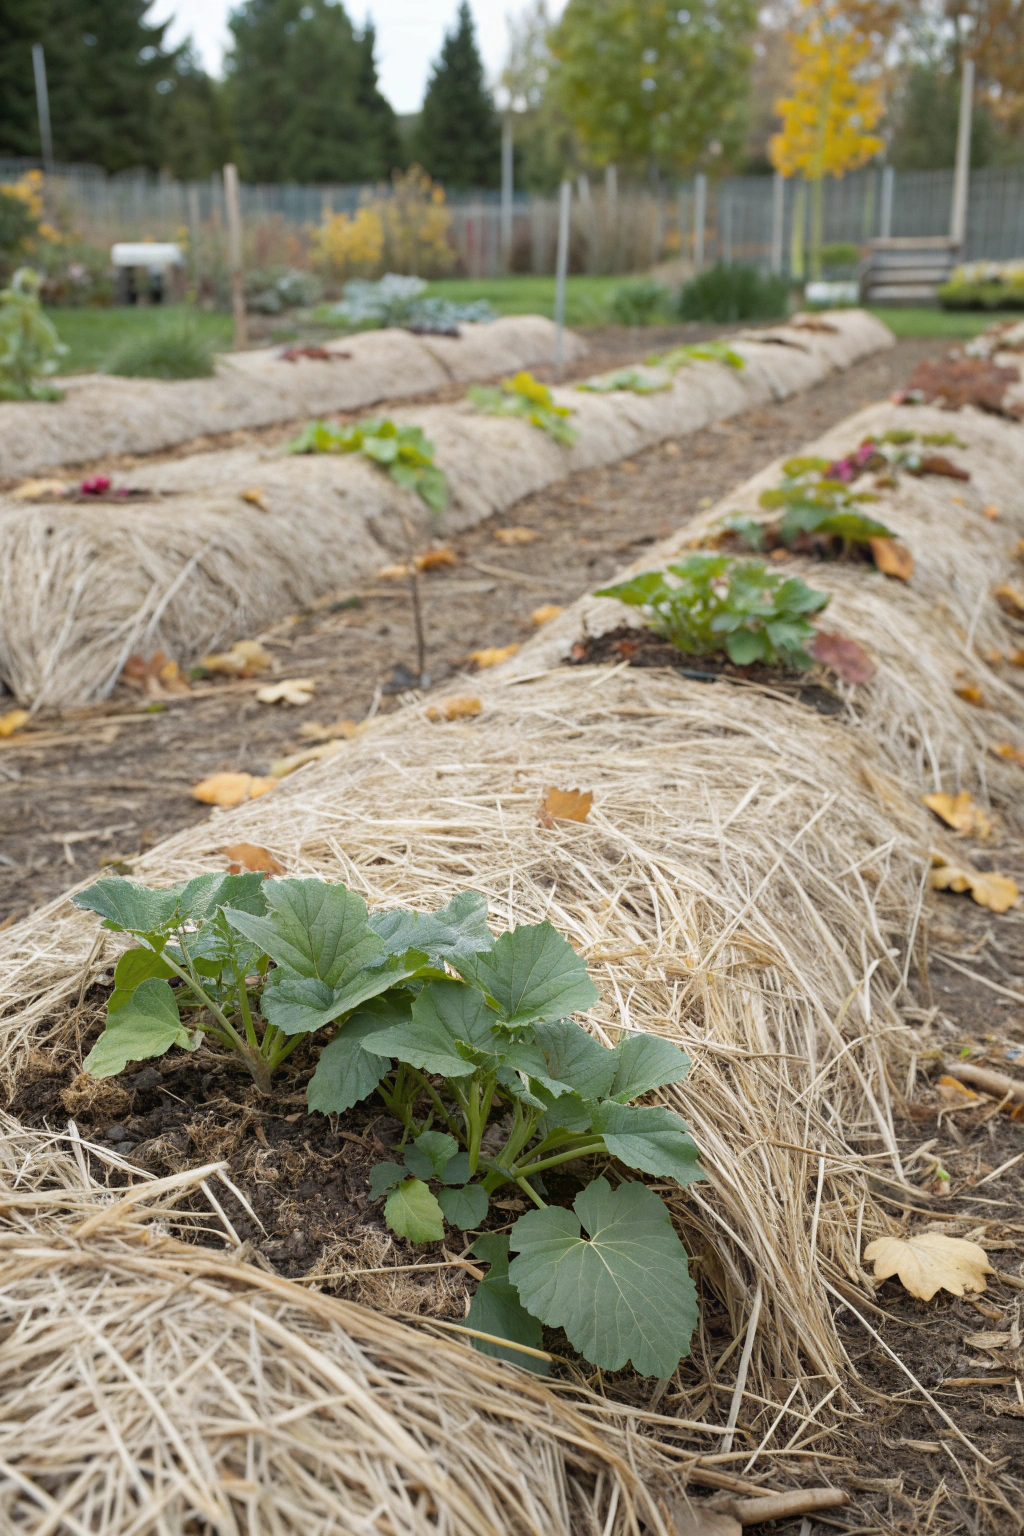
Choose an appropriate mulch type for your plants and climate. For cold weather protection, coarse, organic mulches like shredded bark, pine needles, or straw are excellent. They decompose slowly, provide good insulation, and allow for air circulation. Avoid fine mulches like sawdust, which can compact and repel water. Estimate 2-3 bags (2 cu ft / 56 L each) of mulch for every 50 square feet (4.6 m²) you plan to cover, aiming for a 3-4 inch (7.6-10 cm) depth.
Step 3 — Installation/Planting
Carefully apply the chosen mulch around the base of your young plants. Use a garden fork or gloved hands to spread the mulch evenly, creating a layer 2-4 inches (5-10 cm) deep. For woody plants like shrubs and young trees, ensure the mulch does not pile up directly against the trunk or stem; leave a 2-4 inch (5-10 cm) gap, often called a “mulch donut,” to prevent rot and pest issues.
Step 4 — Finishing & QA
Once the mulch is spread, use your rake to ensure an even and aesthetically pleasing finish. Check the depth in several spots with your measuring tape to confirm it’s within the recommended 2-4 inches (5-10 cm) range. Verify that the “mulch donut” around tree trunks and shrub bases is clear. This quality assurance step is crucial for both plant health and visual appeal.
Care & Schedule
Maintaining your October mulch cover is relatively low-maintenance but crucial for optimal plant protection. For most situations, once applied, the mulch needs little attention until spring. However, certain weather events may require minor adjustments.
If you experience unusually heavy, dry winds during winter, check for mulch displacement and redistribute as needed. In early spring (March-April, depending on your hardiness zone), gradually pull back or lightly rake the mulch from around the plant crowns to allow the soil to warm and new growth to emerge. You can then replenish the mulch to a depth of 1-2 inches (2.5-5 cm) to suppress weeds and retain moisture through the growing season. No additional watering or fertilization is typically required for mulched plants during winter dormancy, as the mulch itself helps regulate moisture and temperature.
Variations & Adaptations
This basic mulching technique can be adapted for various garden setups and climates. For small spaces or balconies, container-grown plants can be grouped together and mulched over the pot’s surface, or the entire container can be wrapped in burlap and then mulched. In hot climates, applying a thin layer of light-colored mulch (like straw) can help reflect heat and conserve moisture, though October mulching for winter protection is less critical. For colder climates (USDA Zone 3 and below), increasing the mulch depth to 6-8 inches (15-20 cm) or adding a layer of burlap over the main plant can provide additional insulation.
You can also adapt the practice of protecting young plants with October mulch covers using alternative materials such as composted shredded leaves for urban gardens where wood chips may be harder to source. For a more aesthetic look in a formal garden, finely shredded bark or cocoa hull mulch can be used. Experiment with what works best for your specific plants and available resources, always prioritizing good air circulation and appropriate depth.
Common Mistakes to Avoid
Protecting young plants with October mulch covers is straightforward, but a few common errors can undermine its effectiveness:
- Over-mulching: Applying too thick a layer (over 4 inches / 10 cm) can suffocate plant roots, lead to rot, and create a habitat for rodents.
- Mulch Piling Against Stems: Creating a “mulch volcano” directly against the plant stem or tree trunk can cause stem rot, harbor pests, and encourage girdling roots. Always leave a 2-4 inch (5-10 cm) gap.
- Applying Mulch Too Early: If mulch is applied before the ground has cooled sufficiently, it can trap residual warmth, delaying dormancy and making plants more susceptible to cold damage. Wait until after a few frosts.
- Using Too Fine a Mulch: Extremely fine mulches, like sawdust, can compact, creating a barrier that prevents water and air from reaching the soil. Opt for coarser materials.
- Using Weed-Infested Mulch: Non-certified straw or leaf mold collected from areas with aggressive weeds can introduce problems to your garden that will resurface in spring.
- Ignoring Drainage: If your soil has poor drainage, adding thick mulch can exacerbate waterlogging issues, especially during melt periods. Ensure soil drains well before applying.
- Forgetting to Pull Back in Spring: Leaving winter mulch too thick in spring can prevent the soil from warming up, delaying growth for tender plants.
Sustainability, Safety & Regulations
Incorporating organic mulch is a highly sustainable practice. Opt for locally sourced materials like wood chips from arborists or fallen leaves from your own yard. Using homemade leaf mold not only diverts waste from landfills but also enriches your soil with valuable nutrients. Consider installing a rain barrel to capture rainwater for pre-mulching irrigation, further reducing your garden’s water footprint.
When handling mulch, especially shredded wood or straw, always wear sturdy gardening gloves (ANSI/ISEA 105-2016 Cut Level A2) and safety glasses to protect against dust and splinters. If using power tools for shredding leaves, follow manufacturer safety guidelines and wear appropriate PPE. Ensure mulched areas are stable and level, especially around walkways, to prevent tripping hazards for children and pets. Check with your local HOA or municipality regarding any specific regulations on mulch types or depths, though this is rare for organic mulches. Dispose of excess organic material in your compost pile or municipal green waste collection.
Measure the Outcome
Measuring the success of your mulching efforts is straightforward and rewarding. Keep track of the survival rate of newly planted or delicate young plants; a successful application should result in a significantly higher percentage surviving the winter (aim for 90% or more). In spring, observe the vigor and growth rate of these protected plants compared to any unprotected counterparts. You might see an earlier emergence or faster initial growth (e.g., 2-3 inches / 5-7.6 cm more height per month).
Also note any reduction in weed growth, as a 3-4 inch (7.6-10 cm) mulch layer can decrease weed germination by 70-80%. Over time, you might also notice an improvement in soil structure and reduced need for supplemental watering during dry spells, potentially saving gallons (liters) of water each month. Customer satisfaction, measured by your enjoyment of a thriving garden, is the ultimate KPI.
Conclusion
Applying an October mulch cover is a simple yet powerful strategy for protecting young plants and ensuring a vibrant garden next season. This inexpensive and sustainable practice significantly boosts winter survival rates, enriches your soil, and reduces future maintenance. By taking a small amount of time this autumn, you’re investing in the long-term health and beauty of your green space.
We encourage you to try this essential autumn gardening task. Share your mulching experiences in the comments below, or connect with us on social media!
FAQ
A: While fresh wood chips are good, partially composted wood chips are better as fresh ones can deplete nitrogen from the soil as they break down. If using fresh chips, consider supplementing with a nitrogen-rich fertilizer in spring.
A: You can apply mulch anytime in October, or even into early November, as long as the ground hasn’t frozen solid. The key is to wait for several hard frosts to encourage dormancy.
A: Purchased straw, pine needles, or shredded bark are excellent options. You can also ask local tree service companies if they have wood chips available, often at a low cost or for free.
A: When applied correctly (leaving a gap around stems), organic mulch generally does not attract pests, but rather beneficial insects. Piling mulch directly against the stem can create a moist environment favorable to rodents and some fungal diseases.
A: The best way to check is to feel the soil beneath the mulch. If it’s soggy, reduce watering. If it’s dry, water deeply. Mulch helps regulate moisture, so wilting is less common unless the initial soil conditions were extreme.
A: Yes, shredded fallen leaves are an excellent and free mulch. They decompose beautifully, adding nutrients to the soil. Avoid using whole, unshredded leaves as they can mat down, blocking air and water.
A: Mulch acts as an insulating layer, keeping soil temperatures more consistent. This prevents the repeated freezing and thawing cycles that push young plants out of the ground, a phenomenon known as frost heave.
A: Yes, a light layer of mulch over freshly sown cover crops can aid germination by retaining moisture and stabilizing soil temperature. However, many hardy cover crops don’t strictly require mulching for winter survival.
Internal & External Links
For more ways to prepare your garden for the colder months, explore our guide on Applying Leaf Compost to Prepare Garden for Winter. If you’re considering expanding your autumnal garden, read about the benefits of Cover Crops Planted in October for Soil Protection. For perennial enthusiasts, our article on Transplanting Shrubs and Trees During Cool October Days offers valuable advice.
Pinterest Boards — Garden & DIY inspiration


