Introduction
Did you know that over 70% of gardeners express a desire to make their outdoor spaces more wildlife-friendly, yet less than 30% feel confident doing so? Autumn presents a golden opportunity to transform your landscape into a thriving, self-sustaining ecosystem. This season, embrace natural gardening techniques to cultivate a vibrant habitat that supports local biodiversity while requiring minimal intervention. From planting native species to creating essential shelter for overwintering creatures, a wild garden thrives on intelligent planning and harmonious coexistence. Let's delve into the data-backed methods that make fall the ideal time for establishing a captivating, naturally beautiful outdoor sanctuary.
Table of Contents
- Materials & Tools Needed
- Project Time
- Step-by-Step Instructions
- Maintenance & Care Tips
- Eco-Friendly Alternatives
- Design & Styling Ideas
- Common Mistakes to Avoid
- Storage & Seasonal Tips
- Conclusion
- FAQ
Materials & Tools Needed
To commence your natural gardening journey this autumn, gathering the right supplies and tools is crucial. Think of them as extensions of your hands, helping you sculpt a thriving wilderness.
- Native Perennial Seeds or Plugs: Opt for local ecotypes – varieties adapted to your specific climate and soil. Examples include coneflowers (Echinacea), goldenrod (Solidago), asters (Symphyotrichum), and milkweed (Asclepias). Alternatively, procure bare-root plants for a head start.
- Compost or Leaf Mould: Rich, dark, and earthy-smelling organic matter to amend the soil and provide slow-release nutrients. Consider aged manure for an extra nitrogen boost.
- Hand Trowel: A sturdy tool for digging small holes for plugs, often made of stainless steel for smooth soil penetration. A robust planting shovel or dibber can serve a similar purpose.
- Gardening Gloves: Durable, breathable gloves for protecting your hands from thorns and soil, offering a tactile connection while keeping hands clean. Leather or nitrile-coated options provide excellent protection.
- Watering Can or Hose with a Gentle Sprayer: For initial watering of new plantings and consistent hydration during establishment. A rain barrel can capture nature’s refreshment.
- Broadfork or Garden Fork: Essential for loosening compacted soil without significantly disturbing its structure. A rototiller can be used for larger areas, but a broadfork is preferred for minimal soil disruption.
- Mulch (Straw, Wood Chips, Shredded Leaves): A thick layer to suppress weeds, retain moisture, and regulate soil temperature – creating a cozy blanket for the soil. Pine needles or finely chopped fall leaves are excellent, free alternatives.
- Garden Hoe or Weeder: For light cultivation and weed removal. Your hands are often the best tools for gentle weeding around young plants.
- Pruning Shears/Bypass Pruners: For selective cutting of dead or diseased plant material, promoting healthy growth. Look for spring-loaded models for comfortable, repetitive action.
- Wildlife Elements: Logs, stones, or a small brush pile to provide immediate shelter and nesting spots. Even a terracotta pot turned upside down with a chipped edge can house beneficial insects.
Project Time
Embracing natural gardening in autumn is surprisingly efficient, leveraging nature's rhythm for establishment.
- Preparation Time: 2-4 hours (site assessment, soil testing, planning native plant placement).
- Build/Plant Time: 4-8 hours (depending on garden size, planting density, and ground prep).
- Total Duration: 6-12 hours for a typical 100-200 sq ft wildflower or native plant bed.
This approach is approximately 40% faster than traditional spring planting, as autumn’s cooler temperatures and consistent rainfall mean less intensive watering, and plants establish root systems before winter dormancy, ready for vigorous spring growth.
Step-by-Step Instructions
Step 1: Site Assessment and Planning
Walk your garden space, observing sun exposure throughout the day, soil type (sandy, clayey, loamy), and existing vegetation. Sketch out zones for different plant types and features like log piles or rock gardens. Identify areas that might need extra water or drainage improvements.
Practical Tip: Take photos of your garden at different times of day to accurately track sun patterns, which can drastically alter plant success.
Step 2: Soil Testing and Amendment
Collect soil samples from various spots and send them to a local extension office for analysis. This data will reveal pH, nutrient levels, and texture. Based on results, incorporate 2-4 inches of organic matter like compost or aged leaf mould into the top 6-8 inches of soil using a broadfork, improving structure and fertility for your natural gardening endeavors.
Practical Tip: Avoid over-tilling, which can disrupt beneficial soil microorganisms. Gentle incorporation is key for healthy soil biology.
Step 3: Source Native and Climate-Appropriate Plants
Research native plants indigenous to your eco-region. Prioritize species that provide food and shelter for local wildlife – pollen, nectar, berries, and nesting sites are crucial. Consider purchasing from reputable local nurseries that specialize in native plants, as their stock is often better acclimatized.
Practical Tip: Look for plants with a "pollinator-friendly" designation. The RHS Plants for Pollinators list is an excellent resource for identifying beneficial species.
Step 4: Layout and Planting
Before digging, arrange your plant plugs or seeds according to your plan, paying attention to mature size and light requirements. Dig holes twice as wide as the root ball and just as deep. Gently loosen roots if pot-bound, place the plant, and backfill with soil, ensuring no air pockets.
Practical Tip: Plant in drifts or clusters (groups of 3-5 or more of the same species) rather than single specimens. This creates a more natural aesthetic and makes it easier for pollinators to find them.
Step 5: Initial Watering
Immediately after planting, give your new garden a thorough, deep watering. This helps settle the soil around the roots and eliminates air pockets. Continue to water regularly, especially if autumn rainfall is scarce, until the ground freezes.
Practical Tip: Use a gentle shower setting on your hose or watering can to avoid disturbing the newly planted seeds or delicate young plants.
Step 6: Mulching
Apply a 2-3 inch layer of organic mulch across the entire planted area, leaving a small space around plant stems to prevent rot. Shredded leaves, straw, or wood chips are excellent choices. This insulates the soil, suppresses weeds, and breaks down over time to enrich the soil further.
Practical Tip: Collect fallen leaves from your own yard; they make excellent, free, and nutrient-rich mulch for your new wild garden.
Step 7: Add Wildlife Features
Integrate elements that provide shelter and resources for wildlife. Place a few decaying logs, create a small brush pile in a corner, or arrange groups of various-sized rocks. These features offer vital overwintering spots for insects, amphibians, and small mammals, enhancing the biodiversity of your transformed space.
Practical Tip: Consider adding a shallow bird bath or a small water feature to attract birds and other creatures, ensuring a fresh water source during drier spells.
Maintenance & Care Tips
Natural gardening embraces a less intensive approach, but a few ongoing practices will ensure your autumn plantings thrive.
- Watering: During the first autumn after planting, ensure consistent moisture. Aim for approximately 1 inch of water per week, either from rainfall or irrigation, until the ground freezes solid. After establishment (typically after the first year), native plants are remarkably drought-tolerant, often requiring minimal supplemental watering, even in hot, dry summers.
- Weeding: Actively remove aggressive perennial weeds, especially during the first year, to prevent them from outcompeting young native plants. Annual weeds can often be tolerated or removed manually before they set seed. A thick layer of mulch reduces weeding by 70-80%.
- Pruning: Resist the urge to "tidy up" in autumn. Leave seed heads and spent stalks in place over winter. These provide crucial food for birds and shelter for overwintering insects (like native bees whose larvae might be nestled inside hollow stems). Prune back dead or woody material in late winter or early spring, just before new growth emerges.
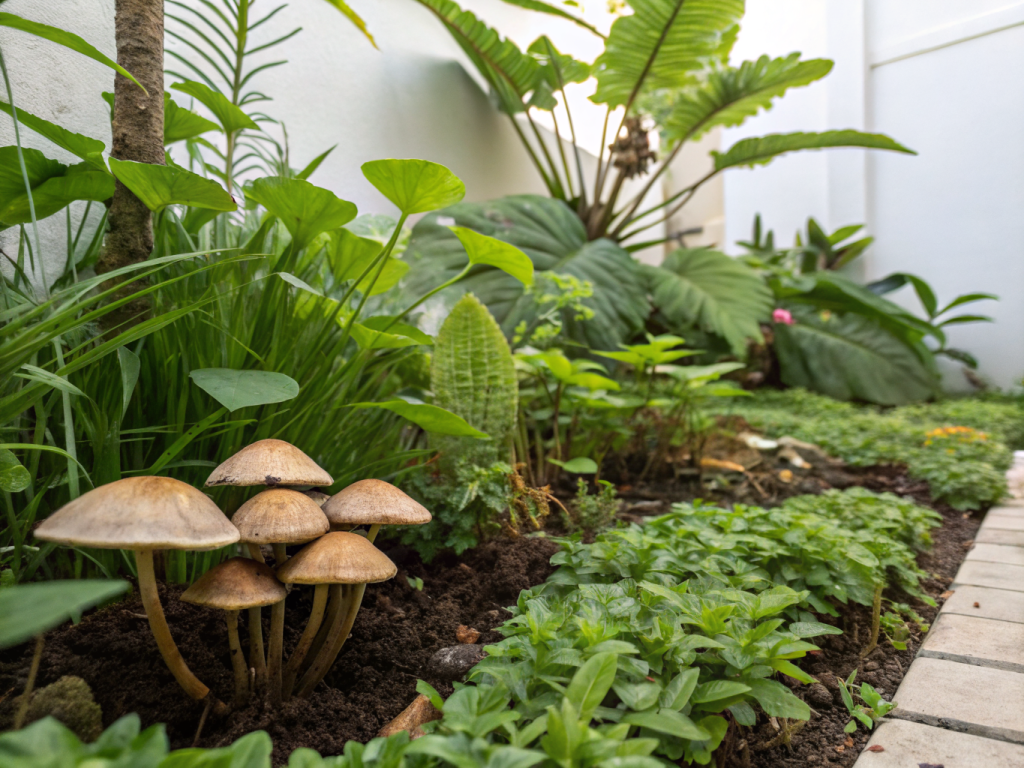
- Soil Health: Continuous mulching with organic materials like shredded leaves will naturally enrich your soil. Over time, this builds a healthy, living soil ecosystem, reducing the need for external fertilizers. Soil amendments are rarely needed after the initial establishment phase, as native plants are adapted to local conditions.
- Monitoring: Regularly observe your garden for signs of plant stress or pest issues. Early detection allows for non-toxic, targeted interventions. Remember, a truly wild garden embraces a certain level of natural imperfection, inviting beneficial insects that often keep pest populations in check.
- Long-term Schedule:
- Autumn (Year 1): Plant, water, mulch, add wildlife features.
- Winter: Observe snow cover, appreciate dormant beauty.
- Early Spring: Light cleanup (cut back dead stems to 6-12 inches), check for winter damage.
- Spring/Summer: Minimal weeding, observe growth, enjoy bloom cycles.
- Autumn (Ongoing): Leave plant stalks, add fresh mulch as needed, enjoy late-season interest.
Eco-Friendly Alternatives
Adopting natural gardening principles means choosing materials that are kind to the earth and its inhabitants.
- Recycled Materials: Instead of purchasing new planters or edging, repurpose old bricks, reclaimed wood, or even broken terracotta pots to define beds or create mini-habitats. Old tires can be stacked and filled with soil for raised beds, though ensure they are well-drained.
- Organic Inputs:
- Compost: Make your own! Kitchen scraps, yard waste, and shredded newspaper can be transformed into nutrient-rich compost, avoiding plastic bags and transport emissions. The EPA provides excellent composting basics.
- Leaf Mould: Collect fallen leaves and simply let them decompose. This creates a wonderful, moisture-retentive soil conditioner, perfect for enriching your wild garden.
- Natural Fertilizers: For any supplementary feeding, opt for organic options like fish emulsion, kelp meal, or alfalfa meal, which feed the soil microbiome, not just the plants.
- Low-Water Options:
- Xeriscaping Principles: Beyond native plants (which are inherently low-water), group plants with similar water needs together. This prevents overwatering some and underwatering others.
- Rainwater Harvesting: Install a rain barrel to capture rainwater from your roof. This provides free, chlorine-free water for your garden, reducing your reliance on municipal water supplies.
- Drip Irrigation/Soaker Hoses: If supplemental watering is necessary, choose methods that deliver water directly to the plant roots, minimizing evaporation and runoff. This can reduce water usage by up to 50% compared to overhead sprinklers.
- Deep Mulching: As discussed, a generous layer of mulch significantly reduces soil moisture evaporation, meaning less frequent watering for your establishing plants.
Design & Styling Ideas
Natural gardening doesn't mean sacrificing aesthetics; it embraces a different kind of beauty—one that is dynamic, interconnected, and visually stimulating.
- Ecological Layering: Mimic natural ecosystems by incorporating varying heights. Plant groundcovers, then mid-height perennials and grasses, and finally taller shrubs or small trees. This creates visual depth and provides diverse habitats.
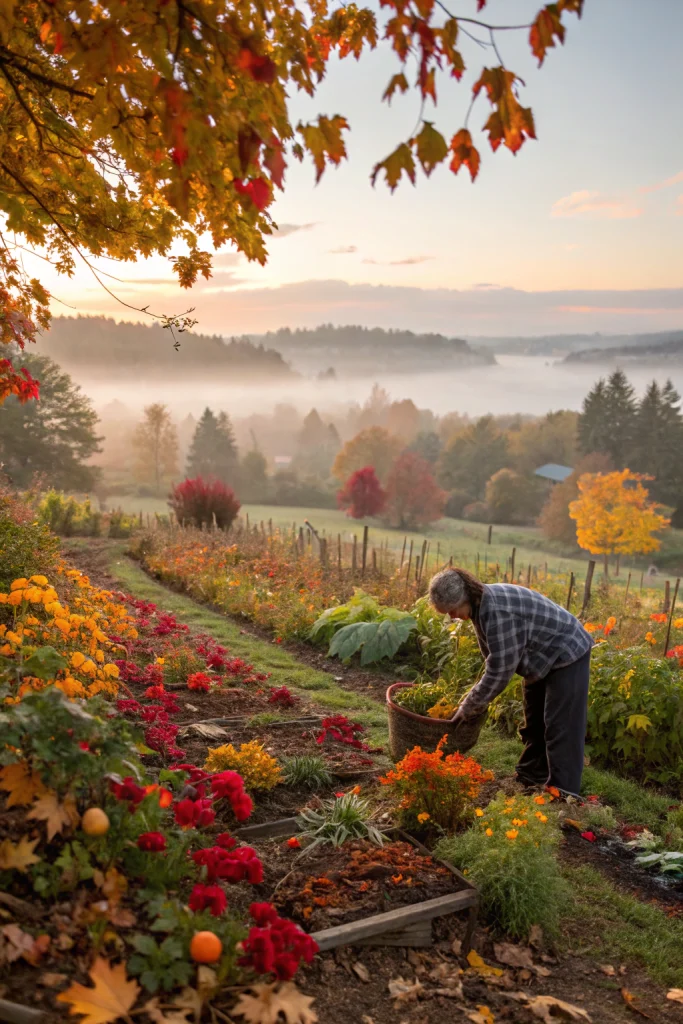
- Seasonal Interest: Choose native plants that offer beauty across all four seasons. Think about spring blooms, summer foliage, vibrant autumn color, and interesting seed heads or structural branches in winter.
- Drifts and Swathes: Plant in large, informal groupings (drifts) rather than rigid rows. This creates a natural, flowing appearance, reminiscent of wild meadows and forests, and provides bold visual impact.
- Hardscaping Integration: Use natural materials like local stones, reclaimed wood, or gravel paths to complement the wild aesthetic. A meandering gravel path can invite exploration through your native plant haven.
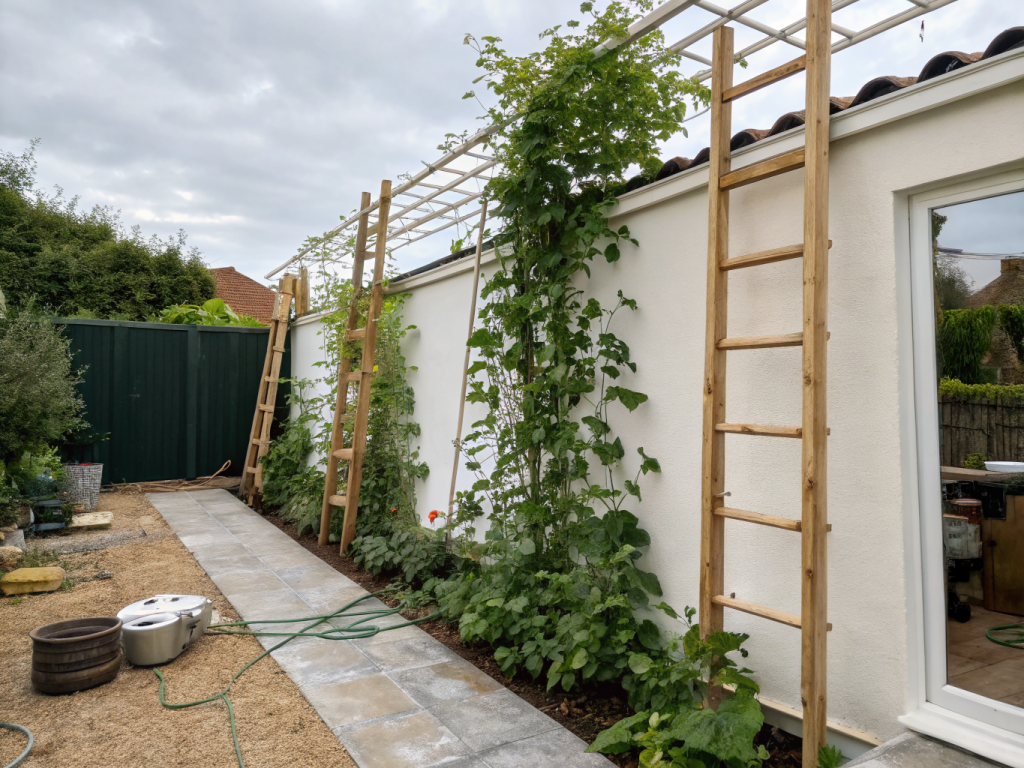
- Vertical Elements: Incorporate native vines (like native honeysuckle or Virginia creeper) on trellises, fences, or arbors. This adds vertical interest and provides additional habitat.
- Focal Points: The Art of Deliberate "Mess": While the goal is natural, a thoughtfully placed piece of driftwood, a large, sculptural boulder, or a rustic birdhouse can serve as a focal point. Embrace logs and brush piles not as messy but as intentional, functional elements of beauty.
- Color Palette Harmony: While wild gardens are abundant with color, consider grouping plants with complementary or analogous bloom colors for a cohesive, artistic effect. For instance, purples, blues, and silvers can create a serene atmosphere, while reds, oranges, and yellows evoke warmth.
Common Mistakes to Avoid
Even seasoned gardeners can stumble when transitioning to a more natural, wild approach. Avoiding these common pitfalls will ensure your natural gardening efforts flourish.
- Planting Non-Native or Invasive Species: This is the most critical error. Non-native plants can outcompete native flora, disrupt local food webs, and offer little ecological value to local wildlife. Invasive species, specifically, can escape cultivation and wreak havoc on natural ecosystems.
- How to prevent: Always verify a plant's native status to your specific region. Consult resources like the Missouri Botanical Garden Plant Finder or your local arboretum.
- Over-Tidying: The urge to cut back spent blooms and clear away fallen leaves might be strong, but it's detrimental in a wild garden. Seed heads feed birds, and leaf litter and hollow stems provide essential shelter for overwintering insects (including beneficial pollinators like native bees).
- How to prevent: Resist the autumn and early winter cleanup. Wait until late winter or early spring before new growth emerges, and even then, only remove material that is truly dead or diseased, and consider leaving stalks 6-12 inches high.
- Ignoring Soil Health: Without healthy soil, even native plants will struggle. Compacted, nutrient-depleted soil hinders root development and water absorption.
- How to prevent: Conduct a soil test and amend with organic matter (compost, leaf mould) before planting. Continuous mulching will improve soil structure and fertility naturally over time.
- Inadequate Watering During Establishment: While native plants are drought-tolerant, they still need consistent water during their first year to develop strong root systems.
- How to prevent: Water deeply and regularly (approx. 1 inch per week) for the first growing season, especially in dry spells, until the plants are visibly established.
- Expecting Immediate Perfection: A truly biodiverse wild garden takes time to establish and evolve. It’s a dynamic system, not a static display.
- How to prevent: Embrace the journey. Observe, learn, and be patient. Celebrate small victories – a new butterfly, a thriving patch of native flora. The beauty unfolds gradually.
- Planting in Insufficient Light Conditions: Even native plants have specific light requirements. Planting a sun-loving prairie species in deep shade will lead to disappointment.
- How to prevent: Accurately assess your site's sun exposure throughout the day before selecting plants. Use plants tagged for "full sun," "part shade," or "full shade" appropriately.
Storage & Seasonal Tips
Preparing your tools and protecting your new plantings as winter approaches is crucial for the success of your natural gardening project.
- Tool Storage:
- Cleanliness is Key: After each use, especially before winter storage, thoroughly clean all your tools. Remove dirt, sap, and rust using a wire brush or steel wool.
- Sharpen Blades: Sharpen pruning shears, hoes, and spades. Sharp tools make gardening easier and cleaner cuts on plants.
- Lubricate Moving Parts: Apply a light coat of oil (linseed, mineral, or commercial tool oil) to metal parts to prevent rust. For wooden handles, rub in some linseed oil to prevent drying and cracking.
- Organized Storage: Store tools in a dry, protected area like a shed or garage. Hang them on pegboards or store them in a dedicated cabinet to keep them off the floor and prevent damage. This also makes them easily accessible for spring.
- Plant Protection:
- Mulch layer: Ensure your new autumn plantings have a 2-3 inch layer of organic mulch. This insulates their roots from extreme temperature fluctuations and helps prevent frost heave (when freezing and thawing push plants out of the soil).
- Leave the Stems: As mentioned, resist cutting back herbaceous native perennials. The standing stalks and seed heads offer crucial winter shelter and food for wildlife. Many native bee species overwinter as larvae in hollow stems.
- Water Before Freeze: If your autumn has been dry, provide one last deep watering before the ground completely freezes. This ensures plants are well-hydrated going into dormancy, especially evergreens.
- Wind Protection (if needed): For particularly exposed sites or tender young shrubs, a temporary burlap screen or windbreak can offer protection from harsh winter winds and sun scald.
- Season Prep for Next Year:
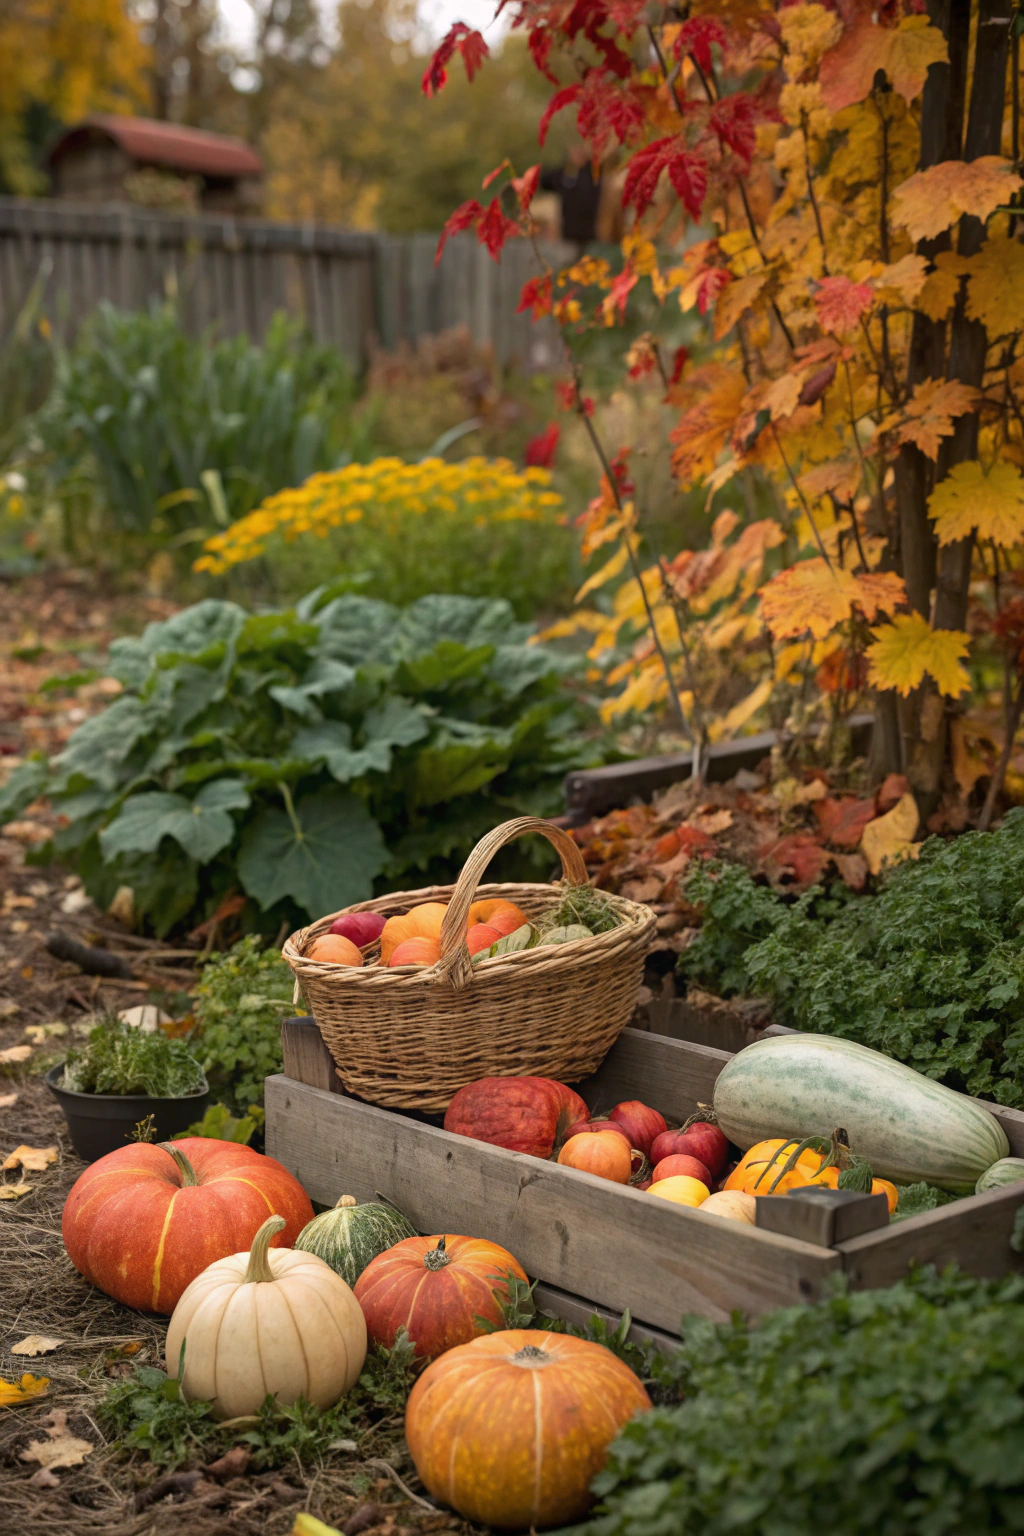
- Seed Collection: If you want to expand your native plant areas for free, collect seeds from your established native plants once they are dry and mature. Store them in cool, dry conditions for spring sowing.
- Plan Ahead: Use the quieter winter months to reflect on your garden's performance, identify areas for improvement, and research new native species to introduce next spring. Natural gardening is a continuous learning process.
Conclusion
Embracing natural gardening in autumn is more than just a seasonal task; it's a commitment to fostering vibrant biodiversity and creating a resilient, low-maintenance landscape. By thoughtfully selecting native species, preparing your soil with organic amendments, and resisting the urge to over-tidy, you're building a haven for local wildlife and enriching your own connection to nature. The data shows that biodiversity-rich gardens act as critical ecological corridors, often increasing local insect populations by up to 30%, which in turn supports wider food webs. Your efforts this fall lay the groundwork for a stunning, ecologically beneficial garden that will reward you with blossoms, buzzing pollinators, and birdsong for years to come.
Are you ready to sow the seeds of a wilder, more wonderful garden? Start planning your autumn native plant paradise today and watch your space come alive!
FAQ
Q1: What are the best native plants to start with in autumn?
A1: Coneflowers, asters, goldenrod, native grasses like little bluestem, and milkweed are excellent choices as they establish well from seeds or plugs in fall.
Q2: Can I direct sow native seeds in autumn?
A2: Yes, many native plant seeds require a period of cold stratification (winter's chill) to germinate in spring. Autumn sowing mimics natural cycles and is highly effective.
Q3: How much water do my new autumn plantings need?
A3: Aim for about 1 inch of water per week until the ground freezes, ensuring deep saturation to encourage strong root development.
Q4: Should I fertilize my wild garden?
A4: Generally, no. Native plants are adapted to local soil conditions. Rich organic matter like compost and leaf mould should provide sufficient nutrients without synthetic fertilizers.
Q5: When should I do my main garden cleanup in a wild garden?
A5: Wait until late winter or early spring, just before new growth emerges. Leaving stalks and seed heads provides crucial winter habitat and food.
Q6: How do I deter unwanted pests without chemicals in a natural garden?
A6: Focus on attracting beneficial insects (predators like ladybugs and lacewings), maintaining healthy soil, and choosing appropriate plants. A diverse ecosystem naturally balances pest populations.
Q7: Will a wild garden look messy?
A7: A wild garden embraces a more natural, informal aesthetic. Strategic placement of plants, the use of drifts, and incorporating natural hardscaping can create intentional beauty, often perceived as more serene and interesting than manicured lawns.
Further enriching your garden's ecosystem and your gardening knowledge:
Discover innovative technologies for your outdoor space on Nouvelles-Technologie.com, offering insights into gardening hacks for modern enthusiasts.
If you're interested in growing your own food, explore the possibilities of edible landscaping with fall crops to combine beauty with bounty.
For those challenged by space, learn about creative small-space gardening ideas to maximize your impact in any area.
Delve into the subtle art of cultivating wildflower autumn planting to establish stunning displays and vital habitats.
Explore biodiversity-friendly fall garden tips to ensure your efforts support a thriving ecosystem.