10 Essential Steps to Design a Rain Garden for Flood Prevention
Are you tired of seeing rainwater pool in your yard, eroding soil, and potentially damaging your home’s foundation? Do you want to contribute to a healthier local watershed while enhancing your landscape’s beauty? A well-designed rain garden offers an elegant, sustainable, and highly effective solution. This comprehensive guide will walk you through everything you need to know to successfully design a rain garden for flood prevention, transforming stormwater runoff from a nuisance into a valuable resource for your garden.
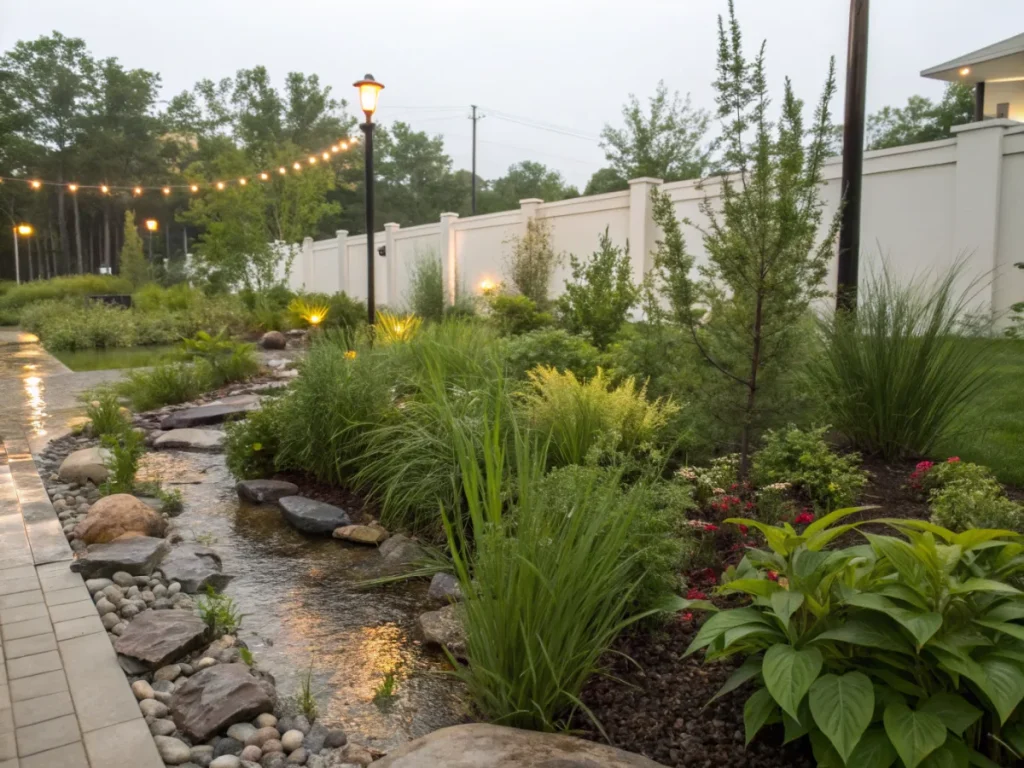
Rain gardens are more than just pretty planting beds; they are strategically engineered depressions designed to capture, filter, and slowly infiltrate stormwater runoff from impervious surfaces like roofs, driveways, and sidewalks. By mimicking natural hydrological processes, these eco-friendly landscape features protect water quality, reduce flood risks, and create vital habitats for pollinators and other wildlife. Let’s delve into the art and science of creating your own functional and beautiful rain garden.
[lwptoc]
Why Designing a Rain Garden Matters for Your Home and the Environment
The impact of uncontrolled stormwater runoff extends far beyond a soggy lawn. When rain hits impervious surfaces, it picks up pollutants like fertilizers, pesticides, oil, and sediment, carrying them into storm drains and eventually into local streams, rivers, and lakes. This degrades water quality, harms aquatic life, and can even affect human health.
For homeowners, significant runoff can lead to basement flooding, foundation damage, and costly erosion. Traditional drainage systems often exacerbate the problem by simply redirecting water elsewhere, while a rain garden actively manages it on-site. By designing a rain garden for flood prevention, you’re not just preventing problems; you’re creating solutions.
A rain garden significantly reduces the volume of stormwater entering traditional drainage systems, alleviating pressure on municipal infrastructure. It acts as a natural filter, allowing pollutants to settle out and be absorbed by plant roots and soil microorganisms. This process cleanses the water before it slowly infiltrates back into the groundwater, recharging our precious aquifers. Furthermore, these gardens create beautiful, wildlife-friendly spaces that can increase your property value and curb appeal. They are a prime example of sustainable landscape design.
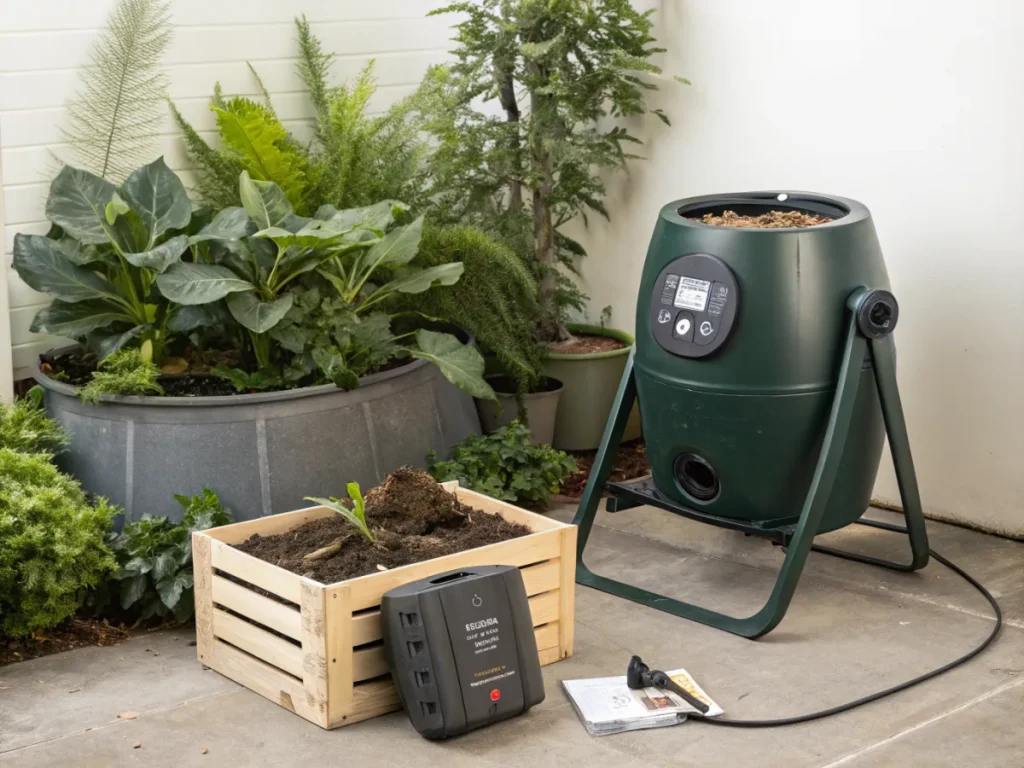
What You Need: Tools, Materials, and Plants for Your Rain Garden
Before you break ground, gather your essentials. Proper preparation ensures a smooth and successful rain garden installation. Having the right tools and materials upfront will save you time and frustration.
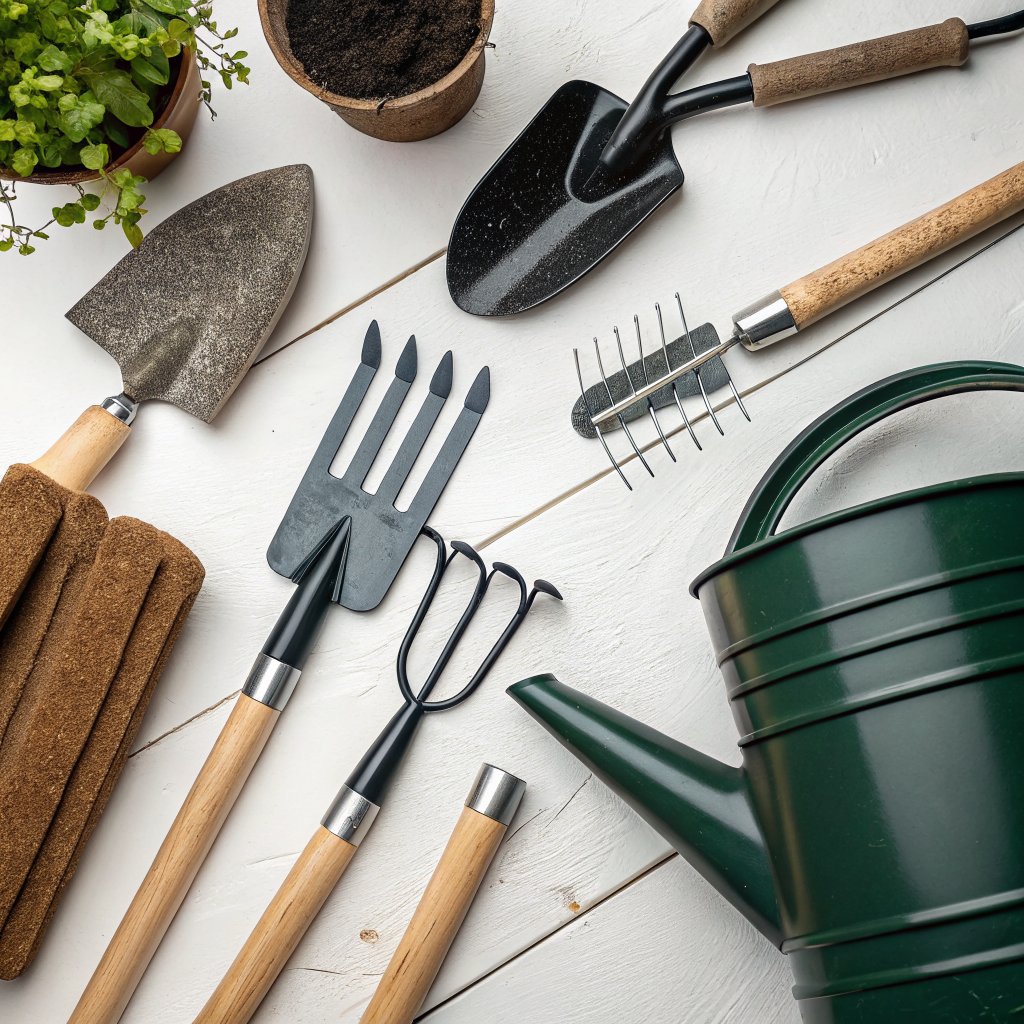
Essential Tools:
- Shovel and/or spade for digging
- Wheelbarrow for moving soil and amendments
- Measuring tape and stakes/string for outlining the garden
- Level or transit for checking slopes
- Garden hose for site testing and watering
- Trowel for planting
- Work gloves
- Safety glasses
Key Materials:
- Soil Amendments: Compost, sand, and possibly some native topsoil. A good rain garden soil mix is typically 50-60% sand, 20-30% topsoil, and 20-30% compost. This blend promotes excellent drainage and water retention.
- Mulch: Shredded hardwood mulch or pine bark. Avoid light, floatable mulches like wood chips, as they can wash away in heavy rain.
- Edging Material (Optional): Rocks, permeable pavers, or flexible plastic edging to define the garden boundaries and prevent soil migration.
- Inlet/Outlet Protection: River rock or gravel for dissipating water energy at the inflow and outflow points. Non-woven geotextile fabric can be used beneath the rock to prevent settling.
- Drainage Fabric (Optional): If your native soil drains very poorly, a layer of geotextile fabric and gravel can sometimes be used to improve subsurface drainage, though proper soil amendment is usually sufficient.
Plant Selection:
Choosing the right plants is crucial for a thriving rain garden. They must tolerate both wet “bathtub” conditions during rain events and drier periods between storms. Native plants are almost always the best choice as they are adapted to local climate and soil conditions, require less maintenance, and provide maximum ecological benefit. When selecting plants, consider:
- Moisture Tolerance: Plants for the center (bottom) of the garden need to thrive in consistently moist or saturated conditions. Those on the edges should tolerate drier soils.
- Sunlight Requirements: Match plants to the amount of sun your garden receives.
- Mature Size: Account for the height and spread of plants to avoid overcrowding.
- Root Systems: Deep, fibrous root systems are excellent for water infiltration and soil stabilization.
- Wildlife Benefits: Choose plants that provide food and habitat for pollinators and birds.
Examples of suitable plants often include:
- Center (Wet Zone): Cardinal Flower (Lobelia cardinalis), Iris (various native species), Swamp Milkweed (Asclepias incarnata), Blue Flag Iris (Iris versicolor), Switchgrass (Panicum virgatum).
- Middle Zone: Coneflower (Echinacea purpurea), Black-eyed Susan (Rudbeckia hirta), Little Bluestem (Schizachyrium scoparium), Joe Pye Weed (Eutrochium purpureum), Bee Balm (Monarda didyma).
- Edge (Drier Zone): Big Bluestem (Andropogon gerardii), Amsonia (Amsonia tabernaemontana), Wild Geranium (Geranium maculatum), Penstemon (Penstemon digitalis).
Step-by-Step Guide: How to Design a Rain Garden for Flood Prevention
Creating a rain garden is a rewarding project that follows a logical series of steps. Careful planning at each stage will ensure its long-term success.
Step 1: Site Selection and Sizing
The first crucial step is to pick the right place. Identify areas on your property where water naturally pools or where runoff flows from impervious surfaces. Your rain garden should be at least 10 feet away from your home’s foundation to prevent water from seeping into your basement. Avoid placing it directly over septic systems or utility lines. Call 811 before you dig to have utilities marked.
To determine the size, you need to calculate the area of the impervious surface that will drain into the garden. For every 100 square feet of impervious surface, you’ll generally need a rain garden that is 10-20% of that size, with a depth of 6-8 inches. For example, a 1000 sq ft roof draining to your garden might require a 100-200 sq ft rain garden. Adjust this based on your soil type (larger for clay, smaller for sandy) and the average rainfall in your area. Use a simple calculation: (Impermeable Surface Area) x (Desired Capture Percentage) = Rain Garden Surface Area.
Step 2: Soil Infiltration Test
This critical step helps you understand your soil’s drainage capacity. Dig a hole about 1 foot wide and 1 foot deep where you plan to install the garden. Fill it with water and let it drain completely. Then, fill it again and measure how quickly the water level drops over 30-60 minutes. If water drains less than 1 inch per hour, your soil has poor infiltration and will require more significant amendments, such as a higher percentage of sand and compost, or potentially a larger garden footprint. If it drains 1-4 inches per hour, it’s good. More than 4 inches per hour indicates sandy soil that might need more compost for water retention.
Step 3: Design and Layout
With your site and size determined, sketch out your rain garden. Consider its shape – natural, organic curves often blend best with the landscape, but a formal geometric shape can also work. Mark the desired perimeter with spray paint, stakes, or a garden hose. Determine the inflow point (where water enters) and the overflow point (where excess water will safely exit if the garden fills completely). The overflow should be directed to a stable, well-drained area, not towards another impervious surface or your neighbor’s property. Planning for water features within the garden can also add aesthetic appeal.
Step 4: Excavation and Grading
Start digging! Excavate the area to the desired depth, typically 6-8 inches for most residential rain gardens, though deeper designs are possible for larger capture volumes or very poor soils. Create a flat bottom for the garden. Ensure the sides gently slope inward (a 3:1 or 4:1 slope is ideal) to prevent erosion and create a natural look. Use the soil you remove to create a berm (a low ridge) around the downhill perimeter of the garden, which will hold the water in. This berm should be level to ensure water is distributed evenly across the garden basin. Use a level on a long board to check the levelness of the bottom and the berm.
Step 5: Soil Amendment
Once excavated, amend the native soil in the bottom of your rain garden. A common mixture is 50-60% sand, 20-30% topsoil, and 20-30% high-quality compost. This blend will enhance drainage, increase water-holding capacity, and provide nutrients for your plants. Thoroughly mix these amendments into the top 6-12 inches of your excavated bed. For clay soils, you might lean towards more sand and compost; for sandy soils, more compost and topsoil. This amended soil is key to the rain garden’s function as a biofiltration system.
Step 6: Install Inflow and Overflow Protection
At the point where runoff enters the garden (inflow), lay down a layer of non-woven geotextile fabric and cover it with river rock or small boulders. This dissipates the energy of incoming water, preventing erosion of your newly amended soil. Do the same at the overflow point to ensure excess water flows away without eroding the berm. This careful attention to detail will ensure your rain garden withstands heavy downpours.
Step 7: Planting
Now for the fun part! Based on your design, arrange your selected plants in their intended locations before digging. Remember the three zones: the wettest zone at the bottom, the middle zone, and the drier edge zone. Plant taller species towards the back or center, and shorter plants along the edges for visual appeal. Dig holes twice as wide as the plant’s root ball and deep enough so the top of the root ball is level with the surrounding soil. Backfill with amended soil, gently tamp down, and water thoroughly.
Step 8: Mulching
Apply a 2-3 inch layer of shredded hardwood mulch. This helps retain soil moisture, suppresses weeds, regulates soil temperature, and adds a finished look. Avoid piling mulch against plant stems. Be sure to use a mulch that won’t float away during heavy rain events. For winter garden care, mulch also provides insulation.
Step 9: Initial Watering and Establishment
Water your newly planted rain garden regularly for the first few weeks, especially during dry spells, to help the plants establish strong root systems. Even though it’s designed for water retention, young plants need consistent moisture to get a good start. Monitor for standing water after rain events – it should drain within 24-48 hours. If it takes longer, your drainage needs further assessment or amendment.
Step 10: Maintenance and Monitoring
Rain gardens are relatively low-maintenance once established, but they do require some care. Weed regularly, especially in the first year. Replenish mulch annually as it breaks down. Prune plants as needed for health and appearance. Keep an eye on inflow and overflow points to ensure they remain clear. Observe how your garden performs during various rain events and make small adjustments if necessary. Periodically check for sediment accumulation and remove it to maintain capacity.
Pro Tips and Common Mistakes to Avoid When Designing Your Rain Garden
Even with a clear plan, experience offers valuable insights. Heed these pro tips and steer clear of common pitfalls for a truly successful rain garden.
Pro Tips:
- Consider a Gutter Disconnect: Direct downspouts directly into your rain garden via a simple trench or an attractive channel. This maximizes the stormwater capture.
- Slope is Your Friend: Use the natural slope of your yard to your advantage. Digging on a slight slope allows you to create a deeper basin with less effort by building a berm on the downhill side.
- Embrace Native Plants: We cannot stress this enough. Native plants are adapted to local rainfall patterns and soil types, requiring less watering,fertilizing, and pest control. They are the backbone of a resilient rain garden.
- Observe Your Yard: Before digging, spend time watching how water flows across your property during a heavy rain. This will confirm the best placement for maximum impact.
- Group Plants by Moisture Needs: Even within a rain garden, slight variations in elevation mean different moisture levels. Place species that prefer more moisture at the lowest point and those tolerant of drier conditions on the edges.
Common Mistakes to Avoid:
- Placing Too Close to the Foundation: This is the most crucial error. Always ensure a minimum of 10 feet clearance from your home to prevent moisture issues in your basement or crawl space.
- Inadequate Sizing: An undersized rain garden won’t effectively manage the runoff, leading to overflow and unmet goals. Do the calculations carefully based on impervious surface area and soil infiltration.
- Poor Soil Preparation: Skipping the soil test or failing to amend the soil properly will result in a rain garden that acts like a pond (too much clay) or drains too quickly (too much sand) without filtering.
- Wrong Plant Choices: Selecting plants that can’t tolerate both prolonged wet feet and dry spells will lead to plant failure and a struggling garden.
- Forgeting Overflow Protection: Without a stable overflow, heavy rains can erode your berm and create new, unintended drainage paths. Ensure excess water has a safe, non-erosive exit.
- Neglecting Utilities: Always call 811 before you dig to prevent hitting underground utility lines, which can be dangerous and costly.
Eco-Friendly Variations and Enhancements
Your rain garden can be more than just a functional landscape feature; it can be a vibrant hub of biodiversity and a showcase for sustainable practices. Consider these variations and enhancements to elevate your design:
- Wildlife Oasis: Incorporate plants that specifically attract and support pollinators (bees, butterflies) and birds. Milkweeds for monarch butterflies, coneflowers for bees, and berries for birds are excellent choices. Add a small bird bath or a flat rock for basking insects.
- Bog Garden Element: If your lowest point remains consistently wet, consider designing a small section as a true bog garden, planting species that thrive in saturated conditions, such as pitcher plants (Sarracenia spp.) or certain native orchids, if your climate allows.
- Artistic Hardscaping: Integrate decorative elements like natural stone pathways, driftwood, or repurposed sculptural pieces to enhance the aesthetic appeal. These can also serve a functional purpose, like directing water flow or providing visual interest.
- Permeable Pavers Integration: For your inflow path or surrounding walkways, consider using permeable pavers. These allow water to filter through them, further reducing runoff and enhancing the overall stormwater management of your property.
- Rain Barrel Integration: Combine your rain garden with a rain barrel attached to a downspout. The barrel captures initial runoff (often the dirtiest), which can then be slowly released into the rain garden for filtration and infiltration, providing a two-stage approach to stormwater management. Learn more about DIY rain barrel installation.
- Educational Signage: If your rain garden is publicly visible, consider adding a small, attractive sign explaining its purpose and benefits. This helps educate neighbors and promotes community-wide environmental awareness.
Seasonal Considerations for Your Rain Garden
A well-designed rain garden is a dynamic landscape that changes with the seasons, offering beauty and function year-round. Understanding these seasonal nuances will help you maintain its vibrancy and effectiveness.
- Spring: This is often the time of heaviest rainfall and snowmelt, making the rain garden exceptionally active. As new growth emerges, it’s a good time for light weeding and assessing any winter damage. Early spring is also an ideal time for new plantings or dividing existing perennials, giving them ample time to establish before summer heat. Check inflow and outflow points for debris from winter weather.
- Summer: While designed to handle periods of saturation, rain gardens can experience dry spells, especially in mid-summer. Supplemental watering may be necessary during extended droughts for newly established plants. Established native plants are typically more drought-tolerant. Observe plants for signs of stress and address any pest issues promptly. Deadhead spent blooms to encourage re-blooming or tidy up the appearance.
- Autumn: As plants begin to senesce, the rain garden takes on new textures and colors. This is an excellent time to cut back perennials (though leaving some standing stalks provides winter interest and wildlife habitat). Consider adding a fresh layer of mulch to provide insulation for plant roots and suppress winter weeds. Autumn is also a good time to plant bare-root trees or shrubs for the rain garden.
- Winter: Even dormant, your rain garden continues to provide ecological value. The standing plant material catches snow, providing insulation and shelter for wildlife. The roots stabilize the soil, preventing erosion from winter rains and thaws. Inspect the garden for any areas where erosion might occur from concentrated snowmelt runoff and plan for spring repairs if needed. Avoid heavy foot traffic on frozen soil.
Expert Resources for Deeper Dives
For those eager to delve further into the intricacies of rain garden design and implementation, these expert resources offer a wealth of information from reputable organizations.
- Gardening Know How: This comprehensive gardening site offers a practical guide on how to create a no-weed garden, incorporating many principles beneficial for rain garden maintenance, such as proper mulching and plant spacing.
- Royal Horticultural Society (RHS): The RHS provides excellent resources on water gardening and sustainable drainage systems, offering detailed advice on plant selection suitable for various moisture levels, which is crucial for successful rain garden planting.
- University of Minnesota Extension: A leader in sustainable landscaping, their rain garden resources provide in-depth technical information, including sizing calculations, soil mix ratios, and extensive plant lists specific to different regions, making it invaluable for planning your project.
Conclusion: Embrace Sustainable Stormwater Management
Designing a rain garden for flood prevention is a powerful, proactive step every homeowner can take towards a more resilient and beautiful landscape. By transforming problematic runoff into a resource, you not only protect your property from erosion and flooding but also contribute significantly to environmental health.
From filtering pollutants to recharging groundwater and creating vital pollinator habitat, the benefits of a rain garden are far-reaching. While the initial effort involves careful planning and some digging, the long-term rewards in terms of reduced maintenance, increased property value, and ecological impact are immense. We encourage you to embrace this rewarding DIY project and enjoy the vibrant, functional beauty it brings to your outdoor space. Take pride in knowing you’re making a tangible difference, one rainfall at a time.
Frequently Asked Questions About Designing a Rain Garden
Q: How long does it take for a rain garden to drain after a storm?
A: A properly designed rain garden should typically drain completely within 24-48 hours after a rain event. This ensures that it doesn’t become a breeding ground for mosquitoes and allows for proper aeration of plant roots. If it drains slower, your soil may need further amendment.
Q: Can I build a rain garden on a steep slope?
A: While rain gardens perform best on gentle slopes or relatively flat areas, they can be adapted for steeper slopes. This usually involves creating a series of terraced rain gardens, each with its own berm, or using specialized engineering techniques to stabilize the slope. You might need professional advice for very steep sites.
Q: Are rain gardens mosquito breeding grounds?
A: No, rain gardens are generally not mosquito breeding grounds if designed correctly. Mosquitoes require standing water for 7-10 days to complete their life cycle. Since a functional rain garden drains within 24-48 hours, it does not provide sufficient time for mosquito larvae to develop. Choosing plants that attract dragonflies can also help control mosquito populations.
Q: What’s the best time of year to install a rain garden?
A: The best time to install a rain garden is usually in the spring or early fall. These seasons offer cooler temperatures and more consistent rainfall, allowing newly planted vegetation ample time to establish roots before extreme summer heat or winter cold sets in. Avoid planting during peak summer heat or when the ground is frozen.