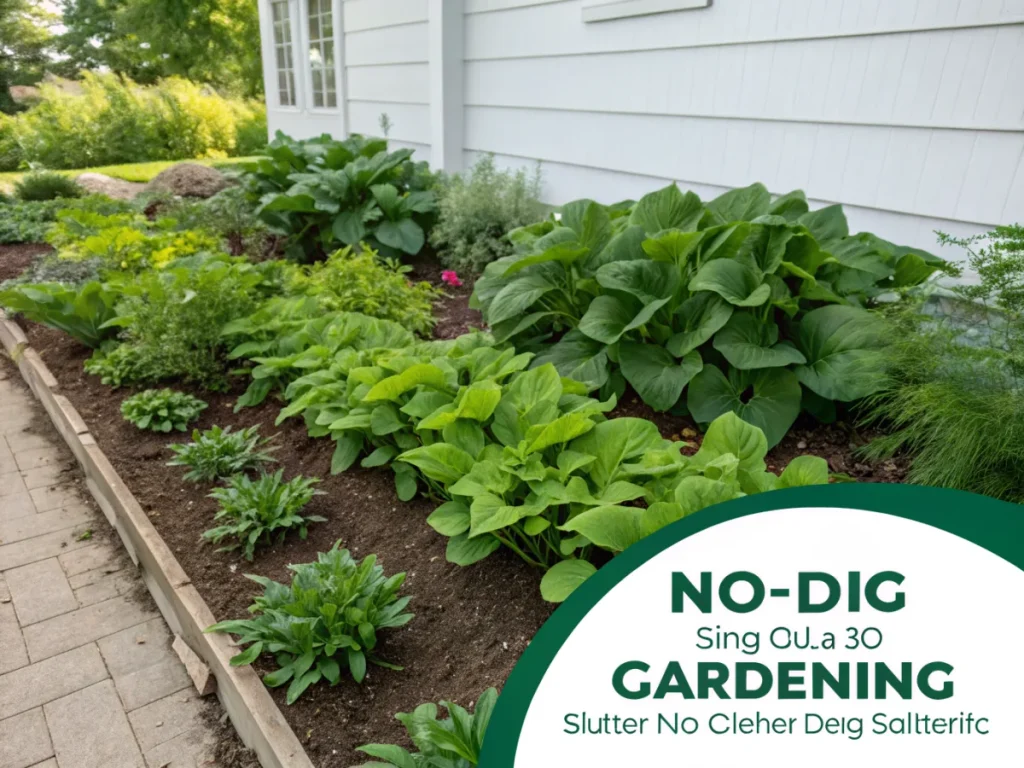
The Ultimate Guide to No-Dig Gardening: Better Soil, Bountiful Harvests, and Less Work
Are you tired of back-breaking digging, constant weeding, and struggling with compacted, lifeless soil in your garden? Imagine a gardening method that not only eliminates much of the arduous labor but also dramatically improves your soil’s health, boosts plant vigor, and leads to more abundant harvests. Welcome to the no-dig method, a revolutionary approach championed by renowned gardener Charles Dowding, which focuses on working with nature, not against it. This comprehensive guide will walk you through everything you need to know to transform your garden using the no-dig method, resulting in better soil and a more enjoyable gardening experience.
[lwptoc]
Why the No-Dig Method Matters for Your Garden (And the Planet)
The traditional approach to gardening has long involved digging, tilling, and disturbing the soil. While seemingly beneficial, this practice often causes more harm than good. Digging breaks down the intricate structure of the soil, disrupts beneficial microbial networks, and releases stored carbon into the atmosphere, contributing to climate change. The no-dig method offers a powerful alternative, promoting a healthier ecosystem within your garden beds.
By adopting a no-dig approach, you foster a thriving underground world. Earthworms, fungi, bacteria, and a myriad of other microorganisms work tirelessly to build a rich, fertile soil structure. This living soil retains moisture more effectively, provides a steady supply of nutrients to plants, and suppresses weeds naturally. It’s a method that respects the delicate balance of nature, leading to a more resilient and productive garden.
Gardeners often report significantly reduced weeding, less need for watering, and a dramatic improvement in plant health and yields. The benefits extend beyond your plot, as healthy soil plays a crucial role in carbon sequestration and biodiversity, making it an eco-conscious choice for any gardener. It’s a win-win: less work for you, and a healthier planet for all.
What You Need to Get Started with No-Dig Gardening
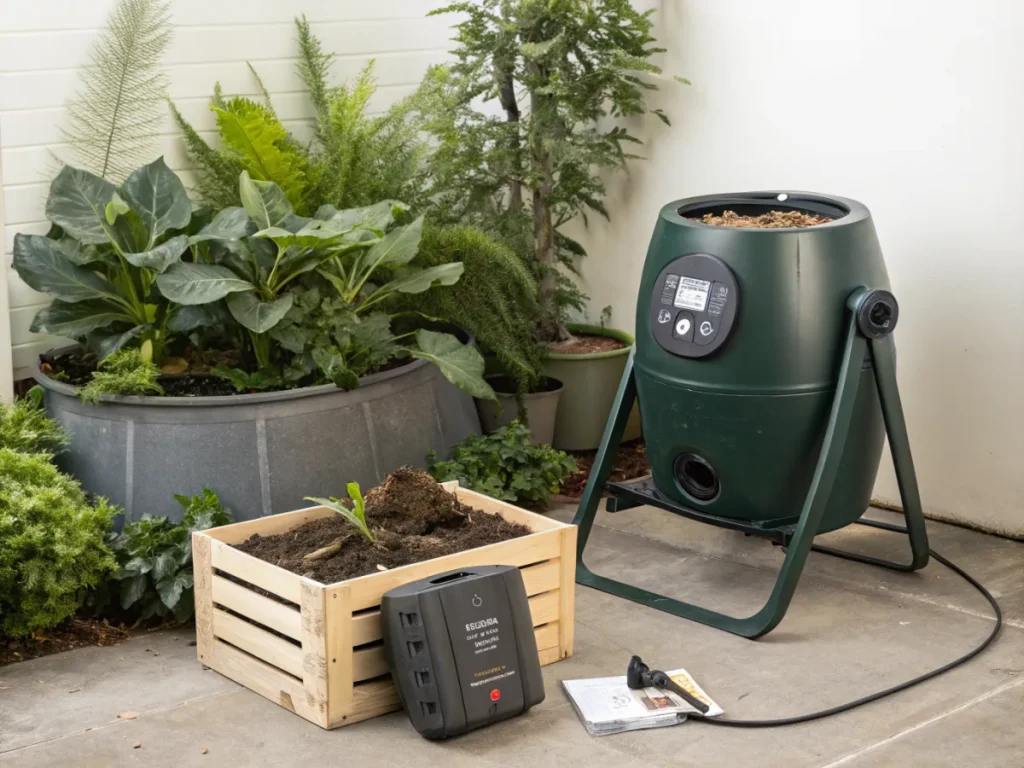
One of the beauties of the no-dig method is its simplicity and relatively low initial investment in specialized tools. The most important “ingredient” is organic matter, specifically compost. Here’s a breakdown of what you’ll need to begin your no-dig journey:
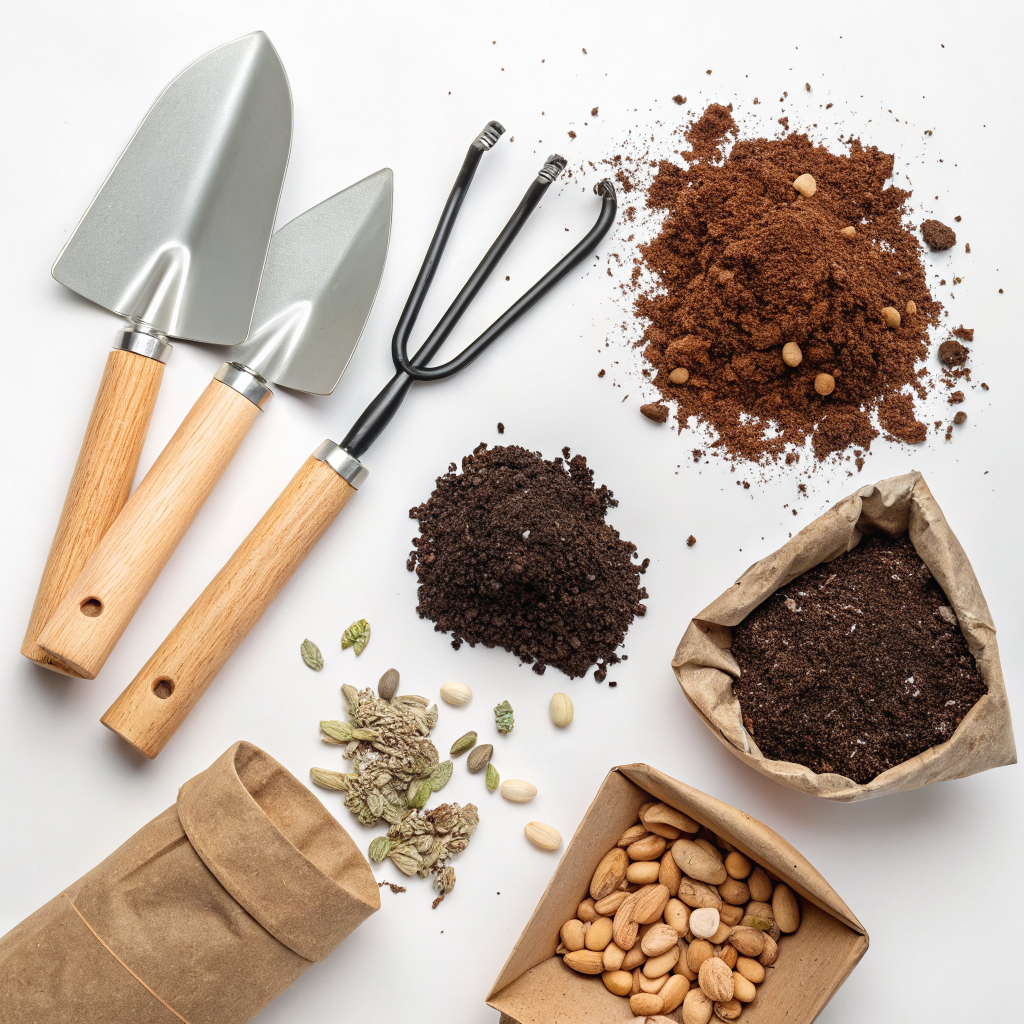
Essential Materials:
- Good Quality Compost: This is the cornerstone of the no-dig method. You’ll need a significant amount to establish your beds and for annual top-ups. Aim for well-rotted, weed-free compost, ideally homemade or sourced from a reputable supplier. Look for compost with a fine, crumbly texture and earthy smell.
- Cardboard: Unwaxed, plain cardboard (tape removed) is essential for suppressing existing weeds and grass when starting new beds. It acts as a biodegradable barrier.
- Organic Mulch (Optional but Recommended): Materials like straw, finely chipped wood, or leaves can be used as an additional layer over the compost, especially in drier climates, to help retain moisture and regulate soil temperature.
Basic Tools:
- Wheelbarrow or Trug: For transporting compost and other materials.
- Spade or Fork (for initial preparation, not digging): Useful for leveling uneven ground before laying cardboard, or for harvesting root crops, but not for turning soil.
- Hand Trowel and Fork: For planting and weeding.
- Broadfork (Optional): A specialized tool that can gently aerate compacted soil without inverting layers, useful in rare instances of very dense initial soil.
- Irrigation System (Optional): Drip irrigation or soaker hoses can be beneficial, especially in beds with thickly applied compost, as the water penetrates slowly and efficiently.
Plants:
- Seeds and Seedlings: You can start with almost any vegetable, fruit, or ornamental plant in a no-dig bed. The improved soil structure makes it easier for roots to establish.
- Cover Crops (Optional): While not strictly necessary in a no-dig system that uses regular compost top-ups, cover crops can sometimes be used to add organic matter and protect the soil during fallow periods. However, Dowding himself generally prefers to keep beds planted.
Step-by-Step Guide to Creating Your No-Dig Beds
Creating a no-dig bed is a straightforward process, but effective preparation is key. Follow these steps to build resilient and productive garden spaces:
Step 1: Choose Your Site and Prepare the Ground Surface
Select an area that receives adequate sunlight for the crops you plan to grow (at least 6-8 hours for most vegetables). Before laying anything down, remove any large, perennial weeds by hand, if possible, especially those with deep taproots. However, do not dig or disturb the existing soil. Simply cut down any tall growth to ground level. Level the area as best as you can with a rake, ensuring good drainage. This initial tidying makes the next steps much easier and more effective. Consider creating raised beds for better management and drainage.
Step 2: Lay Down Your Cardboard Weed Barrier
This is a crucial step for suppressing existing weeds and grass. Overlap pieces of unwaxed, plain cardboard by at least 6-8 inches to prevent weeds from growing through the gaps. Ensure there are no gaps. Wet the cardboard thoroughly with water as you lay it; this helps it stay in place and speeds up its decomposition. The cardboard will smother existing vegetation and eventually break down, adding organic matter to the soil. For advice on healthy gardening practices, you might find sustainable gardening practices helpful.
Step 3: Apply a Thick Layer of Organic Matter (Compost)
This is where the magic happens. Apply a generous layer of good quality, weed-free compost directly on top of the wetted cardboard. The recommended depth is typically 4-6 inches (10-15 cm). This layer of compost is your new growing medium. It will provide all the nutrients your plants need and create the ideal environment for microbial life to flourish. Don’t skimp on this step; the healthier your initial compost layer, the better your beds will perform. If you’re building a new garden from scratch, consider creating a thriving garden from scratch using this method.
Step 4: Plant Your Seeds or Seedlings
Once your compost layer is in place, you can plant immediately! Simply make a small hole in the compost with your trowel or hand, place your seed or seedling, and gently firm the compost around it. There’s no need to try and dig into the soil beneath the cardboard. The plant roots will naturally grow down through the compost and cardboard into the underlying soil as they decompose, drawing up nutrients and moisture. Water your newly planted area thoroughly.
Step 5: Ongoing Maintenance: Top-Ups and Weeding
The beauty of no-dig is its simplicity in ongoing care. Annually, ideally in autumn or late winter, apply another 1-2 inch (2.5-5 cm) layer of fresh compost over your beds. This replenishes nutrients, continues to build soil structure, and suppresses any new weed growth. Weeding becomes minimal; any weeds that do appear are usually shallow-rooted and easily pulled out by hand. Simply lay them on the compost surface to decompose. For more advanced tips on composting, visit advanced composting techniques.
Pro Tips for No-Dig Success and Avoiding Common Mistakes
While the no-dig method is forgiving, a few expert tips can enhance your success, and being aware of common pitfalls can save you time and effort.
Pro Tips:
- Source Good Compost: This cannot be stressed enough. High-quality, weed-free compost is crucial. If making your own, ensure it reaches high temperatures to kill weed seeds.
- Start Small: If you’re new to no-dig, begin with a manageable bed or two. This allows you to learn the ropes without feeling overwhelmed.
- Keep Beds Continuously Planted: Bare soil is an open invitation for weeds. Aim to have something growing in your beds for as much of the year as possible. This also protects the soil from erosion and keeps the microbial life active.
- Observe Your Soil: Pay attention to how your soil develops. Notice the texture, the increase in worm activity, and how well it retains moisture. This helps you understand its needs.
- Worms are Your Allies: Earthworms play a vital role in integrating the compost layers with the underlying soil. Their tunnels improve aeration and drainage.
- Water Smartly: No-dig beds tend to retain moisture better, so adjust your watering routine. Overwatering can leach nutrients.
Common Mistakes to Avoid:
- Not Enough Compost: Skimping on the initial compost layer or neglecting annual top-ups will diminish the benefits of the no-dig system.
- Using Poor Quality Compost: If your compost is full of weed seeds, you’ll be fighting weeds from day one.
- Disturbing the Soil: The whole point is to not dig. Avoid turning the soil or deep cultivation once your beds are established.
- Using Waxed or Glossy Cardboard: These materials do not break down easily and can introduce undesirable chemicals into your soil. Stick to plain, unwaxed cardboard.
- Leaving Gaps in Cardboard: Even small gaps can become pathways for persistent weeds. Overlap generously.
- Not Watering the Cardboard: Dry cardboard is harder to work with and slower to start decomposing.
Eco-Friendly Variations and Enhancements
The no-dig method is inherently eco-conscious, but there are ways to further enhance its environmental benefits and integrate it into a broader sustainable gardening strategy.
- Layering Techniques (Lasagna Gardening): While Dowding advocates for a single, thick layer of quality compost, the “lasagna gardening” approach is a no-dig variation that builds beds using various layers of organic materials (e.g., cardboard, straw, leaves, grass clippings, kitchen scraps, then finished with compost). This can be a great way to utilize on-site resources, especially when starting a new bed without access to large quantities of finished compost immediately.
- Integrating with Permaculture Principles: No-dig aligns perfectly with permaculture. Focus on perennial plants, creating polycultures, maximizing biodiversity, and minimizing external inputs. Consider integrating edible forest garden layers within your no-dig beds where appropriate.
- Rainwater Harvesting: Combine your no-dig beds with a rainwater harvesting system. No-dig soil’s improved water retention means less watering overall, and using harvested rainwater reduces your reliance on municipal water sources, conserving resources.
- Biodiversity Enhancement: Encourage beneficial insects and pollinators by planting a diverse range of flowers alongside your vegetables. No-dig soil provides a healthier habitat for ground-dwelling insects and earthworms, further boosting your garden’s ecosystem.
- Local Sourcing: Whenever possible, source your compost and other materials locally. This reduces the carbon footprint associated with transport and supports local businesses.
Seasonal Considerations for the No-Dig Gardener
The no-dig method simplifies seasonal routines, but understanding key timings can optimize your garden’s performance.
- Spring: This is an ideal time to establish new no-dig beds after the last frost or to apply your annual compost top-up if you didn’t do it in autumn. Sow seeds and plant seedlings directly into the compost. The soil warms faster in no-dig beds due to the compost layer and reduced compaction.
- Summer: Focus on consistent harvesting, regular (but usually less frequent) watering, and diligent (but minimal) weeding. Keep an eye on moisture levels, especially during hot, dry spells. Mulching with straw or leaves can be particularly beneficial now to conserve water.
- Autumn: This is a prime time for the annual compost top-up, especially in cooler climates. This allows winter rains and microbial activity to integrate the new compost before spring planting. Clear spent crops and sow hardy greens or cover crops where appropriate, though keeping beds full of winter harvest is often preferred in the Dowding method.
- Winter: For gardeners in regions with cold winters, the no-dig beds will largely be at rest, though hardy crops like kale or leeks may continue to produce. The compost layer protects the soil from harsh weather. In milder climates, winter is an excellent time to prepare for spring by laying cardboard and compost for new beds.
Expert Resources for Deepening Your No-Dig Knowledge
To further your understanding and hone your no-dig skills, consult these reputable sources:
- Charles Dowding’s Website: The pioneer of modern no-dig gardening offers a wealth of information, videos, and books through his official site. His practical advice is invaluable for beginners and experienced gardeners alike. Learn more at charlesdowding.co.uk.
- Gardening Know How: This comprehensive website provides a vast array of gardening articles, including many on soil health, composting, and organic methods. It’s a great resource for general gardening questions and troubleshooting. Explore their articles at gardeningknowhow.com.
- Royal Horticultural Society (RHS): A leading UK gardening charity, the RHS provides scientifically-backed advice on all aspects of horticulture, including sustainable practices and soil management. Their resources are excellent for a deeper dive into soil science. Visit the RHS at rhs.org.uk.
- University Extension Services: Many universities, particularly in the US, offer excellent extension services with evidence-based information on gardening, soil health, and sustainable agriculture tailored to specific regions. A good example is the University of Minnesota Extension, which has resources on soil building and organic gardening. Find region-specific advice at extension.umn.edu.
Conclusion: Embrace the No-Dig Revolution for Better Soil
Adopting the no-dig method is more than just a gardening technique; it’s a paradigm shift that honors the intricate processes of nature. By eliminating disruptive digging and consistently feeding your soil with organic matter, you create a living, breathing ecosystem beneath your plants. This results in profoundly healthier soil that requires less human intervention, produces more robust crops, and contributes positively to environmental health.
The journey to better soil without digging is one of observation, patience, and mindful interaction with your garden. You’ll spend less time wrestling with weeds and compacted earth and more time enjoying the bountiful harvests and the vibrant life that emerges from truly healthy soil. So, lay down that cardboard, spread that glorious compost, and embark on your no-dig adventure – your back, your plants, and the planet will thank you.
No-Dig Method: Better Soil FAQ
A: Yes, absolutely! This is one of the biggest advantages of the no-dig method. The thick layer of cardboard followed by compost effectively smothers existing grass and most weeds. Perennial weeds with deep taproots might occasionally push through, but they are usually weakened and easier to remove by hand.
A: A no-dig bed is ready for planting immediately after you’ve layered your cardboard and compost. You can sow seeds or transplant seedlings the very same day. The benefits of improved soil structure and reduced weeding will become evident within a few months, and over several seasons, your soil will transform into a rich, living organism.
A: No, not really. The most important “tools” are good quality compost and plain cardboard. Basic gardening tools like a trowel, hand fork, and wheelbarrow are helpful, but you won’t need a spade or rototiller for turning soil. Some gardeners find a broadfork useful for very compacted initial soil but it’s not essential.
A: The best compost is well-rotted, weed-free, and rich in organic matter. Homemade compost is ideal, but if purchasing, look for high-quality municipal compost or a blend specifically designed for gardening. Avoid composts with large chunks of unrotted material or those known to have weed seed contamination.