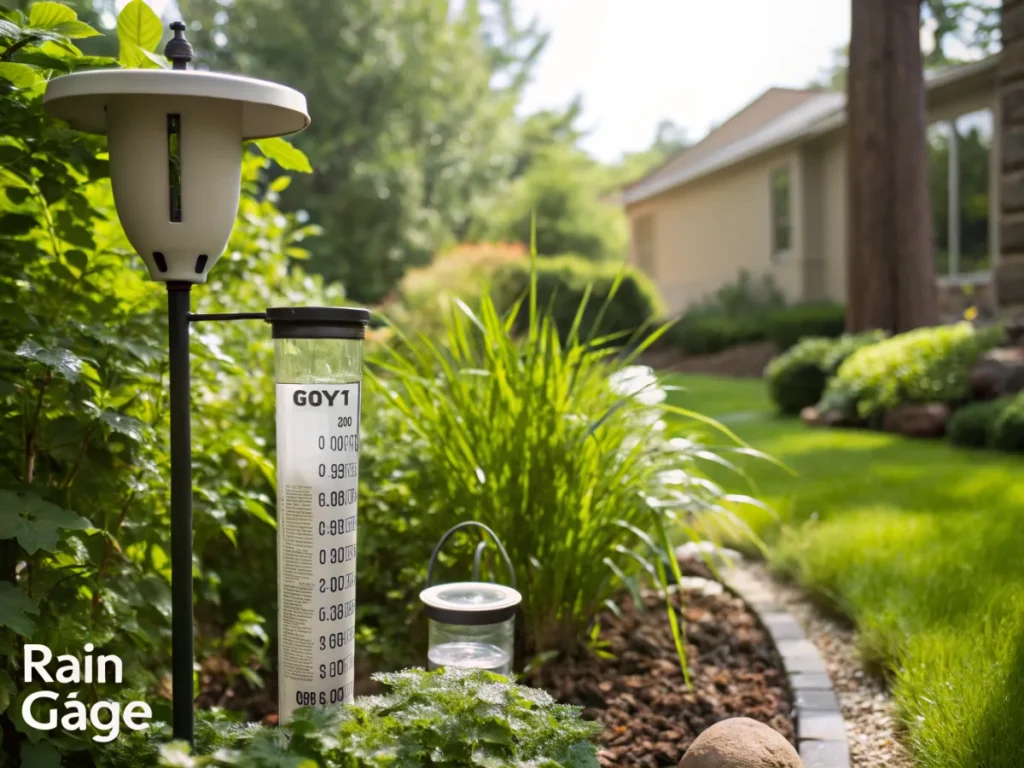
The Ultimate 10-Step Guide to Your DIY Rain Gauge Weather Station for a Thriving Garden
Are you a passionate gardener looking to take your green thumb to the next level? Imagine precisely tracking rainfall, temperature, and even humidity right in your backyard. This isn’t just a fantasy; it’s an achievable DIY project that will revolutionize how you understand and care for your plants. A custom-built DIY rain gauge weather station garden can provide invaluable data, helping you optimize watering, prevent over- or under-watering, and ultimately cultivate a healthier, more vibrant garden.
[lwptoc]
Why This Matters for Your Garden: The Data-Driven Gardener’s Advantage
Gardening, at its heart, is about understanding and responding to the natural world. While observing your plants is crucial, having concrete data about the environment they live in provides an undeniable edge.
A DIY rain gauge weather station garden empowers you to become a data-driven gardener. Knowing exactly how much rain has fallen over a specific period prevents guesswork, allowing you to tailor your irrigation schedule accurately. This saves water, reduces your utility bills, and ensures your plants receive precisely what they need, minimizing stress from erratic watering.
Beyond rainfall, monitoring temperature helps you understand plant growth cycles, predict frost, and decide when to plant frost-tender varieties. Humidity data, especially in greenhouses or during hot spells, can alert you to potential issues like fungal growth or excessive transpiration, enabling proactive intervention. This holistic approach fosters a more resilient and productive garden ecosystem.
Moreover, building your own station connects you more deeply with the principles of meteorology and engineering. It’s an educational endeavor that offers practical benefits, transforming your gardening from an art into a precise science. You’ll gain a deeper appreciation for the microclimates within your own property and how they affect plant health.
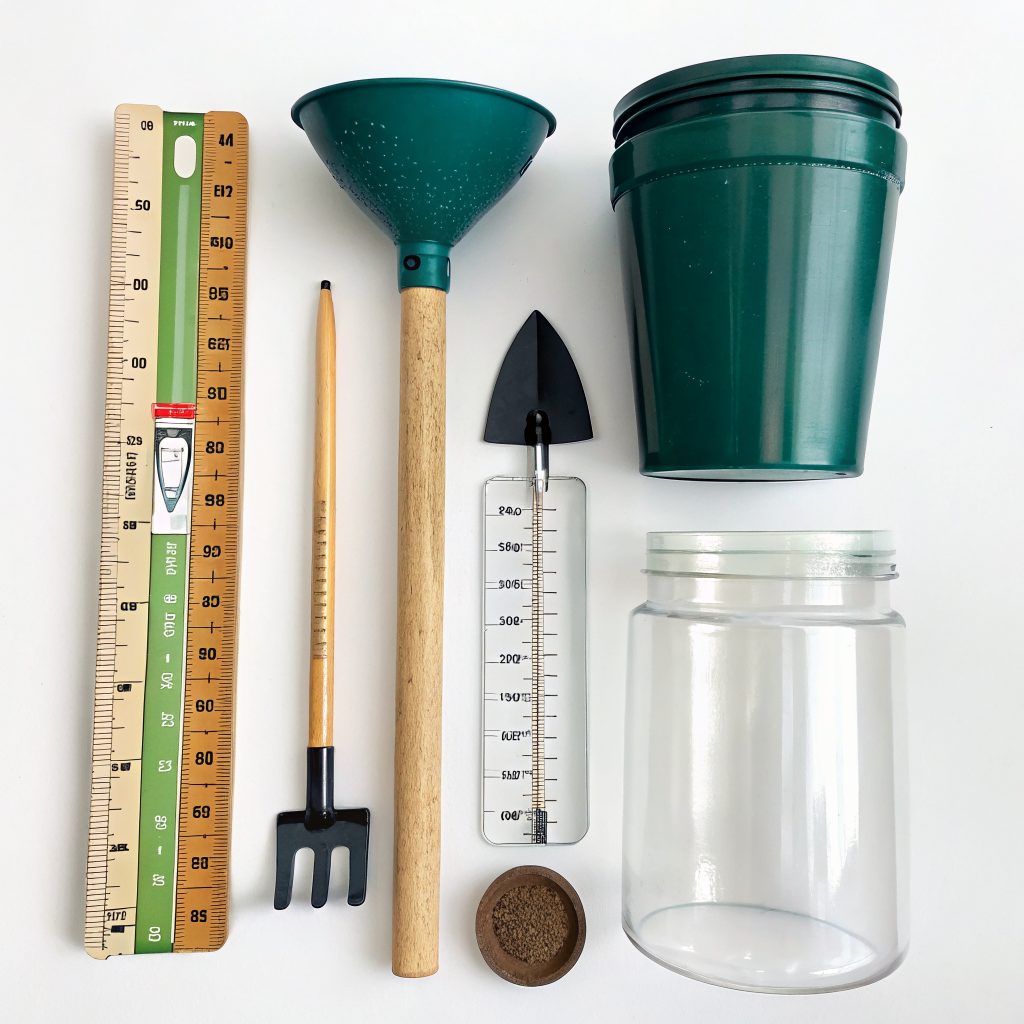
What You Need: Tools, Materials, and a Dash of Enthusiasm
Before we dive into the construction, let’s gather all the necessary components for your DIY rain gauge weather station garden. Many of these items can be upcycled or found readily at home improvement stores, making this an accessible project.
Essential Tools:
- Utility knife or sturdy scissors
- Drill with various bit sizes (especially small ones for sensors)
- Measuring tape or ruler
- Permanent marker
- Hot glue gun with glue sticks (or waterproof sealant/epoxy)
- Sandpaper (optional, for smoothing edges)
- Small level (for accurate rain gauge placement)
- Soldering iron and solder (if incorporating electronic sensors)
- Wire strippers (if using electrical components)
Key Materials for the Rain Gauge:
- Large clear plastic bottle (2-liter soda or similar): This will be the main body of your rain gauge. Ensure it’s straight-sided for accurate measurement.
- Smaller clear plastic bottle (e.g., water bottle): This will act as the funnel for the rain gauge.
- Ruler or measuring tape (waterproof): To calibrate and read rainfall accurately.
- Strong adhesive (waterproof): Hot glue, silicone sealant, or epoxy.
- Wooden stake or metal pole: For mounting the rain gauge in the garden.
- Zip ties or strong wire: To secure the gauge to the stake.
Materials for the Weather Station (Basic Sensors):
- Small plastic enclosure or waterproof container: To house electronic components and protect them from the elements. A Tupperware container or an old junction box works well.
- Basic outdoor thermometer: A simple analog or digital thermometer.
- Hygrometer (optional): For measuring humidity. You can find combined thermometer/hygrometer units.
- Plastic sheet or strong cardboard (for wind flag/vane, optional): If you want to add a visual wind direction indicator.
- Compass (for calibrating the wind vane, optional): If you build a DIY wind vane.
- Mounting hardware: Screws, brackets, and additional zip ties for attaching the sensor housing to your main pole.
Advanced Electronic Components (Optional, for Digital Data Logging):
- Arduino or ESP32 microcontroller: The brain of your digital weather station. (Learn more about microcontrollers on this smart garden setup guide).
- Rainfall sensor (tipping bucket module): For digital rainfall measurement.
- DHT11/DHT22 sensor: Measures temperature and humidity digitally.
- Lithium-ion battery and solar panel small charger circuit: For off-grid power.
- Wires, breadboard (for prototyping), resistors: Standard electronic components.
- Waterproof connectors and enclosures: Essential for longevity outdoors.
- Wi-Fi module (e.g., ESP8266 or built into ESP32): For sending data to a cloud service or local network. (Explore more about smart home integration with domotique pour le jardin).
- SD card module (optional): For local data logging.
Step-by-Step Guide: Building Your DIY Rain Gauge Weather Station Garden
Let’s get started on bringing your very own weather observation hub to life. This guide covers both the basic rain gauge and integration of simple weather sensors.
Step 1: Constructing the Rain Gauge Body
Take your large clear 2-liter plastic bottle. Using a utility knife, carefully cut off the top third of the bottle, just below where it starts to curve inwards. Try to make the cut as straight and even as possible. This cut section will become the collection reservoir.
Step 2: Creating the Funnel
Now, take the top section you just cut off. Invert it, so the opening faces downwards, and place it into the open base of the larger bottle. This inverted top part will act as a funnel, directing rainwater into the reservoir and minimizing evaporation from the collected water. Ensure it fits snugly; if it’s too loose, you might need a slightly larger funnel or add a bead of sealant around the rim.
Step 3: Calibrating Your Rain Gauge
Accuracy is key for a useful rain gauge. Find a standard ruler or measuring tape. Place it inside the bottle, against the straight side. Using a waterproof permanent marker, mark off measurements in centimeters or inches. You can also pour exact amounts of water (e.g., 10ml, 20ml, 50ml) into your gauge and mark corresponding levels to create a custom scale. For instance, if 100ml of water fills your bottle to a certain height, and your collection area is ‘X’ square centimeters, you can calculate the rainfall depth. A simpler method is to compare your markings to a known standard ruler.
Step 4: Assembling the Sensor Housing (for basic sensors)
If you’re adding a thermometer and/or hygrometer, take your small plastic enclosure. Carefully drill a few small holes on the sides and bottom for ventilation, but ensure they are small enough to prevent rainwater ingress. Mount your thermometer and hygrometer inside the enclosure using hot glue or small screws. Position them so their displays are easily visible if they are analog.
Step 5: Mounting the Station
Choose a suitable location in your garden: an open area, away from overhanging trees, buildings, or anything that might obstruct rainfall or create false temperature readings. Drive your wooden stake or metal pole firmly into the ground. Ensure it is level and secure. Attach your rain gauge to the stake using zip ties or strong wire. Position it high enough off the ground to prevent splashes but low enough for easy reading. Mount your sensor housing (with thermometer/hygrometer) a little higher up on the same pole, ensuring it’s shaded from direct sunlight to get accurate temperature readings. About 4-5 feet off the ground is ideal for both.
Step 6: Integrating Advanced Electronic Sensors (Optional)
For those venturing into digital territory, this step involves more finesse.
- Rainfall Sensor: Mount your tipping bucket rain gauge module securely on an elevated platform near your main pole. Connect its signal wire to your microcontroller.
- Temperature/Humidity Sensor: Mount your DHT sensor inside a ventilated, shaded enclosure (a Stevenson screen replica can be ideal or use the plastic enclosure from Step 4, ensuring good airflow). Connect it to your microcontroller.
- Microcontroller Setup: Program your Arduino or ESP32 to read data from the sensors at regular intervals. You’ll need to write code to interpret the sensor outputs. (Many online tutorials are available for this.)
- Power Supply: Connect your solar panel and charging circuit to power your microcontroller and sensors. House all electronic components (microcontroller, battery, etc.) in a sealed, waterproof enclosure.
- Data Transmission: If using an ESP32 or ESP8266, configure it to send data via Wi-Fi to a chosen platform like a Google Sheet, a local server, or a weather data service like Weather Underground. (Explore more about smart growing with smart grow lamps.)
Pro Tips and Common Mistakes to Avoid
Even the simplest DIY projects can benefit from a few expert insights. Here’s how to ensure your DIY rain gauge weather station garden serves you well for years.
Pro Tips:
- Regular Calibration Check: Periodically check your rain gauge calibration, especially if you used a DIY scale. A known quantity of water (e.g., from a measuring cup) can help verify accuracy.
- Location is Paramount: Re-emphasizing location, ensure your station is in an open area, free from obstructions that might block rain or create wind eddies. A good rule of thumb for rain gauges is that the distance to any obstruction should be at least twice the height of the obstruction.
- Shade for Temperature: Always ensure your thermometer is in a shaded area but with good air circulation. Direct sunlight will drastically inflate temperature readings. Consider building a small “Stevenson screen” enclosure for advanced electronic sensors.
- Regular Cleaning: Leaves, debris, and algae can accumulate in your rain gauge. Clean it regularly to ensure accurate readings.
- Winterization: If you live in a freezing climate, bring plastic rain gauges indoors during winter to prevent cracking. Electronic components should also be protected from extreme cold and moisture.
- Data Logging for Insights: Even with a manual gauge, keeping a simple notebook to log daily rainfall and temperatures can reveal powerful patterns over time. For digital systems, leverage the data logging capabilities to chart trends.
Common Mistakes and How to Avoid Them:
- Uneven Cuts: An uneven cut on your plastic bottle for the rain gauge can lead to inaccurate measurements. Use a straight edge as a guide or sand down any rough edges.
- Poor Drainage: If your sensor housing for electronic components isn’t properly ventilated but also waterproof, condensation can build up and damage electronics. Ensure adequate but protected airflow.
- Incorrect Mounting Height: Mounting the rain gauge too low risks splash-in from the ground, while too high makes reading difficult and susceptible to strong winds. 3-5 feet is generally a good range.
- Ignoring Wind: While a basic rain gauge doesn’t directly measure wind, strong winds can affect rainfall collection by blowing rain away from the opening. Try to place it in a location that, while open, isn’t overtly exposed to extreme gusts.
- Forgetting Waterproofing for Electronics: This is critical. Any electronic component left exposed to the elements will fail quickly. Use silicone sealant, waterproof enclosures, and waterproof connectors.
- Neglecting Power Management (for digital): If using solar, ensure your solar panel and battery are appropriately sized for your electronics’ power draw, especially during cloudy periods or short winter days.
Eco-Friendly Variations: Green Gardening & DIY
Embracing a DIY approach often goes hand-in-hand with an eco-conscious mindset. Here’s how to make your DIY rain gauge weather station garden even greener.
- Upcycled Materials: Prioritize using reclaimed materials. Old plastic bottles are prime candidates for the rain gauge itself. Discarded plastic containers, old CD cases, or even dismantled electronic casings can be repurposed for sensor enclosures. Look around your home for items that can be given a new life.
- Sustainable Sourcing: When purchasing new components, opt for durable, repairable items from companies with good environmental practices. Choose local suppliers where possible to reduce transport emissions.
- Solar Power Integration: As mentioned in the advanced section, using a small solar panel to power any electronic components is a fantastic way to make your station carbon-neutral. It eliminates the need for disposable batteries and relies on renewable energy.
- Rainwater Harvesting Integration: While your rain gauge measures rainfall, consider implementing a larger rainwater harvesting system for your garden. The data from your gauge can inform how much water you can conserve.
- Low-Power Electronics: If building a digital station, select microcontrollers and sensors known for their low power consumption. This maximizes the efficiency of your solar power setup.
- End-of-Life Planning: Think about the components you’re using. Can they be easily disassembled and recycled at the end of their useful life? Opt for materials that minimize waste.
Seasonal Considerations for Your Weather Station
Your garden changes with the seasons, and so too should your approach to your DIY weather station. Understanding these seasonal nuances will maximize the utility and longevity of your setup.
Spring:
- Installation & Calibration: Spring is the ideal time to install or re-install your weather station. Perform a thorough calibration check on your rain gauge after any winter storage.
- Monitoring Germination: Use temperature data to determine optimal soil temperatures for planting seeds and delicate seedlings.
- Tracking Spring Rains: Early spring rains are crucial. Your gauge will help you monitor if sufficient moisture is reaching newly planted areas.
Summer:
- Watering Optimization: This is where your rain gauge truly shines. Combine rainfall data with evaporation rates (which you can estimate from temperature and sun exposure) to fine-tune your watering schedule.
- Combatting Heat Stress: High temperatures from your thermometer, coupled with humidity readings, can alert you to potential heat stress or fungal issues (if humidity is too high) in your plants.
- Thunderstorm Tracking: Monitor intense summer thunderstorms to see how much water they actually deliver to your garden, often less than perceived.
Autumn:
- Preparations for Winter: Use temperature readings to predict the first frost, allowing you to harvest tender crops or protect vulnerable plants.
- Leaf Fall Issues: Be vigilant about cleaning leaves and debris from your rain gauge during autumn to maintain accuracy.
- Reduced Watering: As temperatures drop and rainfall potentially increases, use your gauge to reduce irrigation, preventing overwatering of dormant plants.
Winter:
- Protection & Storage: In areas with freezing temperatures, it’s essential to bring plastic rain gauges indoors to prevent cracking caused by freezing water. Electronic components should also be protected from moisture and extreme cold.
- Snowfall Measurement (Advanced): For those interested, an advanced rain gauge can be adapted to measure snowfall (by melting collected snow). For a basic gauge, you can simply measure snow depth, then melt a known volume in your gauge to convert to water equivalent.
- Planning for Next Season: Use the quiet winter months to review the data collected throughout the year. Analyze trends and plan improvements for your garden and weather station for the upcoming growing season.
Expert Resources for Deeper Understanding
To further enhance your understanding and capabilities, we recommend consulting these authoritative sources for gardening and weather observation:
- Gardening Know How – Setting Up A Weather Station: A great resource for general gardening information, including tips on garden weather station placement and utility, directly from gardening experts.
- RHS – Weather Stations for Gardens: The Royal Horticultural Society provides excellent insights into the benefits of weather stations for gardening and what to look for in commercial or DIY setups.
- University of Minnesota Extension – Garden Weather Station: University extension offices offer science-backed advice. This link provides practical information on setting up and utilizing a weather station specifically for garden applications, often with a focus on regional data.
Conclusion: Cultivating Knowledge and Growth
Building a DIY rain gauge weather station garden is more than just a craft project; it’s an investment in your gardening success. By taking the time to construct and utilize this simple yet powerful tool, you transform from a reactive gardener into a proactive one, armed with critical data about your garden’s microclimate.
You’ll save water, minimize plant stress, and better understand the intricate relationship between weather and plant health. Whether you opt for a basic, upcycled rain gauge or venture into the world of digital sensors and data logging, the knowledge gained will be invaluable. Happy building, and even happier gardening!
FAQ: Your DIY Rain Gauge Weather Station Questions Answered
Q1: How accurate can a DIY rain gauge be compared to a store-bought one?
A well-calibrated DIY rain gauge, especially one made from straight-sided containers with a proper funnel, can be surprisingly accurate. The key is precise calibration using a known volume of water and ensuring it’s mounted in an unobstructed, level position. While professional gauges have specific standards, a DIY one is perfectly sufficient for practical garden use.
Q2: What’s the best way to clean my rain gauge to maintain accuracy?
Regular cleaning is essential. Disassemble your rain gauge (remove the funnel from the reservoir). Wash both parts with plain water and a soft brush to remove any accumulated dirt, leaves, or algae. A mild soap solution can be used, but rinse thoroughly to avoid residue. Clean monthly during active growing seasons, or more often if you notice debris.
Q3: Can I connect my DIY weather station to my smartphone for data?
Absolutely, if you incorporate electronic components like an Arduino or ESP32 microcontroller with Wi-Fi capabilities. These devices can be programmed to send data (rainfall, temperature, humidity) to cloud platforms (like Thingspeak, Google Sheets) or even local servers. You can then access and visualize this data via a web browser or a custom-built app on your smartphone.
Q4: How important is sensor placement for accurate readings?
Sensor placement is critically important. For rainfall, the gauge must be in an open area, away from structures or trees that could block rain or cause false readings due to splash. For temperature, the sensor should be in constant shade but with good airflow to avoid direct solar radiation, which can significantly inflate readings. Poor placement is the most common cause of inaccurate data from any weather station.