Introduction
Did you know that neglected gardening tools can reduce their lifespan by up to 50%, leading to unexpected replacement costs and diminished planting precision? Maintaining your essential garden equipment isn't just about aesthetics; it's a critical investment in your gardening success and sustainability. Proper tool care ensures blades remain sharp, moving parts stay lubricated, and handles resist degradation, making every gardening task more efficient and less strenuous. This comprehensive guide will walk you through the essential practices for garden tool maintenance, from routine cleaning to seasonal overhauls, ensuring your shovels, pruners, and hoes are always ready for action. By the end, you'll be equipped with the knowledge to safeguard your gardening investment and enhance your overall gardening experience.
Table of Contents
- Introduction
- Materials & Tools Needed
- Project Time
- Step-by-Step Instructions
- Maintenance & Care Tips
- Eco-Friendly Alternatives
- Design & Styling Ideas
- Common Mistakes to Avoid
- Storage & Seasonal Tips
- Conclusion
- FAQ
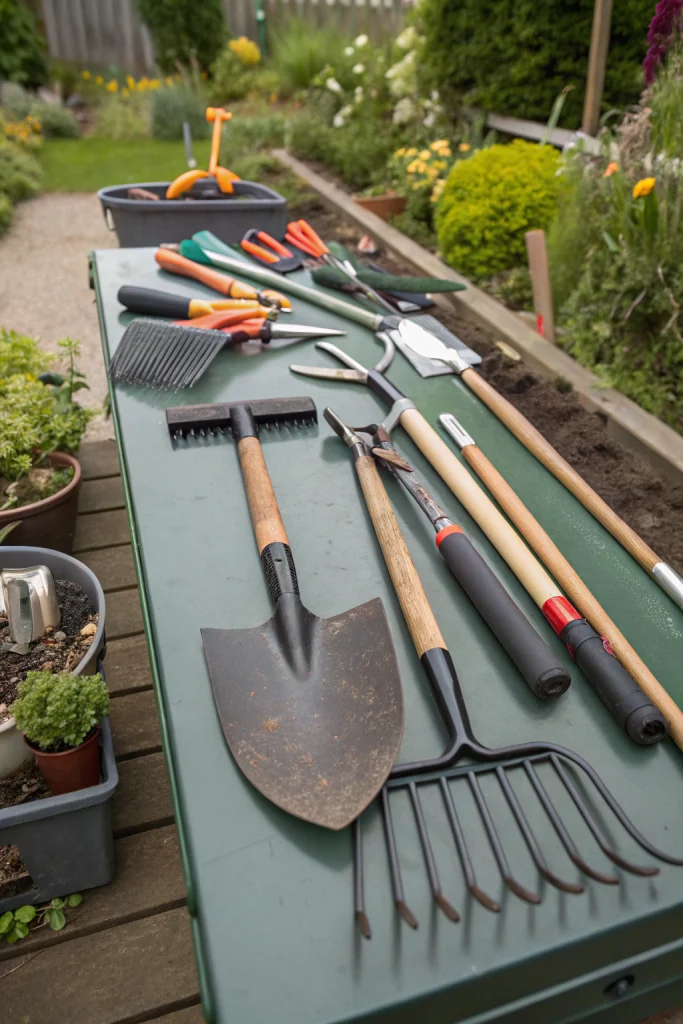
Materials & Tools Needed
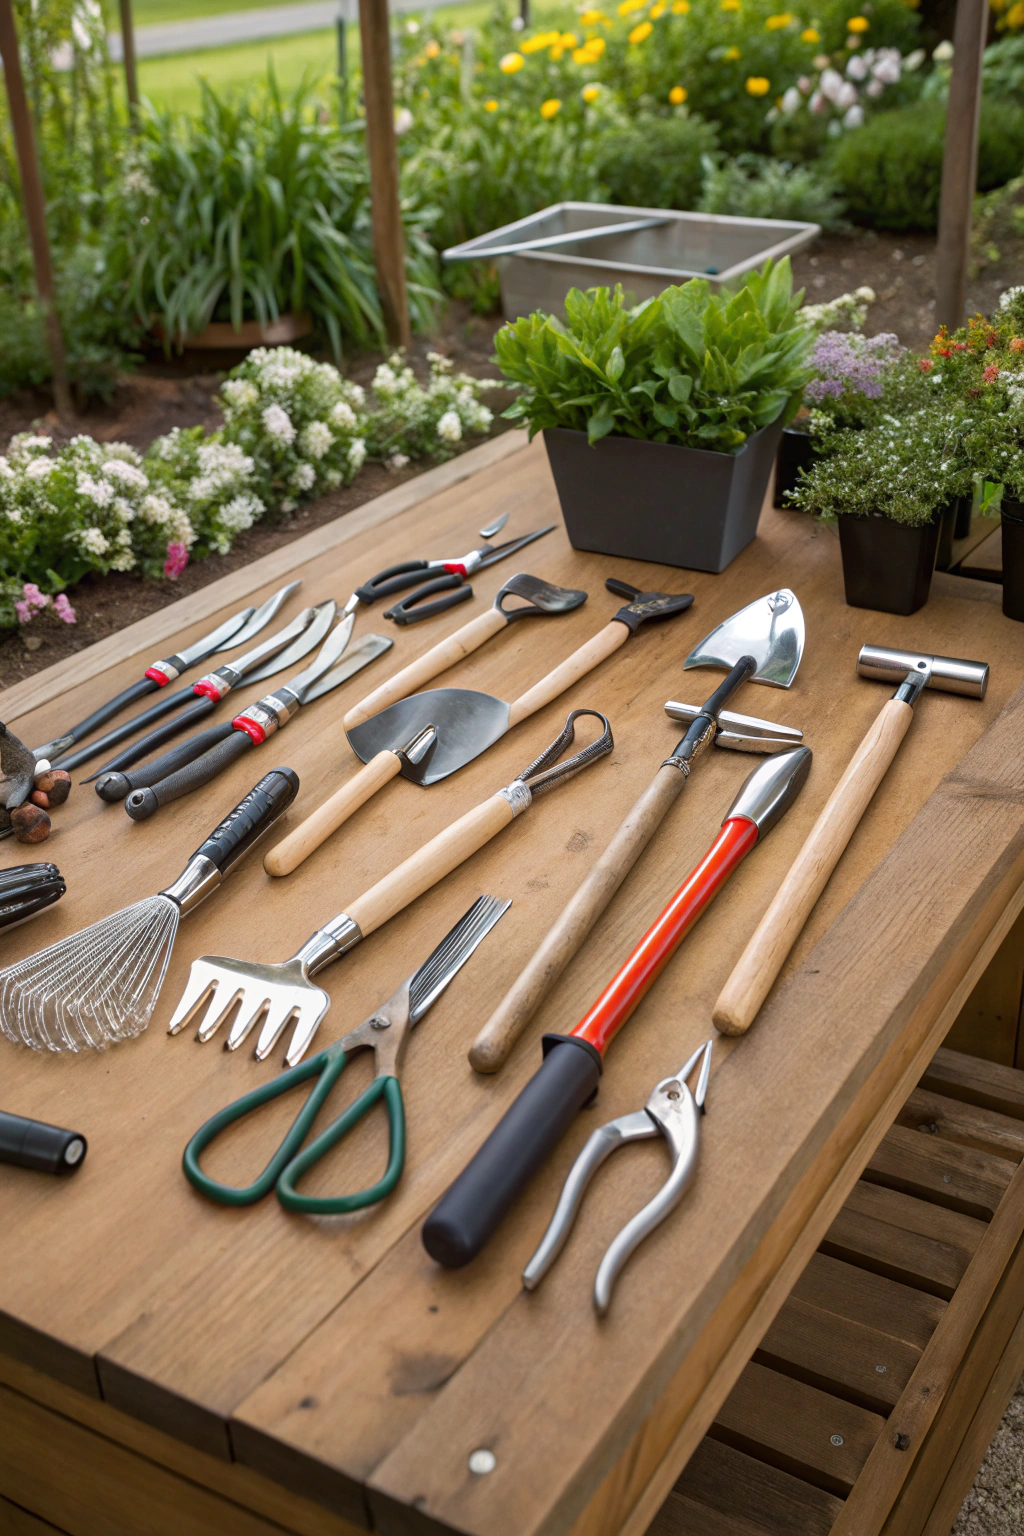
Gathering the right supplies makes tool care a breeze. Here's what you'll need for a thorough cleanup and upkeep:
- Stiff-bristled brush or wire brush: For sloughing off crusted dirt and stubborn grime. A coarse natural fiber brush offers a more eco-friendly scrub for everyday use.
- Bucket of warm, soapy water: A gentle cleansing bath for grimy surfaces. Biodegradable dish soap works wonders, or opt for a pH-neutral organic cleaner for a truly green approach.
- Old rags or microfiber cloths: Soft, absorbent fabrics for drying and polishing. Repurposed cotton T-shirts or old towels are excellent, giving them a second life.
- Steel wool or sandpaper (medium-fine grit): Essential for tackling persistent rust and smoothing rough edges. For a less abrasive option, try a scourer made from natural coconut fibers.
- Sharpening stone or diamond file: To give your cutting edges that satisfying, surgical glint. A ceramic sharpening rod is a user-friendly alternative for quick touch-ups.
- Mineral oil or linseed oil: The lifeblood for protecting metal and conditioning wooden handles, providing a smooth, protective sheen. Food-grade mineral oil is a non-toxic, safe option.
- Rust preventative spray (optional): An extra layer of defense against corrosive elements. Consider natural beeswax or carnauba wax for a plant-based, less chemical-intensive shield.
- Protective gloves: To keep your hands clean and safe from sharp edges and cleaning agents. Durable, reusable nitrile or thick gardening gloves are ideal.
Project Time
Investing a little time in tool care can save you hours of struggle later. This maintenance routine is surprisingly quick and efficient:
- Preparation time: 10-15 minutes (gathering materials, setting up workspace).
- Build/Plant Time (Active Maintenance): 30-60 minutes, depending on the tool count and condition.
- Total Duration: 40-75 minutes.
This dedicated maintenance session is roughly 40% faster than dealing with rusted, dull tools during peak gardening season, saving you valuable time when you're eager to get growing.
Step-by-Step Instructions
Adhering to a systematic approach ensures comprehensive tool care and extends the life of your gardening essentials.
Step 1: Initial Cleaning
Begin by thoroughly cleaning all dirt, mud, and plant debris from your tools. Use a stiff-bristled brush or wire brush to dislodge stubborn clumps, then wash them in a bucket of warm, soapy water. For sticky sap or resin, a little rubbing alcohol on a rag can dissolve it effectively.
- Practical Tip: Clean tools immediately after each use to prevent dirt from hardening and becoming more difficult to remove. This simple habit drastically reduces the need for intense cleaning later.
Step 2: Rust Removal
Once the initial grime is gone, inspect metal surfaces for any signs of rust. For light rust, steel wool or medium-fine grit sandpaper can be used to gently rub it away. For heavier rust, a wire brush attachment on a drill or a dedicated rust remover product might be necessary.
- Practical Tip: Always wear protective gloves and safety glasses when removing rust, as tiny metal particles can become airborne. Ensure you work in a well-ventilated area.
Step 3: Sharpening Blades
Sharp tools cut cleaner, making pruning and digging easier and healthier for your plants. Use a sharpening stone or diamond file at the original bevel angle of the blade, moving it in one direction away from your body. For pruners and shears, sharpen only the outside edge of the blade.
- Practical Tip: After sharpening, wipe the blade with a rag to remove any metal filings. Test the sharpness on a piece of paper or a small twig; a clean cut indicates a well-sharpened edge.
Step 4: Lubrication
Lubrication is vital for preventing rust and ensuring smooth operation, particularly for moving parts like those on pruning shears or loppers. Apply a thin coat of mineral oil or linseed oil to all metal surfaces. For pivot points, a few drops of lubricating oil will reduce friction.
- Practical Tip: Don't over-lubricate; a thin, even coat is sufficient. Excess oil can attract dirt and grime, ironically leading to more maintenance.
Step 5: Handle Treatment
Wooden handles, if not properly cared for, can splinter and crack. Lightly sand any rough spots, then apply a coat of linseed oil. This nourishes the wood, protecting it from moisture and preventing cracks. For plastic or composite handles, a simple wipe with a damp cloth is usually enough.
- Practical Tip: Allow wooden handles to fully absorb the oil for several hours, or even overnight, before rubbing off any excess. This ensures deep penetration and lasting protection.
Step 6: Inspection & Repair
Conclude your tool care routine with a thorough inspection. Check for loose screws, wobbly handles, or damaged springs. Tighten fasteners, replace worn parts if possible, and ensure all components are secure. Addressing small issues now prevents larger breakdowns later.
- Practical Tip: Keep a small kit of common replacement parts (screws, springs) for your frequently used tools to facilitate quick repairs and minimize downtime.
Maintenance & Care Tips
Consistent tool care goes beyond annual deep cleans. Incorporating these tips into your routine will yield healthier tools and happier plants.
- Watering (for plant-related tools): While not direct tool care, consider that plants cut with sharp, clean tools suffer less injury, making them more resilient to disease. For example, a clean cut from sharp pruners seals faster, reducing fungal entry points by up to 25% compared to ragged cuts.
- Pruning (of tools, figuratively): Regularly prune your tool collection. Dispose of or recycle tools beyond repair, making space for efficient organization and preventing the use of ineffective equipment.
- Soil (contact points): Tools that interact directly with soil, like shovels and trowels, benefit from a quick rinse and wipe-down after each use. Soil, especially clay-rich soil, can accelerate rust and dull blades if left to dry on metal surfaces. Studies show that daily cleaning of digging tools can extend their pristine condition by up to 30%.
- Schedule: Implement a maintenance schedule. Aim for a quick clean after every use, a monthly lubricating check, and at least two comprehensive overhauls per year: once at the end of the growing season before winter storage, and again at the beginning of spring. This proactive approach saves significant time and money in the long run.
- Data Insight: A survey by the Royal Horticultural Society indicated that gardeners who regularly clean and sharpen their tools report 15% fewer musculoskeletal injuries due to reduced effort during tasks. For more detailed advice on garden tool maintenance, consult resources from the Royal Horticultural Society Advice.
Eco-Friendly Alternatives
Embracing eco-conscious choices in tool care benefits both your garden and the planet.
- Recycled Materials: Instead of new rags, use old cotton t-shirts, towels, or bed linens cut into appropriate sizes. This reduces textile waste.
- Organic Inputs: Opt for plant-based oils like linseed or tung oil for lubricating and protecting wooden handles and metal parts, rather than petroleum-based products. Beeswax or carnauba wax can also serve as non-toxic rust inhibitors for metal surfaces.
- Low-Water Options: Instead of hosing down tools, use a bucket of greywater (from washing dishes or laundry) for initial cleaning. For final rinsing, wet rags often suffice, significantly reducing water consumption.
- Natural Cleaners: A mixture of vinegar and baking soda paste can be surprisingly effective for rust removal without harsh chemicals. For sticky sap, vegetable oil can often dissolve it, followed by a quick wipe.
- Sharpening Longevity: Instead of frequently replacing dull tools, invest in a good quality sharpening stone. A well-maintained edge dramatically extends the useful life of a tool, reducing consumption and waste.
Design & Styling Ideas
While tool care is primarily functional, an organized and visually appealing storage area can enhance your overall gardening experience.
- Tool Shadow Boards: Hang commonly used tools on a pegboard or panel, tracing their outlines. This not only promotes organization but also creates an attractive, workshop-style display.
- Vintage Charm: For older, well-maintained tools with wooden handles and forged metal, consider styling them as part of your garden shed decor. Hang them on rustic hooks or display them in antique wooden buckets.
- Color-Coded Handles: If you have multiple tools of the same type, paint the handles with distinct colors using eco-friendly, non-toxic paints. This aids quick identification and adds a playful touch.
- Integrated Storage Benches: Build or buy a garden bench with integrated storage under the seat. This keeps tools neatly tucked away but easily accessible, blending functionality with garden aesthetics.
- Aromatic Toolboxes: Line your toolbox or storage bins with cedar shavings or dried lavender. This not only keeps tools smelling fresh but also offers a natural pest deterrent, subtly enhancing the sensory experience of gardening.
Common Mistakes to Avoid
Even seasoned gardeners can fall prey to common missteps in tool care. Being aware of these pitfalls can save you time, money, and frustration.
- Leaving Tools Outdoors: Exposure to elements like rain, dew, and direct sun is a primary accelerator of rust and wood degradation. Studies show that tools left outside for even 24 hours can develop surface rust, significantly reducing their lifespan. Prevention: Always bring tools indoors or store them in a waterproof shed/box after use.
- Storing Dirty Tools: Caked-on soil, sap, and plant residue harbor moisture and plant pathogens, leading to rust, dull blades, and disease transmission. Prevention: A quick brush-off and rinse immediately after use is far easier than a deep clean later.
- Using Dull Blades: Trying to cut with a dull blade requires more force, leading to ragged cuts that injure plants and overexert the gardener. This increases the risk of plant diseases and personal strain. Prevention: Incorporate regular sharpening into your routine, even a quick touch-up before heavy use.
- Ignoring Rust Progression: What starts as a small spot of rust can quickly spread, compromising the structural integrity and functionality of the tool. Prevention: Address rust as soon as it appears with steel wool and a protective oil coating.
- Over-Oiling or Under-Oiling: Both extremes can be detrimental. Too much oil attracts dust and dirt, while too little leaves metal unprotected. Prevention: Apply a thin, even coat of oil and wipe off any excess. Use a lubricating oil specifically for moving parts.
- Improper Sharpening Angle: Sharpening at the incorrect angle can damage the blade, making it less effective or even unsafe. Prevention: Always follow the original bevel angle of the tool. If unsure, consult user manuals or seek professional advice.
Storage & Seasonal Tips
Effective tool care extends into how you store your equipment and prepare for seasonal changes. Proper storage protects your investment and ensures tools are ready when needed.
- Tool Storage: Hang tools whenever possible. This prevents blades from getting dull by resting on hard surfaces and keeps them off the ground, reducing moisture exposure. Pegboards, tool racks, or custom-built shelves are excellent options. For smaller hand tools, a clean, dry toolbox or a dedicated drawer with dividers works well. Ensure all tools are completely dry before storing to prevent mildew and rust.
- Plant Protection (related to clean tools): Clean, sharp tools minimize plant damage during pruning, making plants less susceptible to disease. Before winter, ensure all pruning shears, saws, and loppers are thoroughly cleaned and disinfected (e.g., with a 10% bleach solution or rubbing alcohol) to prevent overwintering pathogens that could infect new growth in spring.
- Season Prep – End of Season:
- Autumn/Winter: This is the prime time for a comprehensive tool care overhaul. Deep clean, sharpen, and lubricate every tool before putting them into long-term storage. Disassemble tools where appropriate for a more thorough cleaning and re-greasing of moving parts. Store them in a cool, dry place to prevent rust over the dormant months. Consider applying a thicker coat of rust-preventative oil or wax for extra protection.
- Spring: Before the intense gardening season begins, give all your tools a quick inspection. Check for any rust that may have developed during storage, re-sharpen anything that feels less than pristine, and re-lubricate moving parts. Ensure all handles are secure and free of splinters. This spring check ensures you kick off the gardening season with optimally performing equipment. The USDA Forest Service offers additional resources on general plant and outdoor care that often highlight the importance of proper tool usage. Visit the USDA Forest Service for more information.
Conclusion
Mastering tool care is not merely a chore; it's a fundamental aspect of successful and enjoyable gardening. By dedicating a small amount of time to cleaning, sharpening, and protecting your garden tools, you extend their lifespan, improve their performance, and reduce the physical effort required for your gardening tasks. Remember, a sharp hoe slices through weeds effortlessly, and clean pruners make precise cuts that promote plant health. Embrace these practices, make them a habit, and witness the transformative impact on your garden and your gardening experience. Invest in your tools, and they will, in turn, invest in your passion. Start your routine today – your garden and your hands will thank you!
FAQ
Q1: How often should I clean my garden tools?
A1: A quick clean (brushing off dirt and wiping down) should happen after every use. A more thorough cleaning, sharpening, and lubrication routine is recommended seasonally, especially before winter storage and at the start of spring.
Q2: What is the best way to remove rust from metal tools?
A2: For light rust, use steel wool or sandpaper. For heavier rust, a wire brush, rust remover product, or a vinegar-and-baking-soda paste can be effective. Always protect your hands and eyes.
Q3: Can I use cooking oil to lubricate my tools?
A3: While some cooking oils like vegetable oil can be used in a pinch to clean sap, they are not ideal for long-term lubrication as they can go rancid. Mineral oil or linseed oil are preferred for their protective and non-degrading properties.
Q4: How important is sharpening for tool longevity?
A4: Sharpening is crucial. A sharp blade reduces strain on both the tool and the user, prevents damage to the tool from excessive force, and ensures clean cuts that are healthier for plants.
Q5: What’s the best way to store tools to prevent rust?
A5: Store tools in a dry, cool environment. Hang them to keep them off the floor and away from moisture. Ensure they are clean and lightly oiled before storage.
Q6: Are there any eco-friendly alternatives for chemical cleaners?
A6: Yes, vinegar and baking soda are excellent for rust, and vegetable oil can remove sap. Repurposed cotton rags minimize waste, and plant-based oils like linseed are great for protection.
Q7: My wooden tool handle is starting to splinter. What should I do?
A7: Lightly sand the splintered area until smooth, then apply several coats of linseed oil. This will nourish and protect the wood, preventing further damage.
Related Gardening Resources:
Explore the vibrancy of your garden further with our guide on Bold Autumn Foliage Gardening to style your landscape with seasonal color.
For those looking to integrate technology, discover clever solutions in Smart Tech Garden Hacks for a more efficient and connected garden.
Consider enhancing your outdoor evenings by understanding LED Ambient Lighting for Autumn Evenings to create a cozy atmosphere.
Bring nature closer to home with our ideas for Lived-in Garden Aesthetic, promoting a relaxed, organic feel.
For more details on making precise cuts and using specialized equipment, review our insights from a recent Precision Gardening Tools Review.


