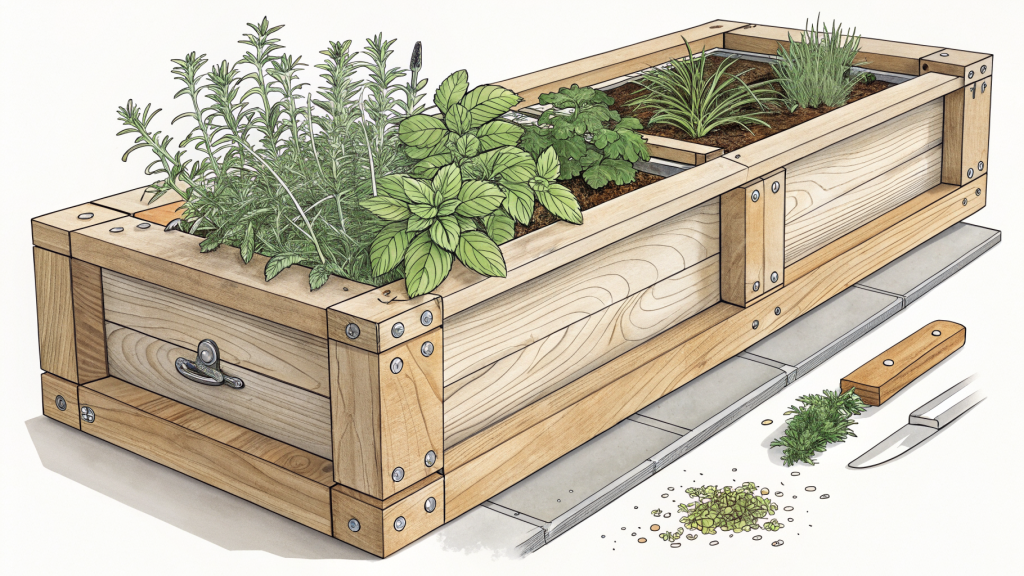
If you love fresh herbs but worry about water staining your windowsill, a cedar window box diy herbs project with a built-in drip tray is the perfect solution. Cedar naturally resists rot and insects, while the integrated tray catches excess water, protecting your home. This custom planter combines functionality with rustic charm, letting you grow basil, thyme, or mint just outside your kitchen window.
Table of Contents
ToggleWhy Cedar and a Built-In Drip Tray?
Cedar is an ideal wood for outdoor planters because it contains natural oils that resist decay and repel pests. Unlike pressure-treated lumber, cedar is safe for edible plants. The built-in drip tray prevents water from seeping onto your windowsill, avoiding mold, rot, and stains. This design keeps your home dry and your herbs happy.
Tools and Materials
What You’ll Need
- 1×6 cedar boards (length depends on window width; typically 36 inches for a standard window)
- 1×2 cedar board for trim
- 1/4-inch exterior plywood for drip tray bottom
- Waterproof wood glue
- Stainless steel or galvanized screws (1 1/4-inch and 1 1/2-inch)
- Exterior wood sealer or paint (optional)
- Measuring tape, miter saw or hand saw, drill, clamps, sandpaper
Step-by-Step Instructions
1. Cut the Cedar Boards
- Measure your window width. The box should fit snugly but not tightly. Add 1 inch for overhang if desired.
- Cut two 1×6 boards to the window width for the front and back.
- Cut two 1×6 boards to 6 inches (or desired depth) for the sides.
- Cut a 1×2 cedar strip to the window width for the front trim (optional).
2. Assemble the Box
- Apply wood glue to the ends of the side pieces. Attach them to the front and back boards, forming a rectangle. Use clamps and drive 1 1/4-inch screws through the sides into the front/back.
- For extra strength, pre-drill holes to prevent splitting.
- Sand all edges smooth.
3. Build the Drip Tray
- Cut a piece of 1/4-inch plywood to fit inside the box’s bottom. It should be slightly smaller (1/8 inch gap all around) to allow for expansion.
- Cut four 1×2 cedar strips to create a frame that the tray will sit on. The strips should be the same length as the inner sides of the box.
- Attach the strips to the inside of the box, about 1/2 inch from the bottom, using glue and 1 1/4-inch screws. This creates a ledge.
- Place the plywood tray on the ledge. Do not glue it; you want it removable for cleaning.
- Seal the plywood with exterior wood sealer to waterproof it.
4. Add Drainage and Trim (Optional)
- Drill several 1/4-inch drainage holes in the box’s bottom (not the tray). Water will drain into the tray below.
- If using front trim, attach the 1×2 strip to the front of the box with glue and 1 1/2-inch screws. This hides the tray and gives a finished look.
5. Seal and Finish
- Apply exterior wood sealer or paint to all exterior surfaces. Avoid sealing the inside where soil will go; cedar’s natural oils are sufficient.
- Let dry completely (follow product instructions).
Planting and Placement Tips
Choosing Herbs
- Select herbs that thrive in containers and like similar conditions: basil, chives, oregano, parsley, thyme, mint (mint can be invasive; plant in a separate container within the box).
- Use a high-quality potting mix with perlite for drainage. Add slow-release fertilizer.
Installation
- Place the window box on the windowsill. If it’s heavy, secure it with brackets under the sill to prevent tipping (not included in this build).
- Ensure the drip tray is level so water doesn’t pool on one side. Check periodically and empty the tray after heavy rain.
Maintenance and Care
- Water herbs regularly but allow soil to dry slightly between waterings. The drip tray will catch excess; empty it to prevent mosquito breeding.
- Clean the tray with mild soap and water every few weeks.
- Reapply sealer annually to protect the cedar.
- Harvest herbs often to encourage bushier growth.
With this cedar window box diy herbs project, you’ll enjoy fresh herbs right outside your window without worrying about water damage. The built-in drip tray makes maintenance easy and protects your home. Happy planting!


