Creating a shallow water source for birds is one of the most rewarding ways to support local wildlife, and a terracotta bird bath DIY is the perfect project for eco-conscious gardeners. Using inexpensive, unglazed pottery, you can craft a durable, natural-looking bird bath that blends seamlessly into your garden. This guide walks you through every step, from choosing materials to maintaining a clean, safe water source for your feathered visitors.
Table of Contents
ToggleWhy Choose Terracotta for a Bird Bath?
Unglazed terracotta is an ideal material for bird baths because it’s porous, which helps keep water cool on hot days. The rough texture provides good footing for birds, and the natural color mimics stone or clay found in the wild. Additionally, terracotta is affordable and widely available at garden centers or hardware stores.
Benefits of Unglazed Pottery
- Cool water: Evaporation through the clay lowers water temperature.
- Safe grip: Birds can perch without slipping.
- Eco-friendly: Natural materials, no harmful chemicals leach into water.
- Cost-effective: A pot and saucer cost a fraction of a decorative bird bath.
Materials and Tools Needed
Gather these items before starting:
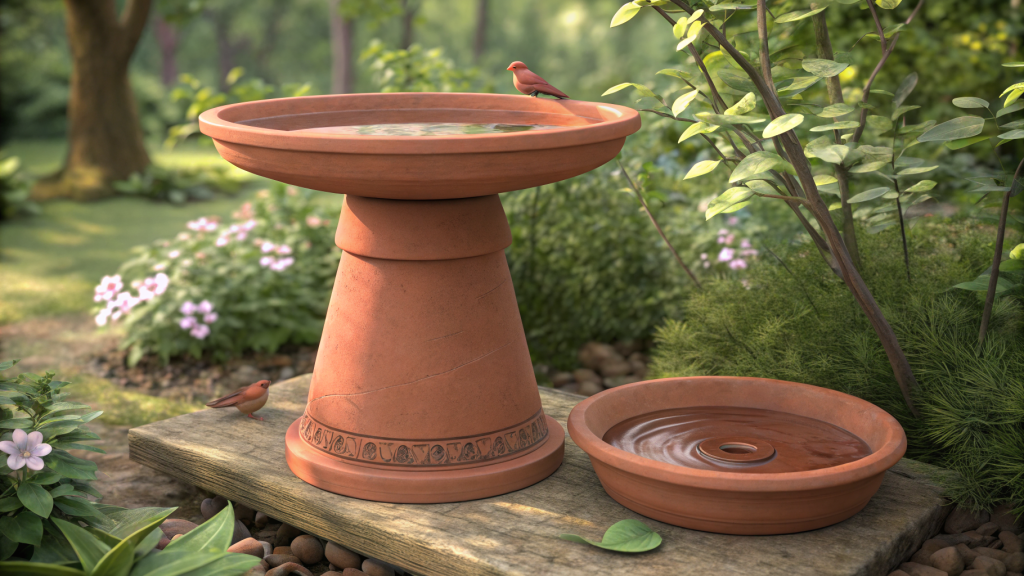
- One large terracotta saucer (12–16 inches diameter, at least 2 inches deep)
- One terracotta pot (same diameter as saucer or slightly smaller)
- Waterproof epoxy or silicone sealant
- Small pebbles or flat stones (for perching)
- Optional: spray sealer (food-grade or non-toxic)
Step-by-Step Assembly
1. Prepare the Base
Choose a level spot in your garden. Place the terracotta pot upside down on the ground. This will serve as the pedestal. If the pot has a drainage hole, you can leave it open or seal it with a dab of silicone—both work fine.
2. Attach the Saucer
Apply a generous ring of waterproof epoxy or silicone to the bottom of the saucer (the side that will sit on the inverted pot). Center the saucer on the pot’s base and press firmly. Let it cure for at least 24 hours according to the adhesive instructions.
3. Add Perching Stones
Place a few clean, flat pebbles or small stones in the saucer. These give birds a safe place to land and bathe without submerging completely. Arrange them so they are stable and spaced apart.
4. Optional Sealing
If you live in a freezing climate, consider sealing the inside of the saucer with a non-toxic, food-grade sealant to reduce frost damage. Unglazed terracotta can crack when water freezes and expands. Sealing helps, but it’s best to empty the bath before hard frosts.
Placement Tips for Bird Safety
Where you put your bird bath matters as much as how you build it.
- Near cover: Place it within 10 feet of shrubs or trees so birds can escape predators.
- Partial shade: Keeps water cooler and slows evaporation.
- Out of reach: Avoid spots where cats can ambush from above.
- Visible from a window: So you can enjoy the birds!
Maintenance for a Healthy Bird Bath
Regular cleaning prevents algae and mosquito larvae. Follow these steps:
- Daily: Rinse and refill with fresh water.
- Weekly: Scrub with a stiff brush and a 9:1 water-to-vinegar solution. Avoid bleach; it’s toxic to birds.
- Monthly: Check for cracks or loose stones. Reapply sealant if needed.
Takeaway
A terracotta bird bath DIY is a simple, affordable project that provides essential water for birds. With minimal tools and materials, you can create a durable bath that blends into any garden. Keep it clean, place it safely, and enjoy the daily visits from your feathered friends.


