Save money and reduce waste by building a drip irrigation plastic bottle system for your raised beds. This DIY project delivers water slowly to plant roots, cutting down on evaporation and overwatering. In under an hour, you can repurpose common household containers into an efficient, low-cost watering solution.
Table of Contents
ToggleWhy Use Plastic Bottles for Drip Irrigation?
Plastic bottles are ideal for slow-release watering because they’re lightweight, easy to modify, and widely available. When buried or suspended near plants, they release water gradually through small holes, keeping the soil moist without runoff. This method works especially well for:
- Raised beds and container gardens
- Plants with consistent moisture needs (tomatoes, peppers, cucumbers)
- Periods of hot weather or vacation watering
Materials You’ll Need
- Clean plastic bottles (1–2 liter soda or water bottles work best)
- Sharp tool (drill with 1/16–1/8 inch bit, or a sturdy nail and hammer)
- Scissors or utility knife
- Optional: cotton string or fabric strips for wicking
Method 1: Buried Bottle Drip Irrigation
Step 1: Prepare the Bottle
Rinse the bottle thoroughly and remove the label. Leave the cap on for this method.
Step 2: Create Holes
Drill or punch 8–12 small holes in the bottom third of the bottle. Space them evenly around the circumference.
Step 3: Bury the Bottle
Dig a hole near the plant’s root zone, deep enough to bury the bottle up to its neck. Insert the bottle with the holes facing the roots, then backfill with soil.
Step 4: Fill and Refill
Fill the bottle with water through the top opening. The water will slowly seep out through the holes. Refill as needed (typically every 2–4 days, depending on climate).
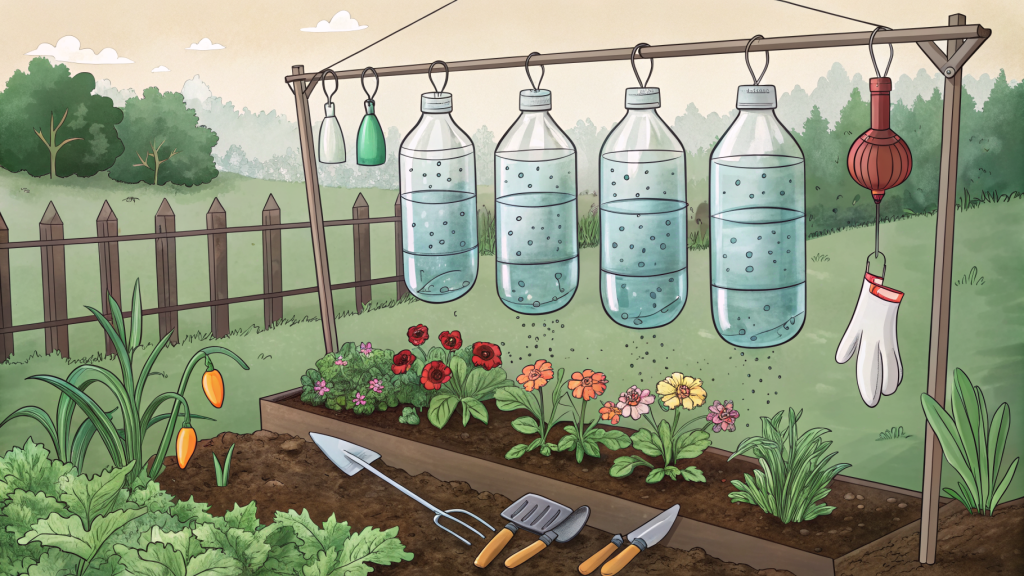
Method 2: Suspended Bottle Drip System
Step 1: Cut the Bottom
Cut off the bottom of the bottle with scissors or a utility knife. This creates a wide opening for filling.
Step 2: Puncture the Cap
Drill or punch a single small hole in the bottle cap. For faster drip, make 2–3 holes.
Step 3: Hang the Bottle
Attach a string or wire around the bottle’s neck, then hang it upside down above the plant. Position the cap hole directly over the root zone.
Step 4: Adjust Flow
Fill the bottle with water and watch the drip rate. If it’s too fast, replace the cap with one that has fewer or smaller holes. If too slow, enlarge the hole slightly.
Wicking Bottle Irrigation (Advanced)
For an even more consistent moisture supply, turn the bottle into a wicking reservoir:
- Cut the bottle in half horizontally.
- Poke a hole in the cap, then thread a cotton string through it so one end hangs inside the bottle and the other extends outside.
- Invert the top half into the bottom half (like a funnel). Fill the top with water; the string wicks moisture into the soil below.
- Bury the assembly near the plant, leaving the top opening above ground for refilling.
Tips for Success
- Use opaque bottles to prevent algae growth inside.
- Test the flow rate before installing: fill the bottle and time how long it takes to empty.
- Avoid placing holes too high—water will only drip until the level drops below them.
- For heavy feeders, add liquid fertilizer to the water bottle occasionally.
Troubleshooting Common Issues
Clogged Holes
If holes get blocked by soil, wrap the bottle in a piece of fine mesh or landscape fabric before burying.
Too Fast or Too Slow Drip
Adjust hole size or number. A single 1/16-inch hole typically drips at about 1 quart per hour.
Bottle Floats Up
Bury the bottle deeper or weigh it down with a small stone inside the bottom (before adding water).
Practical Takeaway
A drip irrigation plastic bottle system is a zero-cost, eco-friendly way to keep your raised beds hydrated. Start with two or three bottles to test the setup, then expand as needed. This method saves water, reduces weeding, and keeps your garden thriving with minimal effort.


