The Ultimate 7-Step Guide to Build Living Soil from Scratch
Are you tired of lackluster harvests, unhealthy plants, and relying on chemical fertilizers? Imagine a garden teeming with life, where plants flourish naturally, resilient to pests and diseases, and produce an abundance of nutritious fruits, vegetables, and beautiful flowers. This isn’t a gardening fantasy; it’s the reality of working with living soil. Building living soil from scratch is one of the most transformative practices you can adopt for your garden, creating a self-sustaining ecosystem right beneath your feet. This comprehensive guide will walk you through every step of cultivating a vibrant, biologically active soil that will revolutionize your gardening experience.
[lwptoc]
Why Building Living Soil Matters for Your Garden
The conventional approach to gardening often treats soil as a mere anchoring medium, requiring regular inputs of synthetic nutrients. This overlooks the incredible, complex world beneath our feet – a world teeming with billions of microorganisms, fungi, and beneficial insects that are essential for plant health. Living soil is a dynamic ecosystem where plants and microbes engage in a symbiotic dance, exchanging nutrients, water, and protection.
When you build living soil, you are not just feeding your plants; you are feeding the entire soil food web. This network of organisms breaks down organic matter, cycles nutrients, improves soil structure, enhances water retention, and even helps suppress plant diseases. The result is a garden that requires less intervention, less water, and fewer external inputs, leading to healthier, more vigorous plants and more bountiful yields.
Furthermore, living soil contributes significantly to environmental health. It sequesters carbon from the atmosphere, helping to combat climate change, and reduces the need for synthetic fertilizers and pesticides, mitigating chemical runoff and protecting local ecosystems. Embracing living soil principles is a commitment to sustainable, regenerative gardening that benefits both your garden and the planet.
What You’ll Need to Build Living Soil from Scratch
Embarking on the journey to build living soil from scratch requires a combination of common gardening tools and specific organic amendments. Don’t be overwhelmed by the list; many items you might already possess or can source locally and affordably. The key is to gather high-quality, organic materials to kickstart your soil’s biological activity.
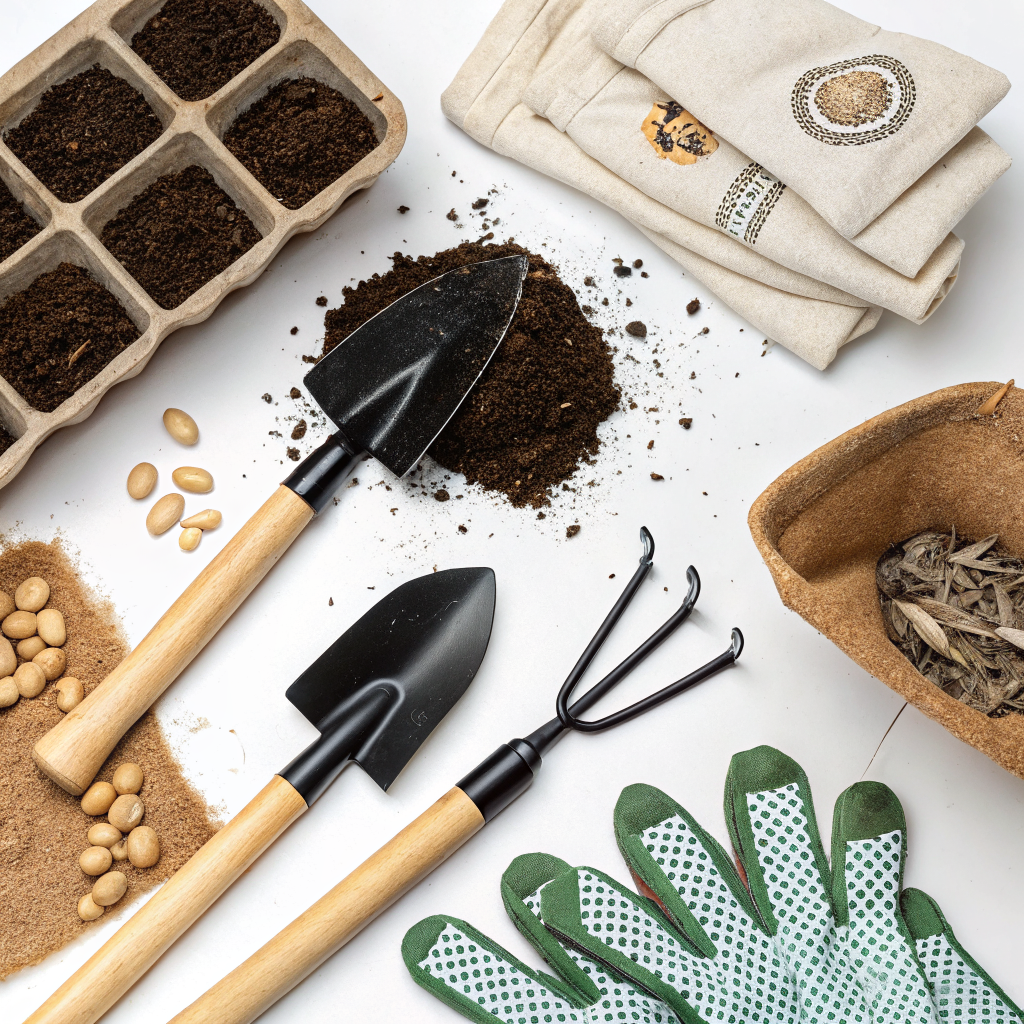
Essential Tools:
- Shovel or Spade: For digging, turning, and incorporating amendments.
- Garden Fork: Excellent for aerating and gently mixing without compacting the soil.
- Wheelbarrow or Garden Cart: For transporting bulky materials like compost and wood chips.
- Rake: For leveling and spreading top layers.
- Watering Can or Hose with a Gentle Sprayer: To moisten layers and activate microorganisms.
- Soil pH Test Kit: Understanding your starting pH is crucial for long-term soil health.
- Gloves: To protect your hands while working.
Key Materials and Amendments:
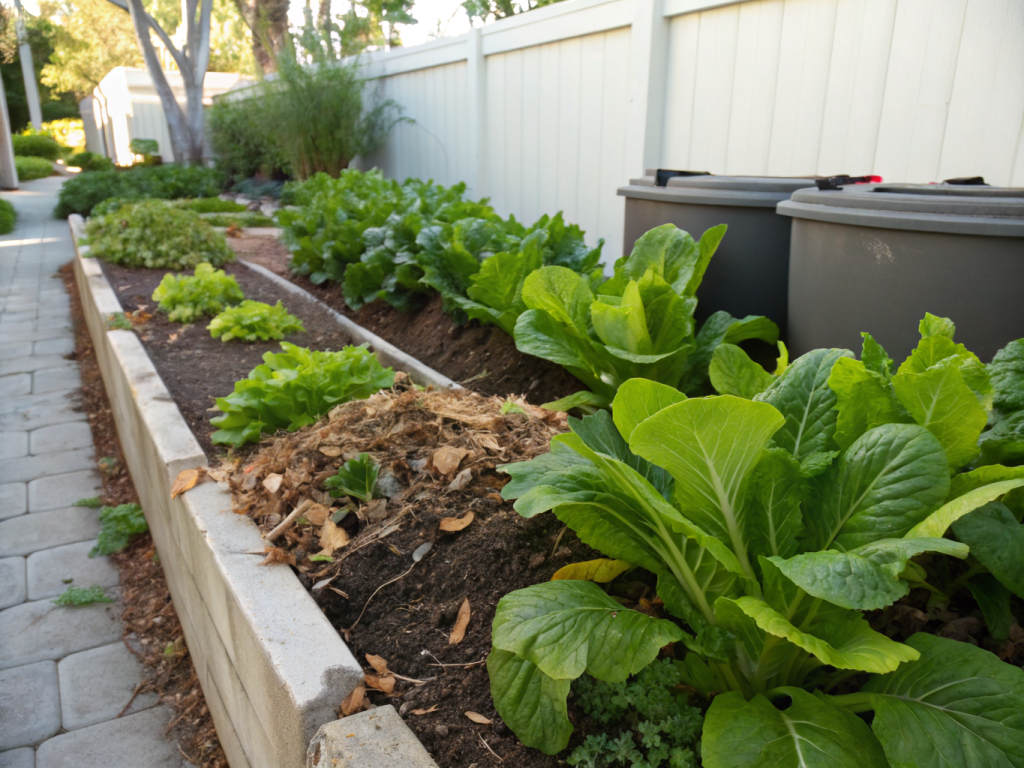
- High-Quality Compost: This is the cornerstone of living soil. Seek out mature, well-rotted compost, preferably made from a diverse range of organic materials. If you don’t make your own compost, look for local suppliers or certified organic brands.
- Aged Wood Chips or Mulch: Important for top-dressing, moisture retention, and slow-release organic matter decomposition. Avoid fresh wood chips, as they can temporarily tie up nitrogen.
- Leaf Mold: Decomposed leaves provide excellent soil structure and a slow-release of nutrients.
- Worm Castings: Often called “black gold,” worm castings are incredibly rich in beneficial microbes and plant-available nutrients. A little goes a long way.
- Organic Soil Amendments (e.g., Alfalfa Meal, Kelp Meal, Rock Phosphate, Azomite): These provide a broad spectrum of macro and micronutrients. Research their specific benefits and choose a selection based on your soil test and plant needs.
- Mycorrhizal Fungi Inoculant: These beneficial fungi form symbiotic relationships with plant roots, extending their reach for water and nutrients. Essential for long-term soil health.
- Beneficial Bacteria/Microorganism Inoculant (Optional but Recommended): Commercial inoculants can boost the diversity of your soil’s microbial population, especially when starting from depleted soil.
- Cover Crop Seeds: If you’re building a new bed, cover crops are excellent for improving soil structure, adding organic matter, and feeding soil life during off-seasons.
- Finished Compost Tea or Worm Casting Tea (Optional): Can be used to further inoculate the soil with beneficial microbes. Learn more about making compost tea.
- Water Source: Consistent moisture is vital for microbial activity.
Step-by-Step Guide: How to Build Living Soil from Scratch
Building living soil is a process, not a one-time event. It involves layering, integrating, and nurturing. Follow these steps to lay a strong foundation for a thriving garden.
Step 1: Assess Your Current Soil and Prepare the Area
Before you begin, it’s crucial to understand what you’re starting with. Dig a small test pit to observe your existing soil structure, texture, and density. Is it heavy clay, sandy, or something in between? A simple soil test kit from the RHS can help determine its pH and nutrient deficiencies, guiding your amendment choices. Clear the area of any weeds, turf, or debris. If you’re converting a grassy area, you can either remove the sod or employ a “lasagna gardening” technique by layering cardboard directly over the grass to smother it, adding a carbon layer simultaneously.
Step 2: Establish Your Base Layer – Carbon and Structure
Begin by creating a foundational layer that provides structure, absorbs moisture, and offers a slow-release carbon source. Lay down a thick layer (4-6 inches) of chunky organic material. This could be aged wood chips, shredded leaves, or even heavy cardboard (if using the lasagna method, ensure it’s plain, non-glossy cardboard with tape removed). This base layer acts as a sponge, promotes drainage, and slowly breaks down to feed larger soil organisms and fungi.
Step 3: Introduce the Heart of Living Soil – High-Quality Compost
This is arguably the most critical step. Over your carbon base, spread a generous layer (4-6 inches) of high-quality, mature compost. Compost is a living biome in itself, teeming with beneficial bacteria, fungi, protozoa, and nematodes. It’s what transforms inert matter into nutrient-rich, biologically active soil. Ensure the compost is well-rotted and smells earthy and sweet, not rancid. This layer will immediately start inoculating your soil with the microbial diversity it needs to thrive.
Step 4: Incorporate Nutrient-Rich Amendments and Organic Matter
Now it’s time to add the “food” for your soil microbes and future plants. Broadcast a mix of organic soil amendments over the compost layer. A typical mix might include:
- Worm Castings: 1-2 inches for an incredible microbial and nutrient boost.
- Alfalfa Meal or Kelp Meal: For nitrogen and a wide array of trace minerals. Follow package directions for application rates.
- Rock Phosphate or Bone Meal: For phosphorus, if needed (check your soil test).
- Greensand or Azomite: For potassium and additional trace minerals.
Gently mix these amendments into the top 6-8 inches of the compost and base layers using a garden fork. Avoid deep tilling, which can disrupt the developing soil structure and fungal networks. The goal is integration, not uniformity.
Step 5: Inoculate with Beneficial Microbes and Fungi
To accelerate the development of your living soil, actively introduce beneficial organisms. This is where your mycorrhizal fungi inoculants and beneficial bacteria comes in. Sprinkle the inoculant powder directly onto the soil surface, following the manufacturer’s instructions. These organisms will quickly establish symbiotic relationships with your plant roots, greatly enhancing nutrient uptake. If you have access to finished compost tea or worm casting tea, you can drench the bed with it for an additional microbial boost. Remember, soil biota are crucial for plant health.
Step 6: Top-Dress with Mulch and Cover Crops
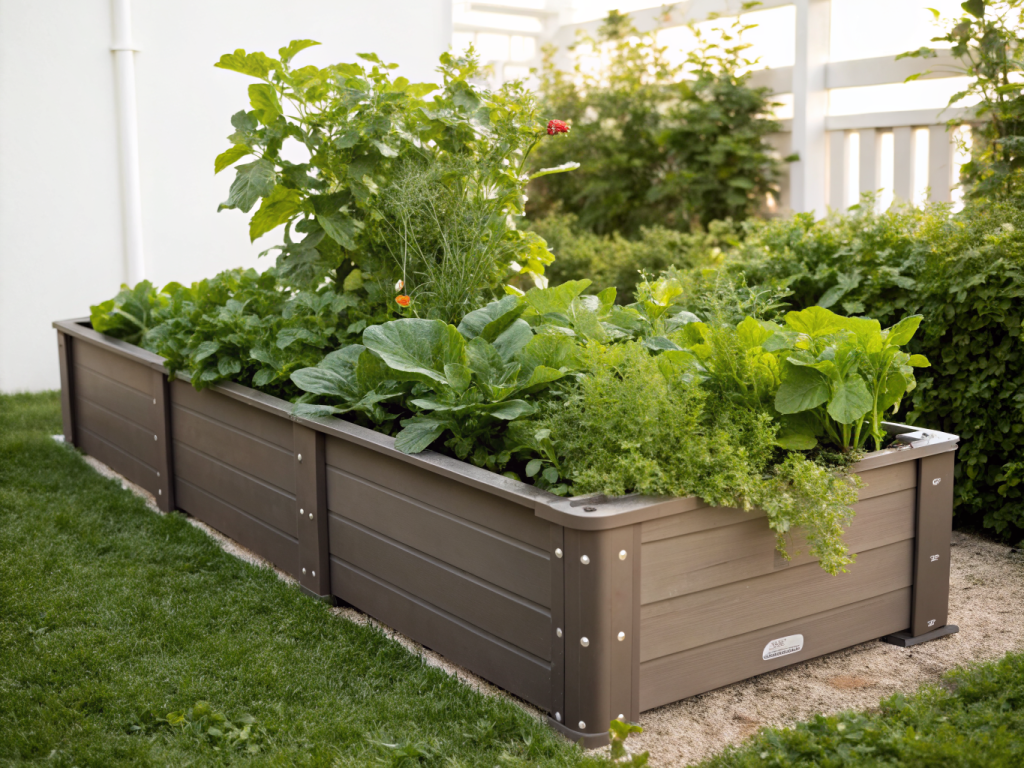
Once your initial layers are in place, apply a 2-4 inch layer of organic mulch over the entire bed. Straw, aged wood chips, or shredded leaves work wonderfully. Mulch conserves moisture, regulates soil temperature, suppresses weeds, and provides a continuous, slow-release food source for surface-dwelling soil organisms. If you’re not planning to plant immediately, consider sowing a cover crop suitable for your climate and season (e.g., clover, vetch, buckwheat). Cover crops protect the soil, add organic matter, and prevent nutrient leaching. You can then “chop and drop” the cover crop before planting, leaving its biomass to decompose and enrich the soil further. This practice perfectly aligns with the principles of regenerative gardening.
Step 7: Water and Nurture
After all the layers are in place, give your new living soil bed a thorough watering. Consistent moisture is absolutely essential for microbial activity. Without water, the beneficial organisms cannot thrive and perform their vital functions. Monitor the moisture levels regularly, especially in the first few weeks. As your soil matures, its water-holding capacity will naturally improve. Moving forward, the key to nurturing living soil is to keep it fed with organic matter (through mulching and cover cropping), minimize disturbance (no-till gardening), and avoid synthetic chemicals that harm soil life.
Pro Tips and Common Mistakes to Avoid
Pro Tips for Success:
- Patience is Key: Living soil takes time to develop its full potential. While you’ll see improvements quickly, the ecosystem strengthens over seasons.
- Observe Your Soil: Pay attention to earthworms, beneficial insects, and the overall vitality of your plants. These are indicators of a healthy soil ecosystem.
- “Feed the Soil, Not the Plant”: This foundational principle of organic gardening means focusing on building a rich, diverse soil food web, which in turn will feed your plants.
- Minimize Soil Disturbance: Avoid tilling or digging deeper than necessary, as it disrupts fungal networks and soil structure. Embrace no-till or minimal-till practices.
- Diversity is Your Friend: Use a variety of organic inputs – different types of compost, mulches, and cover crops – to encourage a diverse microbial population.
- Compost Tea Boosts: Regularly applying compost tea or worm casting tea can give your microbial populations a significant boost, especially during times of stress for plants.
Common Mistakes to Avoid:
- Using Fresh Wood Chips as a Top Layer: Fresh wood chips can temporarily deplete nitrogen from the soil as they break down, potentially starving your plants. Always use aged or partially decomposed wood chips for mulch.
- Over-tilling: Excessive tillage destroys the delicate fungal hyphae and bacterial colonies that form beneficial soil aggregates. Aim for minimal disturbance.
- Applying Synthetic Fertilizers: Chemical fertilizers can harm beneficial microbes and lead to salt buildup, counteracting your efforts to build living soil. Stick to organic amendments.
- Leaving Soil Bare: Bare soil is susceptible to erosion, nutrient leaching, and extreme temperature fluctuations. Always keep it covered with mulch or living plants (cover crops).
- Forgetting to Water: A dry soil is a dead soil. Microbes need moisture to survive and thrive.
- Ignoring Soil Tests: Guessing at soil deficiencies can lead to imbalances. A basic soil test provides valuable data to guide your amendment choices.
Eco-Friendly Variations for Building Living Soil
Building living soil is inherently eco-friendly, but there are always ways to enhance its sustainability. These variations focus on local sourcing, waste reduction, and maximizing ecological benefits.
- Lasagna Gardening (No-Dig Method): This technique is perfect for converting lawns or creating new beds without digging. Layer cardboard, then alternating “greens” (nitrogen-rich: grass clippings, food scraps, manure) and “browns” (carbon-rich: straw, leaves, aged wood chips), topped with compost. This method builds soil from the top down, mimicking natural forest floor processes.
- Hugelkultur Beds: Inspired by ancient European gardening, Hugelkultur involves building raised beds with a base of decomposing wood. The wood slowly breaks down, releasing nutrients and acting as a sponge for water, creating a long-lasting, fertile, and water-efficient growing environment.
- Local Sourcing: Prioritize obtaining materials locally. Source compost from community programs, fallen leaves from neighbors, and wood chips from arborists. This reduces transportation emissions and supports local economies.
- On-Site Composting: The most eco-friendly compost is the compost you make yourself. Whether it’s a traditional pile, a worm bin (vermicompost), or a compost tumbler, creating your own compost from kitchen and garden waste drastically reduces landfill contributions and provides a free, continuous supply of living soil’s cornerstone.
- Biochar Integration: Biochar, a form of charcoal produced by heating organic matter in the absence of oxygen, can be an excellent long-term soil amendment. It provides habitat for microbes, improves water retention, and can hold nutrients. Ensure you use charged biochar (inoculated with compost or nutrients) to avoid it absorbing nutrients from your soil temporarily.
Seasonal Considerations for Living Soil Development
Developing living soil isn’t a one-time process; it’s an ongoing journey influenced by the seasons. Understanding these seasonal nuances can optimize your efforts and maintain soil health year-round.
- Spring: Awakening and Planting
- Initial Build/Refresh: Spring is an ideal time for your initial living soil build or to refresh existing beds. Add a fresh layer of compost and organic amendments.
- Inoculation: Apply mycorrhizal fungi and beneficial bacteria inoculants just before planting to give your new plants the best start.
- Mulch: Replenish mulch layers to suppress emerging weeds and conserve moisture as temperatures rise.
- Cover Crops: If your bed overwintered with a cover crop, chop and drop it a few weeks before planting to allow it to begin decomposing.
- Summer: Feeding and Maintenance
- Consistent Moisture: High temperatures increase evaporation. Ensure your living soil remains consistently moist, especially with new plants. Mulch is critical here.
- Compost Tea/Liquid Feeds: During peak growing season, plants are actively drawing nutrients. Regular applications of compost tea or liquid organic fertilizers (e.g., diluted worm casting tea) can provide a microbial and nutrient boost without disturbing the soil.
- Spot Mulching: As plants grow, you might need to top up mulch layers where they’ve thinned.
- Monitor Soil: Observe for signs of compaction or dryness. Gentle aeration with a broadfork can be done sparingly if absolutely necessary, but generally, let soil life do the work.
- Fall: Replenishing and Protecting
- Add Organic Matter: As perennial plants die back and annuals are harvested, incorporate new layers of organic matter. Leaves are abundant in fall and make excellent carbon sources for compost or direct mulching.
- Compost Application: Apply a thick layer of compost over beds to feed dormant microbes and provide nutrients for spring growth.
- Cover Cropping: This is the prime season for sowing fall and winter cover crops (e.g., winter rye, crimson clover). They protect the soil from erosion, suppress weeds, add organic matter, and fix nitrogen over winter.
- Winter: Rest and Protection
- Keep it Covered: The most important winter principle for living soil is to keep it covered, either with a thick layer of mulch or snow, or a living cover crop. Bare soil is vulnerable to harsh winter elements.
- Minimize Disturbance: Allow the soil to rest. Avoid unnecessary walking on or digging in frozen or saturated soil, which can damage structure.
- Plan for Spring: Use the winter months to plan your spring planting, order seeds, and research any new amendments you might want to try.
Expert Resources for Deeper Learning
To further deepen your understanding of living soil and regenerative gardening practices, explore these authoritative resources:
- Gardening Know How: What Is Living Soil: How To Start Using Living Soil In The Garden – A great introductory article explaining the basics and benefits.
- The Royal Horticultural Society (RHS): No Dig Gardening – Explore no-dig methods which are intrinsically linked to fostering living soil, improving its structure and biodiversity.
- University of Minnesota Extension: Soil Health for Home Gardeners – Provides science-backed information on improving soil health, essential for understanding the processes behind living soil.
Conclusion: A Journey to a Thriving Garden
Building living soil from scratch is more than just a gardening technique; it’s a philosophy that shifts your perspective from seeing soil as mere dirt to recognizing it as a vibrant, interconnected ecosystem. By following these steps and committing to practices that feed and protect the soil food web, you will cultivate a garden that is not only robust and productive but also deeply resilient and environmentally responsible. The initial effort yields exponential rewards in terms of plant health, yield quality, and reduced maintenance over time. Embrace the life beneath your feet, and watch your garden transform into a thriving haven.
Frequently Asked Questions About Building Living Soil from Scratch
Q1: How long does it take for living soil to become established?
While you’ll see benefits almost immediately, especially with improved compost and microbial inoculants, it generally takes 1-3 seasons for living soil to become well-established and for its complex microbial networks to fully develop. The longer you apply living soil principles, the healthier and more resilient your soil becomes.
Q2: Can I convert my existing garden bed to living soil without starting from scratch?
Absolutely! You can gradually transition existing beds. Start by applying generous layers of high-quality compost and organic mulches annually. Over time, integrate organic amendments and reduce or eliminate synthetic inputs. The “lasagna gardening” method is also excellent for transitioning existing beds by layering new material over the old soil.
Q3: Do I still need to fertilize plants grown in living soil?
The goal of living soil is to reduce the need for external fertilizers. A healthy living soil ecosystem will naturally supply most, if not all, of the nutrients your plants need. However, very heavy feeders or plants in high-production systems might still benefit from occasional boosts with organic liquid feeds like compost tea or fish emulsion. Regular top-dressing with compost and mulch should be your primary “fertilizer.”
Q4: What if my soil has really bad compaction or is mostly clay/sand?
Living soil principles are especially beneficial for challenging soil types. For heavy clay, the organic matter and tunneling of earthworms will greatly improve drainage and aeration. For sandy soil, organic matter significantly increases water and nutrient retention. While it might take a bit longer, consistent application of compost, mulch, and cover crops will dramatically transform even the most difficult soils over time. Consider using a broadfork (a gentle aeration tool) sparingly for severely compacted areas before starting.