Table of Contents
ToggleWhy Grow Sweet Potatoes in a Raised Bed?
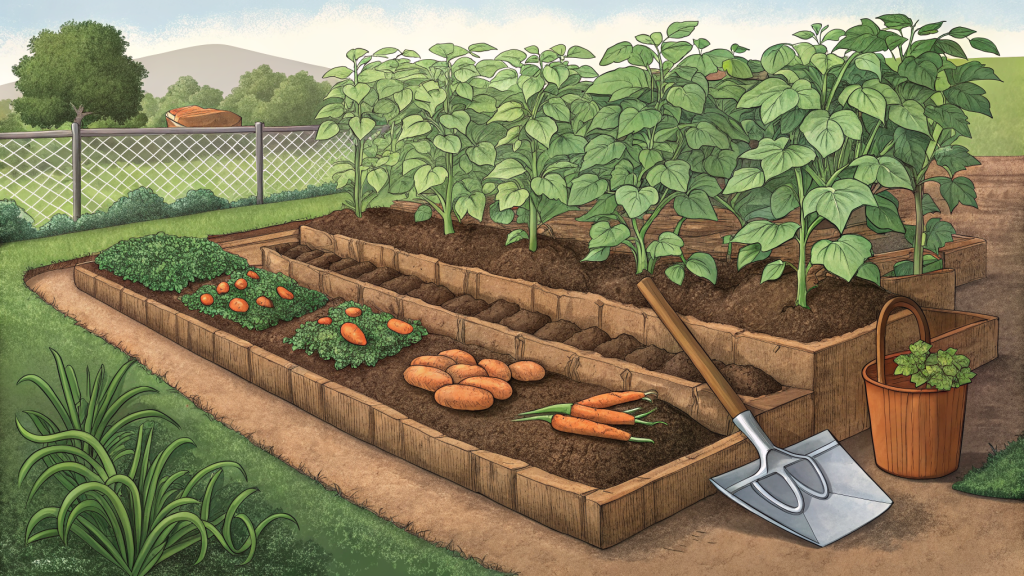
Growing sweet potatoes in a raised bed offers excellent drainage, warm soil, and loose texture—ideal for developing long, smooth roots. The hilling method further boosts yields by encouraging more root nodes along the buried stem. This step-by-step guide shows you how to grow sweet potatoes raised bed style, even in small spaces.
Step 1: Prepare Your Raised Bed
Choose the Right Location and Soil
- Sunlight: Place the bed where it receives at least 6-8 hours of direct sun daily.
- Soil mix: Use a loose, sandy loam with a pH of 5.8–6.2. Avoid heavy clay or rocky soil.
- Bed depth: Raised beds should be at least 12 inches deep for good root development.
- Amendments: Mix in 2-3 inches of aged compost or well-rotted manure before planting. Do not add high-nitrogen fertilizer—it produces leafy vines but small roots.
Step 2: Plant Sweet Potato Slips Correctly
When and How to Plant
- Timing: Transplant slips 2-3 weeks after the last frost, when soil temperature is consistently above 60°F (16°C). In warm climates, aim for 70°F (21°C).
- Spacing: Space slips 12-18 inches apart in rows 3 feet apart. In a 4×4 raised bed, plant 6-9 slips.
- Planting depth: Bury the entire root system and lower stem nodes up to the first set of leaves. This encourages roots to form along the buried stem.
- Watering: Water well after planting, then keep soil consistently moist but not waterlogged for the first week.
Step 3: Implement the Hilling Method
Why Hill Sweet Potatoes?
Hilling involves mounding soil around the base of the vines as they grow. This increases the number of nodes that can produce storage roots, leading to higher yields. It also keeps developing roots covered, preventing sunscald and greening.
How to Hill
- First hilling: When vines reach 12-18 inches long (about 3-4 weeks after planting), gently pull soil from between rows up around the base of each plant, covering the lower 4-6 inches of stem.
- Second hilling: Repeat 3-4 weeks later, adding more soil to maintain a mound 6-8 inches high. Use a mix of your original bed soil and compost.
- Maintenance: Keep the mounds loose and avoid compacting the soil. Water at the base, not overhead, to reduce disease.
Step 4: Care Through the Growing Season
Watering and Fertilizing
- Water deeply once or twice a week, providing 1-2 inches per week. Reduce watering 2-3 weeks before harvest to avoid root rot.
- Fertilize sparingly: Sweet potatoes are light feeders. Apply a low-nitrogen fertilizer (e.g., 5-10-10) once at planting and once at first hilling. Avoid high nitrogen.
Pest and Weed Control
- Weeds: Mulch around plants with straw or shredded leaves to suppress weeds and retain moisture.
- Pests: Watch for sweet potato weevils and wireworms. Use floating row covers early in the season, and rotate crops yearly.
Step 5: Harvest and Cure Sweet Potatoes
When to Harvest
Harvest 90-120 days after planting, when leaves start to yellow. In warm climates, you can leave them in the ground until frost threatens.
How to Harvest
- Use a garden fork to loosen the soil gently, starting 12 inches from the plant to avoid slicing roots.
- Dig carefully by hand to remove roots. Brush off excess soil—do not wash.
Curing for Long Storage
- Temperature and humidity: Cure at 85-90°F (29-32°C) and 85-90% humidity for 5-10 days. A warm, dark shed or greenhouse works.
- After curing: Store at 55-60°F (13-16°C) with moderate humidity. Properly cured sweet potatoes can last 6-8 months.
Practical Takeaway
To grow sweet potatoes raised bed successfully, focus on warm soil, correct spacing, and timely hilling. Start with quality slips, hill twice during the season, and cure your harvest. With these steps, you’ll enjoy a bountiful crop of sweet, nutritious roots from a compact raised bed.


