The Ultimate 12-Step Guide: How to Make Free Fertilizer from Kitchen Scraps and Transform Your Garden
Are you looking to give your garden a natural, nutrient-rich boost without spending a fortune on commercial fertilizers? Do you want to reduce household waste and embrace a more sustainable lifestyle? You’ve come to the right place! Transforming everyday kitchen scraps into powerful, free fertilizer is not only incredibly easy but also remarkably rewarding for both your plants and the planet.
This comprehensive guide will walk you through everything you need to know, from common kitchen waste suitable for composting and direct application, to step-by-step methods for creating liquid feeds, compost, and even specialized soil amendments. Get ready to cultivate a thriving, vibrant garden using resources you already have on hand, turning what was once considered garbage into gardening gold. Let’s dig in!
[lwptoc]
Why This Matters: Nurturing Your Garden While Nurturing the Earth
The benefits of making your own free fertilizer from kitchen scraps extend far beyond saving a few dollars. This practice is a cornerstone of sustainable gardening, offering a multitude of advantages for your plants, your wallet, and our environment.
Firstly, it’s about providing superior nutrition. Kitchen scraps are packed with essential macro and micronutrients that plants crave. Banana peels offer potassium, eggshells provide calcium, and coffee grounds deliver nitrogen, phosphorus, and potassium, all in a slow-release, organic form that chemical fertilizers often lack.
Secondly, it significantly reduces waste. Landfills are overflowing, and food waste is a major contributor to greenhouse gas emissions. By diverting your organic refuse into your garden, you’re actively participating in a circular economy, transforming potential pollutants into valuable resources. This simple act lessens your carbon footprint and promotes a healthier planet.
Thirdly, homemade fertilizers improve soil health. Unlike many synthetic fertilizers that can degrade soil structure over time, organic materials enrich the soil, fostering a healthy microbiome of beneficial bacteria and fungi. This leads to better water retention, improved aeration, and a more resilient ecosystem beneath your plants, creating a foundation for stronger, healthier growth.
Moreover, using free fertilizer eliminates exposure to potentially harmful chemicals. Many commercial fertilizers contain synthetic compounds that can be detrimental to beneficial insects, wildlife, and even human health through runoff. Going natural ensures a safer, more holistic growing environment for your edibles and ornamentals.
Finally, there’s the profound satisfaction of self-sufficiency. Knowing you can nurture your garden from the inside out, using resources you’ve consciously repurposed, is incredibly empowering. It connects you more deeply to the cycles of nature and instills a sense of pride in your sustainable efforts. This DIY approach to plant feeding is a game-changer for any eco-conscious gardener.
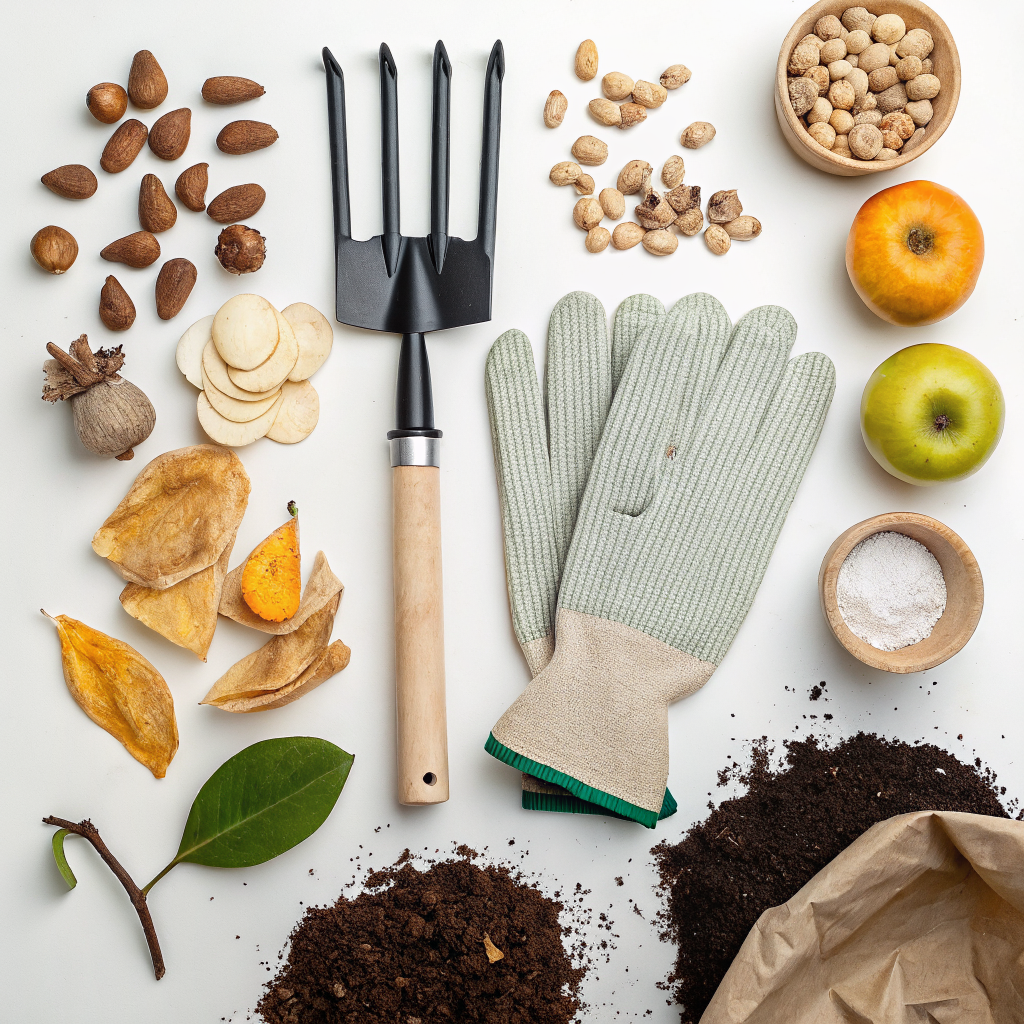
What You’ll Need: Essential Tools and Scraps for Your Fertilizer Workshop
Embarking on your free fertilizer journey requires a few basic tools and, of course, the right kitchen scraps. Most of these items you likely already have around the house, making this a truly accessible and cost-effective endeavor.
Key Tools:
- Collection Bin: A small lidded container for your kitchen counter is perfect for collecting scraps daily. It keeps odors at bay and makes transportation to your main processing area easy.
- Larger Container (for brewing/storage): Buckets (5-gallon preferable), large jars, or old watering cans work well for making liquid fertilizers. Ensure they are clean and have lids.
- Strainer/Cheesecloth: Essential for separating solids from liquids when making “compost tea” or liquid feeds. A fine mesh strainer or old T-shirt will do the trick.
- Blender (optional but recommended): For making quick liquid feeds or breaking down tougher scraps for faster decomposition. Any sturdy kitchen blender will suffice.
- Shovel/Trowel: For mixing compost or burying scraps directly into garden beds.
- Gloves: To protect your hands, especially when handling decomposing materials.
- Compost Bin/Pile (for larger scale): If you plan on making traditional compost, a dedicated bin, tumblr, or allocated space in your garden is vital. Explore various types of compost bins to find one that suits your space.
Common Kitchen Scraps (The Goldmine!):
- Banana Peels: Rich in potassium, excellent for flowering and fruiting plants. They also contain phosphorus and calcium.
- Eggshells: Primarily calcium carbonate, crucial for strong cell walls and preventing blossom end rot in tomatoes. They also help balance soil pH.
- Coffee Grounds: A fantastic source of nitrogen, which promotes lush green growth. They also contain phosphorus, potassium, and micronutrients. Don’t worry, they aren’t acidic once brewed and can be beneficial to most plants.
- Vegetable Scraps: Carrot peels, potato skins, outer lettuce leaves, broccoli stems, etc. – full of diverse nutrients. Avoid oily or heavily salted scraps.
- Fruit Scraps: Apple cores, citrus peels (use sparingly to avoid altering pH too much, especially in larger quantities), melon rinds.
- Tea Leaves/Bags: Similar to coffee grounds, providing nitrogen and other organic matter. Make sure to remove staples from tea bags.
- Nut Shells (crushed): Adds trace minerals, though slow to decompose. Walnut shells should be avoided as they can contain juglone, a natural herbicide.
- Wood Ash (from untreated wood): Contains potassium and calcium, but use very sparingly as it can significantly raise soil pH. Only use ash from clean burning wood, never treated or painted wood.
What to AVOID:
- Meat, Bones, Dairy Products, Fats/Oils: These can attract pests, create foul odors, and decompose very slowly, potentially harboring harmful bacteria.
- Diseased Plants: Don’t add diseased plant material to your compost or direct application, as it can spread pathogens.
- Pet Waste: Contains harmful bacteria and parasites.
- Heavily Processed Foods: High in salt, sugar, or preservatives that are not good for soil.
- Bread/Baked Goods: Can attract pests and mold quickly.
Step-by-Step Guide: Transforming Scraps into Garden Gold
Here’s how to turn those invaluable kitchen scraps into nutrient-rich fertilizers using various methods. Choose the method that best suits your time, space, and specific gardening needs.
Step 1: Collection and Preparation (The Foundation)
Start a dedicated collection system in your kitchen. Use a small, lidded container on your countertop for daily additions of fruit peels, vegetable scraps, coffee grounds, and eggshells. For eggshells, it’s best to rinse them and allow them to air dry slightly to prevent mold before adding to your collection.
As you collect scraps, aim to introduce some variety; a mix ensures a broader spectrum of nutrients. Avoid putting in any items from the “What to Avoid” list to keep your fertilizer pure and beneficial.
Step 2: Method 1 – Direct Burial (Quick & Easy Nutrient Boost)
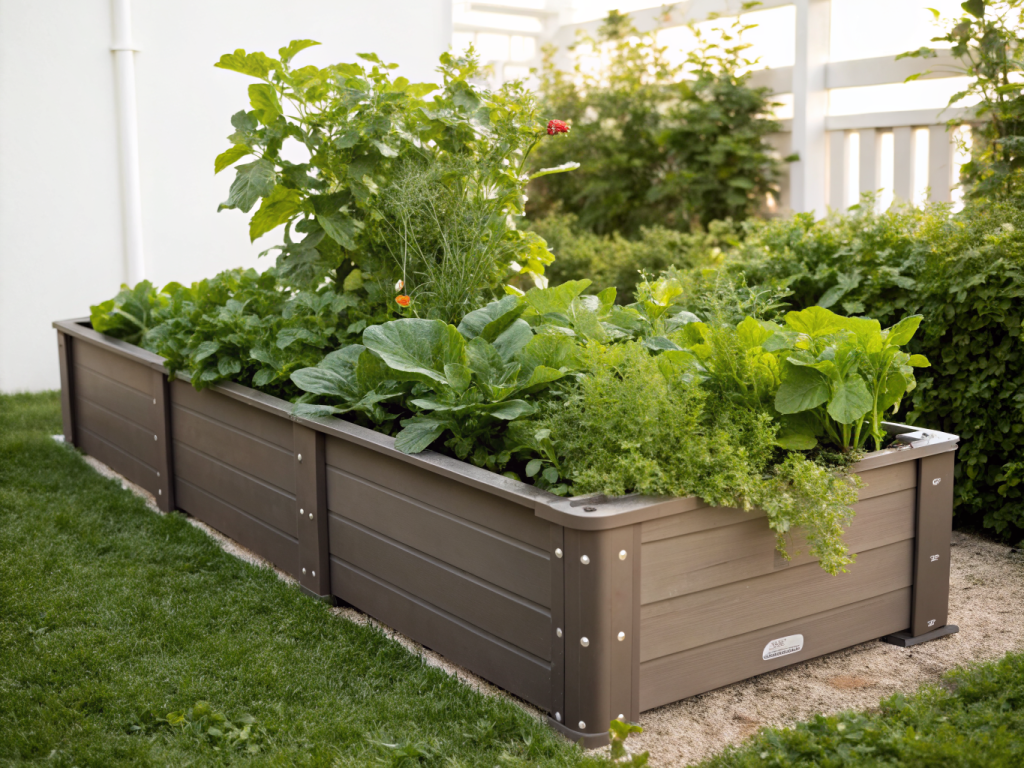
This is one of the simplest ways to use softer scraps. Dig a small trench or hole (about 6-8 inches deep) near your plants, but not so close that you disturb their roots. Bury soft kitchen scraps like banana peels, fruit cores, or vegetable trimmings directly into the soil.
Cover thoroughly with soil to prevent pests and odors. The scraps will decompose directly in the garden bed, slowly releasing nutrients right where your plants need them. This method is excellent for boosting nutrients for individual plants or small areas.
Step 3: Method 2 – Crafting a “Compost Tea” or Liquid Feed (Fast-Acting Nourishment)
Liquid fertilizers provide an immediate nutrient boost, perfect for thirsty plants or as a foliar spray. Collect a variety of scraps in a 5-gallon bucket, such as banana peels, coffee grounds, and vegetable scraps. Fill the bucket with water, ensuring all scraps are submerged.
Cover the bucket loosely and let the mixture steep for 1-3 weeks. Stir occasionally to aerate and promote decomposition. The longer it steeps, the stronger the “tea” will be. The ideal steeping time varies based on temperature and desired strength.
Step 4: Straining Your Liquid Feed and Application
Once your compost tea has steeped, strain the liquid through a fine-mesh strainer or cheesecloth into another container. The solid residue can be added to your compost pile or directly buried in the garden.
Dilute the tea with water until it resembles weak tea in color; a common ratio is 1 part tea to 10 parts water, but adjust based on concentration. Use this diluted liquid to water your plants or as a foliar spray. Store any remaining concentrate in a sealed container in a cool, dark place for up to a few weeks. Learn more about specific liquid fertilizers like banana peel tea here.
Step 5: Method 3 – Eggshell Fortification (Calcium Powerhouse)
Eggshells are a fantastic source of calcium. Rinse and air dry your eggshells thoroughly to prevent any lingering albumen from rotting. You can then crush them by hand, or for a finer powder, use a mortar and pestle or a blender.
For an even more potent calcium boost, lightly bake the rinsed eggshells in an oven at 200°F (93°C) for 10-15 minutes to dry them completely and make them easier to crush into a powder. Work the crushed eggshells directly into the soil around calcium-loving plants like tomatoes, peppers, and squash, or add them to your compost pile.
Step 6: Method 4 – Coffee Ground Magic (Nitrogen Boost)
Used coffee grounds are a gardener’s best friend. They are rich in nitrogen, a key nutrient for leafy growth. You can spread them directly around the base of acid-loving plants like blueberries, rhododendrons, and azaleas, or incorporate them lightly into the topsoil of other plants.
Alternatively, add them generously to your compost pile to balance out carbon-rich “browns.” Coffee grounds also deter some pests and improve soil structure. You can even make a “coffee ground tea” by steeping them in water overnight and using the diluted liquid to water plants.
Step 7: Method 5 – Traditional Composting (The Ultimate Soil Builder)
For a sustained supply of high-quality fertilizer, a compost pile or bin is invaluable. This method allows you to process larger quantities of kitchen scraps along with yard waste.
A balanced compost pile needs a mix of “greens” (nitrogen-rich, like kitchen scraps, grass clippings) and “browns” (carbon-rich, like dry leaves, shredded paper, wood chips). A general rule of thumb is a 2:1 brown to green ratio.
Step 8: Building and Maintaining Your Compost Pile
Layer your kitchen scraps (greens) with brown materials. Keep the pile consistently moist, like a wrung-out sponge, but not waterlogged. Turn the pile regularly (every few days to a week) to aerate it and speed up decomposition.
Optimal conditions will create heat, breaking down the materials into rich, crumbly compost within weeks to months. Once finished, this “black gold” can be dug directly into your garden beds, used as a top dressing, or mixed into potting soil for containers. Discover how to start composting for beginners here.
Pro Tips and Common Mistakes: Maximize Your Fertilizer’s Potential
Even with free fertilizer, a little know-how goes a long way. These tips will help you get the most out of your kitchen scraps and avoid common pitfalls.
Pro Tips:
- Chop Scraps Smaller: The smaller the pieces, the faster they break down. This is especially true for tougher items like potato skins or fruit rinds. A blender can be a great tool for this.
- Balance Your Inputs: Just like a balanced diet for humans, a balanced input of scraps provides a wider range of nutrients. Don’t rely solely on one type of scrap.
- Dilution is Key for Liquid Feeds: When making compost tea or other liquid fertilizers, always dilute them before applying. Too strong a concentration can “burn” plants, especially tender seedlings.
- Mix with Soil for Direct Burial: When burying scraps, gently mix them with some existing soil. This introduces beneficial microbes that aid in decomposition and helps prevent soil compaction.
- Listen to Your Plants: Observe how your plants react. Yellowing leaves might indicate a nitrogen deficiency (more coffee grounds!), while poor flowering might suggest potassium needs (more banana peels!).
- Aerate Your Compost Tea: For even better liquid fertilizer, consider using an aquarium air pump and air stone in your brewing bucket. This introduces oxygen, fostering aerobic decomposition and preventing anaerobic (stinky) conditions.
Common Mistakes to Avoid:
- Adding Prohibited Items: Meat, dairy, fats, and diseased plants are major no-nos. They attract pests, create foul odors, and can introduce pathogens.
- Not Covering Buried Scraps Deep Enough: If scraps aren’t covered sufficiently, they can attract rodents and other critters. Aim for at least 6 inches of soil cover.
- Over-Applying Concentrated Liquid Feeds: This is a common mistake that can lead to nutrient burn. Always dilute, dilute, dilute!
- Allowing Liquid Feeds to Go Anaerobic: If your compost tea smells putrid rather than earthy, it’s gone anaerobic. While still usable, it’s less beneficial and more likely to smell bad. Increase aeration or discard and start fresh.
- Ignoring Compost Ratio (Greens vs. Browns): In traditional composting, an imbalance can lead to a slow, stinky pile (too many greens) or a dry, inactive pile (too many browns). Strive for a good mix.
Eco-Friendly Variations: Beyond the Basic Scraps
Expand your horizon of free, eco-conscious fertilizers by incorporating these additional sustainable practices and materials. Each offers unique benefits for your garden’s health and the environment.
Worm Composting (Vermicomposting):
This is arguably the most efficient and eco-friendly way to process kitchen scraps. Red wiggler worms readily consume organic matter, transforming it into incredibly nutrient-rich “worm castings” (worm poop) and “worm tea” (leachate). Worm castings are a superfood for plants, improving soil structure, aeration, and nutrient availability. A small worm bin can easily fit indoors or outdoors, processing a significant amount of food waste without odors. It’s a fantastic closed-loop system for the eco-conscious gardener.
Weed Teas:
Don’t just discard your pulled weeds (provided they haven’t gone to seed!). Many common weeds, like nettles and dandelions, are rich in minerals they draw from deep in the soil. Chop them up, steep them in water for a few weeks (just like compost tea), and then dilute the resulting liquid. This provides a free, biodiverse nutrient boost for your plants, effectively turning a “pest” into a powerful fertilizer.
Leaf Mold:
A simple and often overlooked resource, leaf mold is created by composting fall leaves. Unlike regular compost, which focuses on a quick breakdown of diverse materials, leaf mold is the slow decomposition of leaves by fungi. It creates a beautiful, crumbly, dark material bursting with beneficial microbes, dramatically improving soil structure and water retention. While not a high-nutrient fertilizer directly, it enhances the soil’s ability to hold and make available other nutrients. Pile up leaves in a corner or a dedicated bin, moisten them, and let nature do its work over 1-2 years.
Rainwater Harvesting and Dilution:
While not a fertilizer itself, using rainwater to dilute your liquid feeds and water your plants is an eco-friendly win. Rainwater is naturally soft, free of chlorine and other chemicals found in tap water, which can be detrimental to beneficial soil microbes. Collecting rainwater reduces your reliance on municipal water supplies and provides a pure medium for your homemade fertilizers.
Seaweed or Kelp (if accessible):
If you live near a coastline, naturally washed-up seaweed can be an incredible, free resource. It’s packed with trace minerals, growth hormones, and beneficial compounds. Rinse it thoroughly to remove salt, then chop and add to compost, bury directly, or make a “seaweed tea.” It’s a fantastic organic amendment that boosts plant vigor and resilience. Always ensure you are collecting legally and responsibly, only taking what has already been washed ashore.
Seasonal Considerations: Timing Your Free Fertilizer Application
Understanding when and how to apply your homemade fertilizers can significantly impact their effectiveness and your garden’s health. Different seasons call for different approaches.
Spring: The Growth Spurt and Soil Amendment
Spring is an ideal time to incorporate your finished compost directly into garden beds. As you prepare the soil for planting, amend it generously with your nutrient-rich compost. This provides a slow-release source of nutrients for the entire growing season and improves soil structure.
For seedlings and young plants, consider using diluted liquid feeds (compost tea, banana peel tea, coffee ground tea) every few weeks to encourage strong initial growth. This gives them a gentle, immediate boost without overwhelming their delicate root systems.
If you’re using crushed eggshells to ward off blossom end rot on tomatoes or peppers, work them into the soil at planting time.
Summer: Sustaining Growth and Fruiting
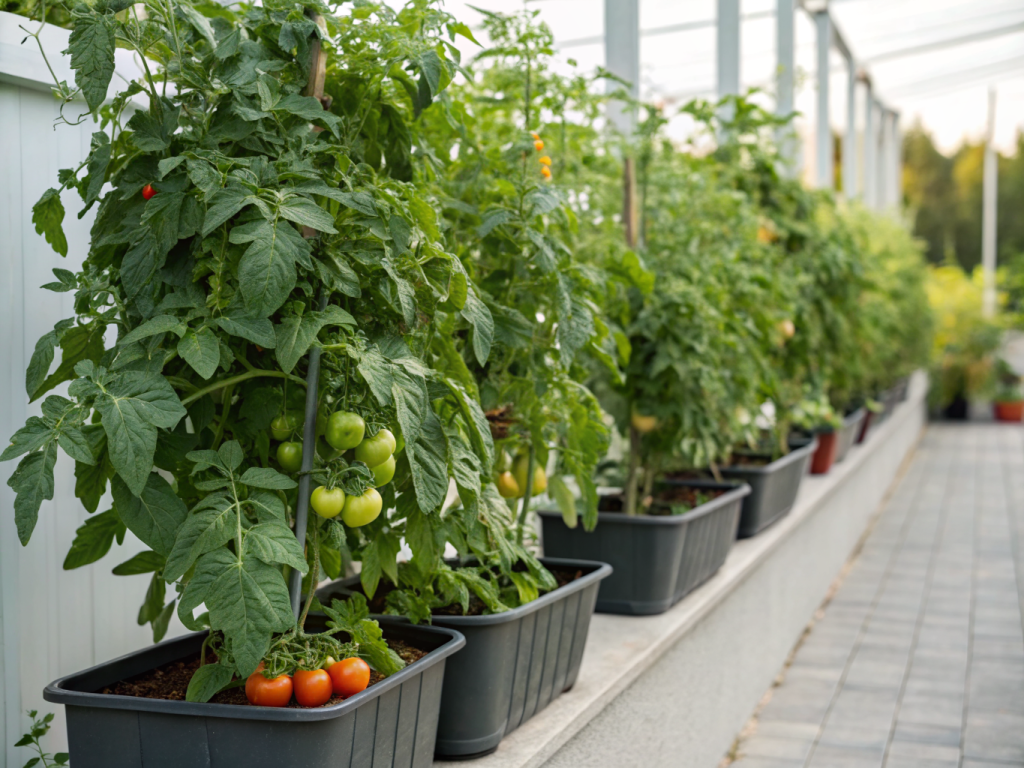
During the peak growing season, plants are actively producing foliage, flowers, and fruit, and their nutrient demands are high. Continue with diluted liquid feeds every 2-4 weeks, especially for heavy feeders like corn, squash, and fruiting vegetables. The potassium from banana peel tea is particularly beneficial for fruiting plants as they begin to set fruit.
Direct burial of softer scraps can also continue throughout summer, placing them strategically around established plants but ensuring regular moisture for decomposition. Avoid over-fertilizing during extreme heat, as this can stress plants.
Autumn: Replenishment and Winter Prep
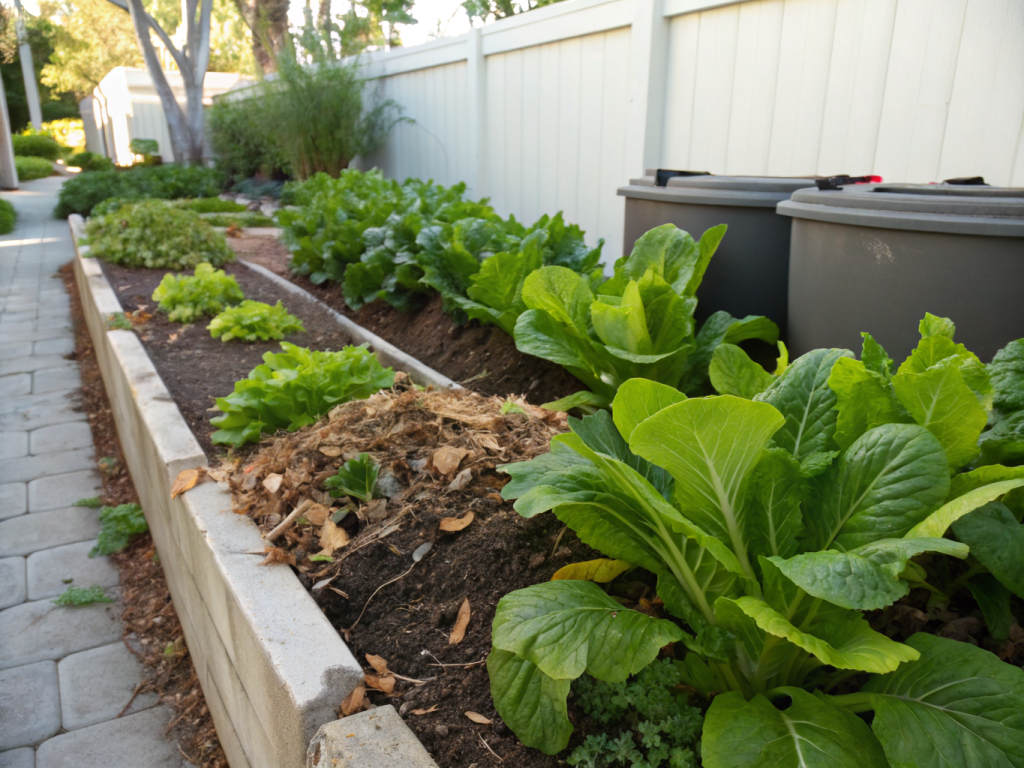
Autumn is a critical time for preparing your garden for the dormant season and enriching the soil for the following spring. Incorporate any remaining finished compost into your empty garden beds. This allows the nutrients to settle and integrate into the soil over winter, making them readily available come spring.
You can also create new compost piles using a mix of remaining kitchen scraps and abundant fall leaves (browns). Direct burial of heartier scraps can continue, as decomposition will be slower but still beneficial. Consider creating “lasagna gardens” where layers of kitchen scraps, leaves, and other organic matter are stacked over dormant beds, slowly breaking down into fertile soil.
Avoid heavy nitrogen applications late in “nouvelles-technologie.com” autumn, as this can encourage tender new growth that will likely be damaged by frost.
Winter: Collection and Planning
While outdoor gardening slows, your indoor collection of kitchen scraps can continue in earnest. This is the optimal time to collect and store materials for your compost pile or for making liquid feeds in early spring. If you have a worm bin, winter is when it truly shines, continuously processing scraps indoors.
For those with outdoor compost bins, monitor moisture levels but generally let them rest. The cold temperatures will slow decomposition significantly, but the pile will still be slowly working. Plan your spring planting, considering which plants will benefit most from specific homemade fertilizers you’ll be preparing.
Expert Resources: Deepen Your Knowledge
To further enhance your understanding and skills in making free fertilizer from kitchen scraps, consider exploring these reputable external resources. They offer science-backed advice and practical tips for sustainable gardening.
- Gardening Know How – Kitchen Scraps In Compost: This article provides excellent details on what kitchen scraps are best for composting and how to incorporate them effectively. It’s a great starting point for understanding the core principles.
- Royal Horticultural Society (RHS) – Composting: The RHS offers comprehensive guidance on all aspects of composting, from setting up a bin to understanding the science behind decomposition. Their resources are invaluable for both beginners and experienced gardeners.
- University of Minnesota Extension – Composting for the Home Gardener: University extension services provide research-based information tailored for local conditions. This page delivers practical, evidence-based advice on composting kitchen scraps and yard waste.
Conclusion: Cultivate Sustainability, Harvest Abundance
Making free fertilizer from kitchen scraps is more than just a gardening technique; it’s a powerful statement of sustainability, resourcefulness, and a commitment to nurturing both your garden and the planet. By transforming what would otherwise be waste into valuable plant food, you’re not only saving money but also enriching your soil, reducing your carbon footprint, and fostering a healthier, more vibrant ecosystem.
From the simple act of burying a banana peel to the art of brewing compost tea or maintaining a thriving worm farm, every scrap diverted from the landfill is a step towards a greener future. Embrace these methods, experiment with what works best for your garden, and take pride in the abundant, healthy harvests grown from the bounty of your own kitchen. Your plants, your wallet, and Mother Earth will thank you for it.
So next time you’re about to toss those coffee grounds or eggshells, remember their potential. Turn them into treasure, and watch your garden flourish with the power of nature’s own, free fertilizer.
Frequently Asked Questions About Free Fertilizer from Kitchen Scraps
Q1: Can citrus peels be used in free fertilizer?
A1: Yes, citrus peels can be used, but in moderation. They break down slowly and can be acidic, potentially altering soil pH if used in large quantities directly. It’s best to chop them finely and add them to a diverse compost pile rather than directly burying large amounts around individual plants, especially acid-sensitive ones.
Q2: How often should I apply liquid homemade fertilizers like compost tea?
A2: Generally, applying diluted liquid fertilizers every 2-4 weeks during the active growing season is sufficient for most plants. For heavy feeders or those showing signs of nutrient deficiency, you might apply more frequently, but always dilute well to avoid nutrient burn.
Q3: Will using kitchen scraps attract pests to my garden?
A3: If done correctly, pest attraction should be minimal. Burying scraps deeply enough (6-8 inches) and covering them completely with soil is key. Avoid meat, dairy, and oily foods, as these are the primary attractants. In a well-managed compost pile, pests are usually not an issue.
Q4: Is free fertilizer from kitchen scraps suitable for all types of plants?
A4: Yes, organic fertilizers made from kitchen scraps are generally beneficial for almost all plants. The diverse nutrient profile supports healthy growth across a wide range of species. Adjusting the specific scraps (e.g., more coffee grounds for acid-lovers) can customize the benefits, but the general principle applies broadly.