Table of Contents
ToggleWhy Root Rose Cuttings in a Potato?
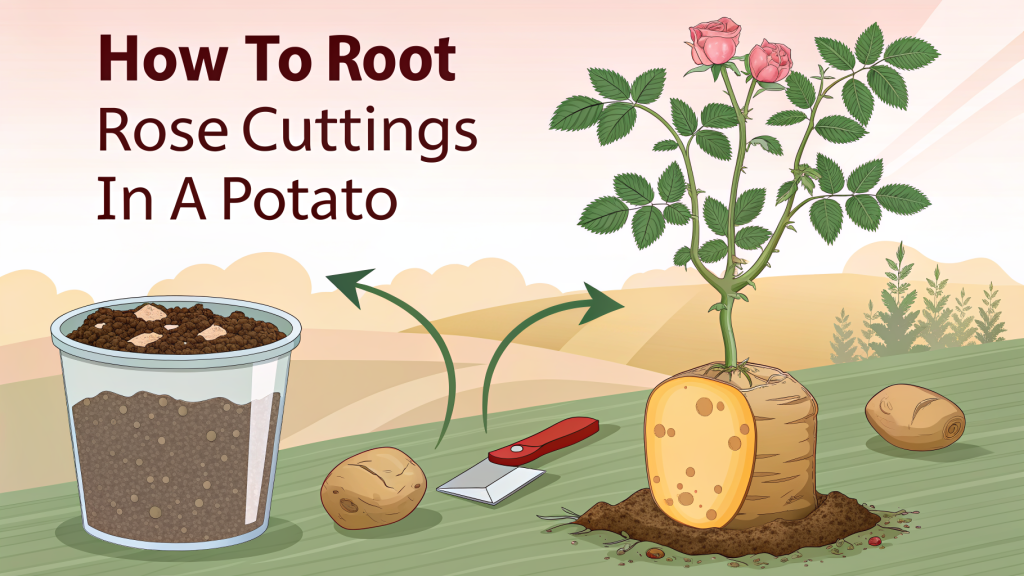
If you’ve ever tried to propagate roses from cuttings, you know it can be hit or miss. But there’s a clever trick that boosts your success rate: using a potato as a natural rooting medium. To root rose cuttings potato style, you simply insert the cutting into a potato and plant it. The potato keeps the cutting moist, provides nutrients, and helps prevent rot—making it an ideal incubator for new roots.
What You’ll Need
- Healthy rose stems (6–8 inches long, fresh from a recent bloom)
- A medium-sized potato (organic is best, but any will work)
- Sharp pruning shears or a knife
- A drill or apple corer (to make a hole in the potato)
- Rooting hormone (optional but helpful)
- Potting soil and a container or garden spot
Step-by-Step Guide to Rooting Rose Cuttings in a Potato
1. Prepare the Rose Cutting
Choose a stem that has just finished blooming. Cut at a 45-degree angle just below a leaf node. Remove all but the top two leaves. Optionally, dip the cut end in rooting hormone to speed up rooting.
2. Prepare the Potato
Wash the potato thoroughly. Use a drill (or apple corer) to make a hole slightly smaller than the stem’s diameter. The hole should be deep enough to hold the cutting securely—about 1–1.5 inches deep. Don’t go all the way through the potato.
3. Insert the Cutting
Gently push the rose cutting into the potato hole. It should fit snugly. If it’s loose, the potato won’t hold moisture well. If too tight, you might damage the stem.
4. Plant the Potato
Choose a pot with drainage holes or a spot in the garden with well-draining soil. Plant the potato so that the cutting’s leaves are above the soil line. Cover the potato completely with soil.
5. Water and Wait
Water thoroughly after planting. Keep the soil consistently moist but not soggy. Place in a spot with indirect sunlight. In 3–4 weeks, gently tug the cutting to check for resistance—signs of root growth. After 6–8 weeks, you can carefully dig up the potato to see new roots, then transplant the cutting to its permanent home.
Why This Method Works
The potato acts as a natural moisture reservoir, keeping the cutting hydrated without waterlogging. It also provides a slow release of carbohydrates and nutrients that encourage root development. Plus, the potato’s dense structure supports the cutting and reduces the risk of fungal diseases that often plague bare cuttings in soil.
Tips for Success
- Use fresh cuttings: Take them early in the morning when the plant is hydrated.
- Choose the right potato: A medium potato works best; too large and it may rot before roots form.
- Avoid direct sun: Bright, indirect light is ideal. Too much heat can cook the potato.
- Watch for sprouts: The potato may try to grow. Pinch off any potato sprouts to direct energy to the rose.
- Use rooting hormone: It’s not mandatory, but it can speed up root formation and improve success rates.
Common Mistakes to Avoid
- Using a rotten potato: Always start with a firm, fresh potato. A soft or sprouting potato may introduce disease.
- Planting too deep: The leaves must be above soil. Burying them leads to rot.
- Overwatering: The potato holds moisture well, so water sparingly. Let the top inch of soil dry between waterings.
- Neglecting to harden off: If you start indoors, gradually acclimate the cutting to outdoor conditions before transplanting.
Final Takeaway
Rooting rose cuttings in a potato is a simple, low-cost method that increases your chances of propagation success. With just a few household items and a little patience, you can multiply your favorite roses for free. Give it a try—you might be surprised at how well it works!


