The Complete Guide to Reading Your Soil: Unlock Your Garden's Potential
Every successful gardener knows that the secret to thriving plants lies beneath the surface: in the soil. Understanding your soil isn’t just about digging; it’s about deciphering a complex language of pH, nutrients, and structure. This comprehensive guide will equip you with all the knowledge and tools you need to accurately “read” your soil, leading to healthier plants, bountiful harvests, and a more joyful gardening experience.
[lwptoc]
Why a Complete Soil Testing Guide Matters for Your Garden
Imagine trying to bake a cake without knowing the ingredients or oven temperature. Similarly, gardening without understanding your soil is a shot in the dark. Soil testing is the foundation of smart gardening, providing a scientific basis for your plant care decisions.
Knowing your soil’s composition helps you avoid common pitfalls. You can prevent over-fertilization, which pollutes waterways, and under-fertilization, which starves your plants. This eco-conscious approach saves money, reduces waste, and contributes to a healthier environment.
Furthermore, different plants have different needs. Acid-loving blueberries will struggle in alkaline soil, while lavender thrives in dry, well-drained conditions. A thorough soil analysis allows you to match the right plant to the right place or amend your soil to suit your desired flora, maximizing growth and beauty.
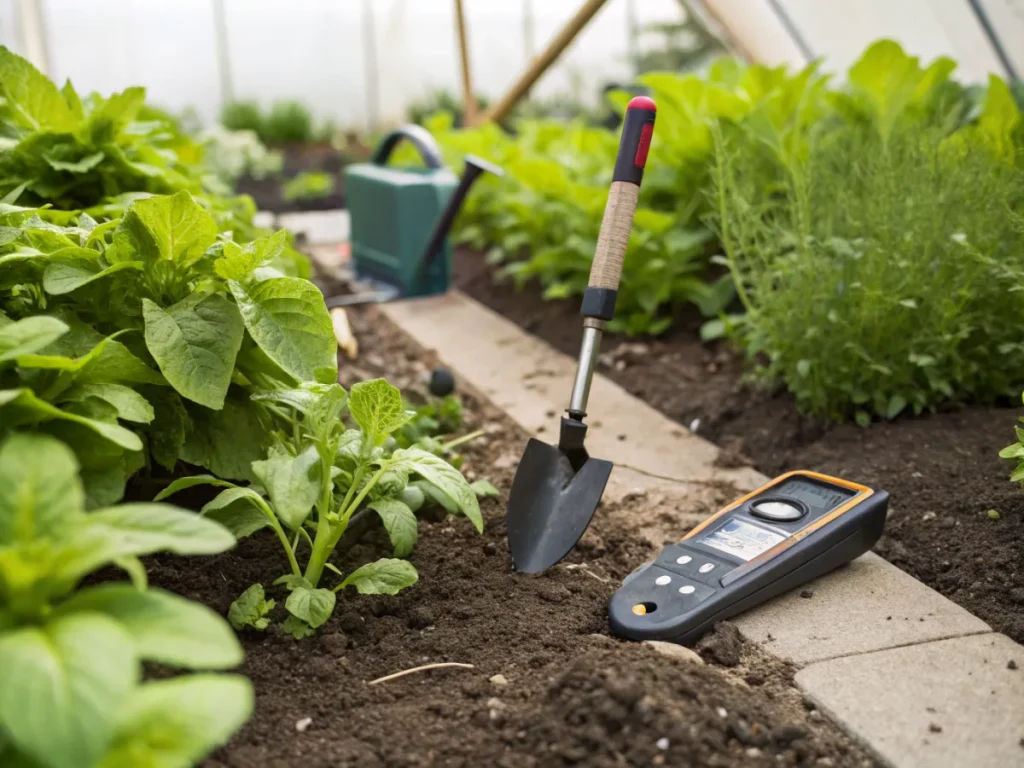
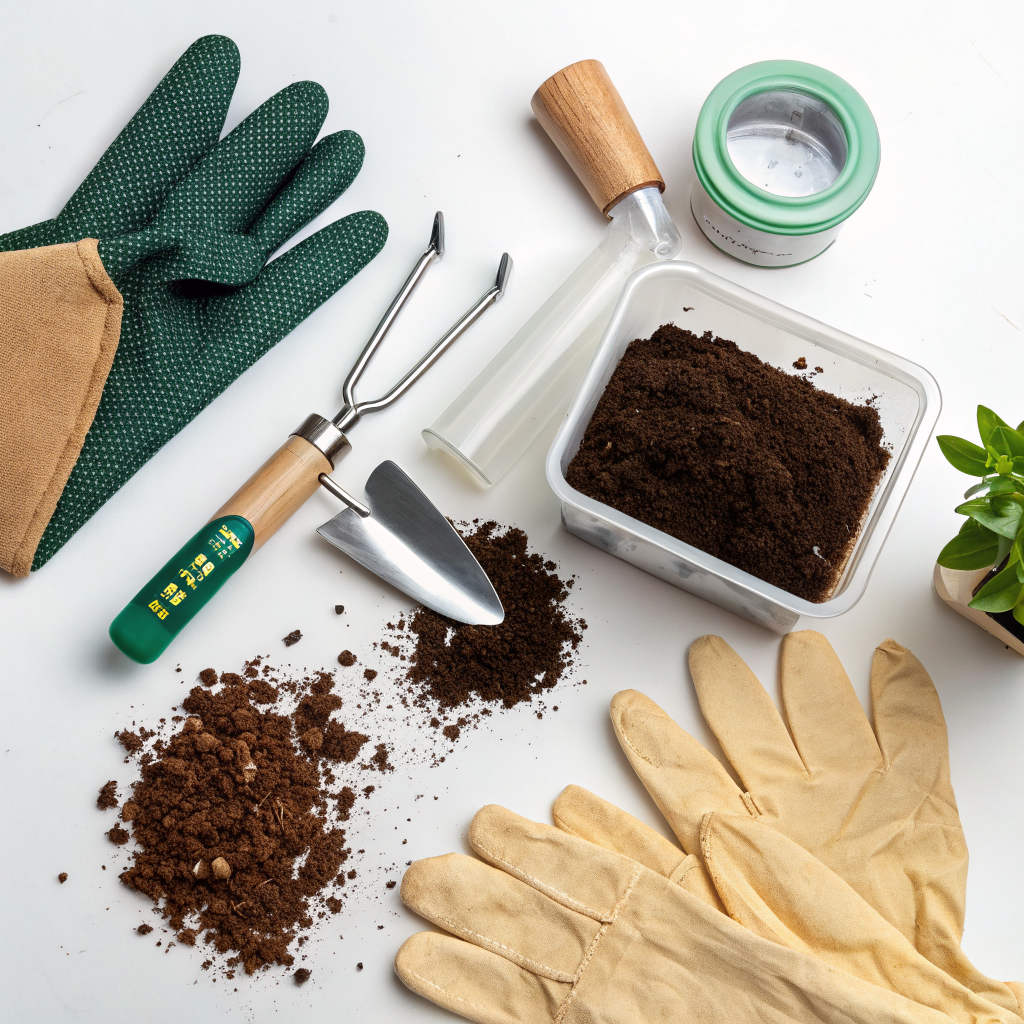
What You Need: Tools and Materials for Your Soil Investigation
Embarking on your soil testing journey requires a few essential items. Most are readily available and won’t break the bank. Gathering these tools beforehand ensures a smooth and accurate testing process.
Basic Tools for Visual and Manual Tests:
- Shovel or Trowel: For digging up soil samples. A clean stainless steel one is ideal to avoid contamination.
- Bucket or Container: To collect and mix soil samples.
- Sieve or Colander (optional): For separating aggregates and debris for texture tests.
- Gloves: To keep your hands clean and protect them from soil.
- Garden Hose or Watering Can: For some manual soil texture tests.
- Notebook and Pen: To record observations, results, and dates.
- Measuring Tape or Ruler: For assessing drainage rates.
For pH and Nutrient Testing:
- Soil Test Kit (Home Kit): These typically include litmus paper or color-coded capsules for pH, and often tests for N-P-K (Nitrogen, Phosphorus, Potassium).
- Distilled Water: Crucial for accurate pH readings when using home kits, as tap water can alter results.
- pH Meter (Digital): Offers more precise and instant readings than litmus paper, but requires calibration.
- Sample Bags/Containers: Ziplock bags or small, clean containers for sending samples to a professional lab.
Recommended Plants for Observing Soil Health (Optional, for visual cues):
- Weeds as Indicators: Certain weeds can indicate soil health—for example, dandelions often thrive in compacted soil, while horsetail suggests poor drainage.
- Beneficial Cover Crops: Planting cover crops like clover or buckwheat can improve soil structure and add nutrients over time, acting as a living soil health monitor. Read more about the benefits of cover crops for soil improvement.
Your Step-by-Step Guide to Complete Soil Testing
This section outlines the methodical process of understanding your soil. Follow these steps meticulously for the most reliable results, giving you a clear picture of your garden’s foundation.
Step 1: Visual Inspection – The First Clues
Before you even dig, observe. How does the soil look? Is it dark and rich, or pale and sandy? Look for signs of life—earthworms, insects, and fungal networks. A healthy living soil will be teeming with beneficial organisms.
- Color: Darker soils often indicate higher organic matter content, which is excellent for fertility. Pale soils might suggest lower organic content or a high sand content.
- Drainage: After a rain, does water puddle for extended periods, or does it soak in quickly? Poor drainage can lead to root rot, while excessively fast drainage might mean nutrients leach away too quickly.
- Weed Growth: Are certain weeds dominant? As mentioned, some weeds are “indicator plants” that can signal underlying soil conditions.
- Crusting/Compaction: Is the surface hard and cracked, or is it loose and friable? Compaction hinders root growth and water penetration.
Step 2: Manual Soil Texture Test – The “Feel” Test
This hands-on test helps classify your soil as sand, silt, or clay, or a combination (loam). Knowing your soil texture will guide amendments for water retention and drainage.
- Collect a Sample: Take a small handful of soil from about 4-6 inches deep. Remove any rocks or debris.
- Moisten the Soil: Add a few drops of water, kneading it until it’s pliable and consistent, but not overly wet. It should hold together when squeezed.
- Form a Ball: Try to roll the soil into a ball.
- Form a Ribbon: If it forms a ball, try to press it into a ribbon between your thumb and forefinger.
Interpreting the Ribbon Test:
- Sand: Feels gritty, won’t form a ball or ribbon, falls apart. Drains quickly.
- Silt: Feels smooth, like flour, forms a ball but only a very short, weak ribbon (less than 1 inch). Holds water well but can compact.
- Clay: Feels sticky when wet, forms a strong, long ribbon (over 2 inches) that doesn’t break easily. Drains slowly, high water and nutrient retention.
- Loam: A balanced mix of sand, silt, and clay. Feels somewhat gritty, somewhat smooth, forms a moderate ribbon (1-2 inches) that is pliable. Ideal for most plants.
Step 3: The Jar Test – Quantifying Texture
This simple experiment provides a more quantitative breakdown of your soil’s sand, silt, and clay proportions.
- Fill a Jar: Take a 1-quart glass jar with a lid. Fill it about one-third full with your soil sample (free of large debris).
- Add Water: Fill the jar almost to the top with tap water. Add 1 teaspoon of dish soap (helps separate particles).
- Shake Vigorously: Shake the jar vigorously for several minutes until the soil particles are thoroughly suspended.
- Sedimentation:
- After 1 minute: The sand will settle at the bottom. Mark its distinct layer.
- After 2 hours: The silt will settle on top of the sand. Mark its layer.
- After 24-48 hours: The clay will settle on top of the silt, and organic matter will float on the surface. Mark the clay layer.
- Measure and Calculate: Measure the height of each layer and the total height of the settled soil. Calculate the percentage of sand, silt, and clay. For example, if the sand layer is 1 inch and total settled soil is 4 inches, sand is 25%.
Step 4: DIY pH Testing – Acidity and Alkalinity
Soil pH dictates nutrient availability. An incorrect pH can ‘lock’ nutrients, even if they are present in the soil. Most plants prefer a slightly acidic to neutral pH (6.0-7.0).
- Gather Samples: Take several small samples from different areas of your garden, 4-6 inches deep.
- Mix Thoroughly: Mix them in a clean container to get a representative sample.
- Prepare for Testing: For home kits, follow instructions carefully. Usually, this involves taking a small portion of soil (e.g., 1 teaspoon), mixing it with distilled water to form a slurry, and then inserting the test strip or adding the pH solution.
- Read Results: Compare the color change on your test strip or solution with the provided color chart to determine the pH. Digital meters give an immediate numerical reading.
Understanding and adjusting pH is a cornerstone of garden success. Learn more about how to adjust soil pH for optimal growth in our detailed guide.
Step 5: Professional Lab Testing – The Gold Standard
For the most accurate and comprehensive analysis, a professional lab test is indispensable. These tests go beyond pH and N-P-K, often including micronutrients, organic matter percentage, and specific recommendations.
- Obtain a Kit: Contact your local extension office or agricultural university for soil test kits and instructions. They often have partnerships with accredited labs.
- Collect Samples: Using a clean shovel or soil probe, collect 10-15 random subsamples from your garden plot. Dig down 6-8 inches for annuals/vegetables, or 4 inches for lawns. Avoid areas near fences, compost piles, or drip lines.
- Mix and Bag: Mix all subsamples thoroughly in a clean bucket. Place about 1-2 cups of this composite sample into a supplied bag or a clean Ziplock bag.
- Fill Out Forms: Complete the provided forms, indicating what you plan to grow (e.g., vegetables, fruit trees, lawn) so the lab can give relevant recommendations.
- Mail Samples: Send your samples to the lab following their instructions. Results typically arrive within 2-4 weeks, often with detailed reports and amendment recommendations.
Pro Tips and Common Mistakes to Avoid
Maximizing the accuracy and utility of your soil test involves knowing a few tricks and steering clear of common errors. These insights can save you time, effort, and potential gardening frustration.
Pro Tips for Accurate Results:
- Test Consistently: Aim to test your soil every 2-3 years or if you notice significant plant health issues. Consistent testing helps track changes over time.
- Sample Different Areas: If your garden has diverse planting zones (e.g., vegetable patch, rose bed, lawn), take separate samples for each area. Their needs will likely differ.
- Avoid Contamination: Always use clean tools and containers. Residues from fertilizers, pesticides, or other chemicals can skew results.
- Consider Seasonal Changes: It’s generally best to test in spring before planting or in fall after harvest. Avoid testing immediately after applying fertilizers or limestone, as this will give artificially high readings.
- Learn to Interpret Beyond the Numbers: While numbers are crucial, combine them with your visual observations and plant performance. Healthy soil is a living system, not just a chemical equation.
Common Mistakes to Avoid:
- Testing After Fertility Applications: Wait at least 6-8 weeks after adding compost, fertilizer, or lime before taking a sample.
- Taking Too Few Samples: A single sample from one spot won’t represent your entire garden. Multiple subsamples are key for a composite sample.
- Not Specifying Crop Goals: When sending to a lab, clearly state what you intend to grow. Recommendations for a vegetable garden differ greatly from a lawn or ornamental beds.
- Ignoring Organic Matter: Many beginners focus solely on N-P-K and pH. Organic matter is the lifeblood of healthy soil, improving structure, water retention, and nutrient availability. Always strive to increase it.
- Over-Amending Based on Single Test: Don’t drastically change your soil based on one test. Make gradual adjustments and retest to see the impact.
Eco-Friendly Variations for Soil Health
Beyond traditional testing, embrace practices that foster long-term soil health naturally. These eco-conscious approaches enhance soil fertility and resilience without relying heavily on synthetic inputs.
- Composting: Regularly incorporating homemade compost is a powerful way to amend almost any soil. It adds organic matter, improves structure, provides slow-release nutrients, and encourages beneficial microbial life. Discover the best compost bins for your garden to get started.
- Cover Cropping: Planting cover crops like crimson clover, vetch, or rye during off-seasons protects soil from erosion, adds organic matter when tilled in, suppresses weeds, and can fix nitrogen.
- No-Till Gardening: Minimizing soil disturbance helps preserve soil structure, protects mycorrhizal fungi networks, and retains soil moisture and carbon.
- Mulching: Applying a layer of organic mulch (wood chips, straw, shredded leaves) suppresses weeds, conserves moisture, moderates soil temperature, and slowly adds organic matter as it decomposes.
- Beneficial Microbes: Encourage a diverse soil food web by avoiding broad-spectrum pesticides and fungicides, and by adding inoculants like mycorrhizal fungi or effective microorganisms if your soil is severely depleted.
Seasonal Considerations for Soil Testing
The time of year influences not only when you test but also how you interpret the results and plan your amendments. Understanding seasonal cycles helps in making timely and effective decisions.
- Spring Testing (Pre-Planting): This is an excellent time to test, especially for annual vegetable gardens. It allows you to make necessary amendments like lime or fertilizer before planting, giving them time to integrate into the soil. Be mindful not to test immediately after winter thaw if heavy rains have occurred, as nutrients might be temporarily leached.
- Fall Testing (Post-Harvest): Ideal for perennial beds, lawns, and before planting fall cover crops. Fall testing provides a baseline after a growing season and allows for slow-acting amendments (like lime, which takes time to adjust pH) to work over the winter. Frozen soil cannot be tested effectively.
- Summer Testing: Generally less ideal for comprehensive testing due to high plant activity, potential for recent fertilization, and often drier soil conditions. However, if you notice significant plant stress or nutrient deficiencies during peak growing season, a targeted test can be helpful for quick corrective action.
- Winter Testing: Not practical in regions with frozen ground. In milder climates, it can be an option if the ground is workable, offering a head start on spring planning.
Expert Resources for Deeper Understanding
To further enhance your soil knowledge, consult these reputable sources. They offer in-depth information, research-backed advice, and often local resources for your specific region.
- Gardening Know How: GardeningKnowHow.com provides a wealth of articles on basic soil science, nutrient deficiencies, and general gardening troubleshooting.
- Royal Horticultural Society (RHS): For comprehensive, scientifically-backed advice on all aspects of gardening, including detailed soil management guides, the RHS.org.uk is an invaluable resource, particularly for temperate climates.
- University Extension Offices: Your local university extension office (e.g., extension.umn.edu) is one of the best resources for regional soil information, testing services, and specific recommendations tailored to your locale and climate. They often have master gardener programs and workshops.
Conclusion: Cultivating Knowledge for a Thriving Garden
Reading your soil is more than just a task; it’s an ongoing dialogue with your garden. By taking the time to understand its composition, pH, and nutrient profile, you transform from a casual planter into a truly informed gardener. This complete soil testing guide provides the roadmap to unlock your garden’s full potential.
Embrace the journey of discovery, apply the knowledge gained, and watch as your plants flourish with newfound vitality. Remember, healthy soil is the foundation of a healthy garden and a healthy planet. Happy digging, and happy growing!
FAQ: Frequently Asked Questions About Soil Testing
<p><strong>Q1: How often should I test my soil?</strong></p>
<p>A1: For established gardens, testing every 2-3 years is generally sufficient. If you're establishing a new garden, experiencing plant health issues, or making significant changes (like adding large amounts of compost or building new beds), testing annually for the first year or two can be beneficial. Many professional labs recommend testing every 3-5 years for mature landscapes.</p>

<p><strong>Q2: Are home soil test kits accurate enough?</strong></p>
<p>A2: Home soil test kits provide a good general indication of pH and sometimes basic N-P-K levels. They are excellent for quick checks and for beginners. However, for a precise analysis, including micronutrients, organic matter percentage, and customized recommendations based on what you want to grow, professional laboratory testing conducted by an extension office or agricultural lab is far more accurate and comprehensive. Think of home kits as a thermometer and a lab test as a full medical check-up.</p>

<p><strong>Q3: What do I do after I get my soil test results?</strong></p>
<p>A3: Your results will typically include recommendations for amendments. For pH issues, you might add lime to raise it or sulfur/peat moss to lower it. For nutrient deficiencies, organic options like compost, worm castings, or bone meal are excellent, or specific organic fertilizers can be used. Always follow the recommended amounts carefully and retest in a year or two to assess the impact of your amendments. Remember, gradual changes are often better than drastic ones.</p>

<p><strong>Q4: Can I test my soil in winter?</strong></p>
<p>A4: In regions where the ground freezes solid, winter testing is not possible because you cannot collect a proper sample. In milder climates where the ground remains unfrozen, you can collect samples. However, it's generally recommended to test in late fall after harvest or early spring before planting. This avoids potential issues with recent nutrient applications or heavy winter rains possibly affecting temporary readings.</p>